My First Mod
Back in 2021 I started my mod journey by replacing Pokemon cartridge batteries and fixing a Gameboy Color with bad sound. I decided to write this post now because I ended up re-modded the Gameboy Color a year later and thought why not document its evolution.
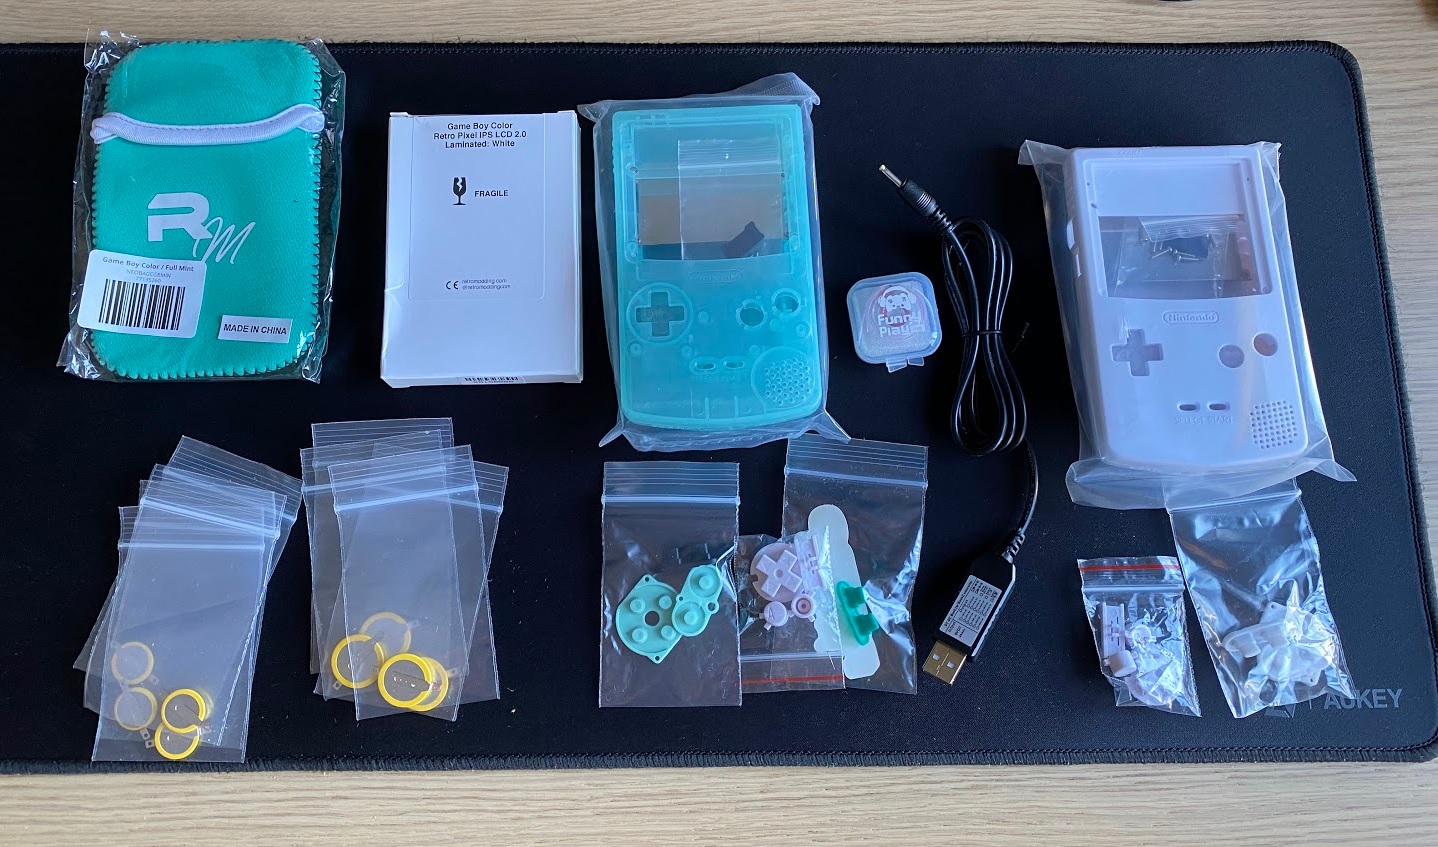
Last year, prior to ordering any parts I watched countless Youtube tutorials to make sure I started on the right foot and to reduce the risk of breaking anything. My obsessive research paid off because everything went as planned with no issues. My goal for the Gameboy Color was to fix the crumbly low sound issue, re-shell the Gameboy with a nice colour scheme and install a larger IPS screen. Here’s my first ever haul from Retro Modding. Lots of parts and the beginning of my passion to fix things.
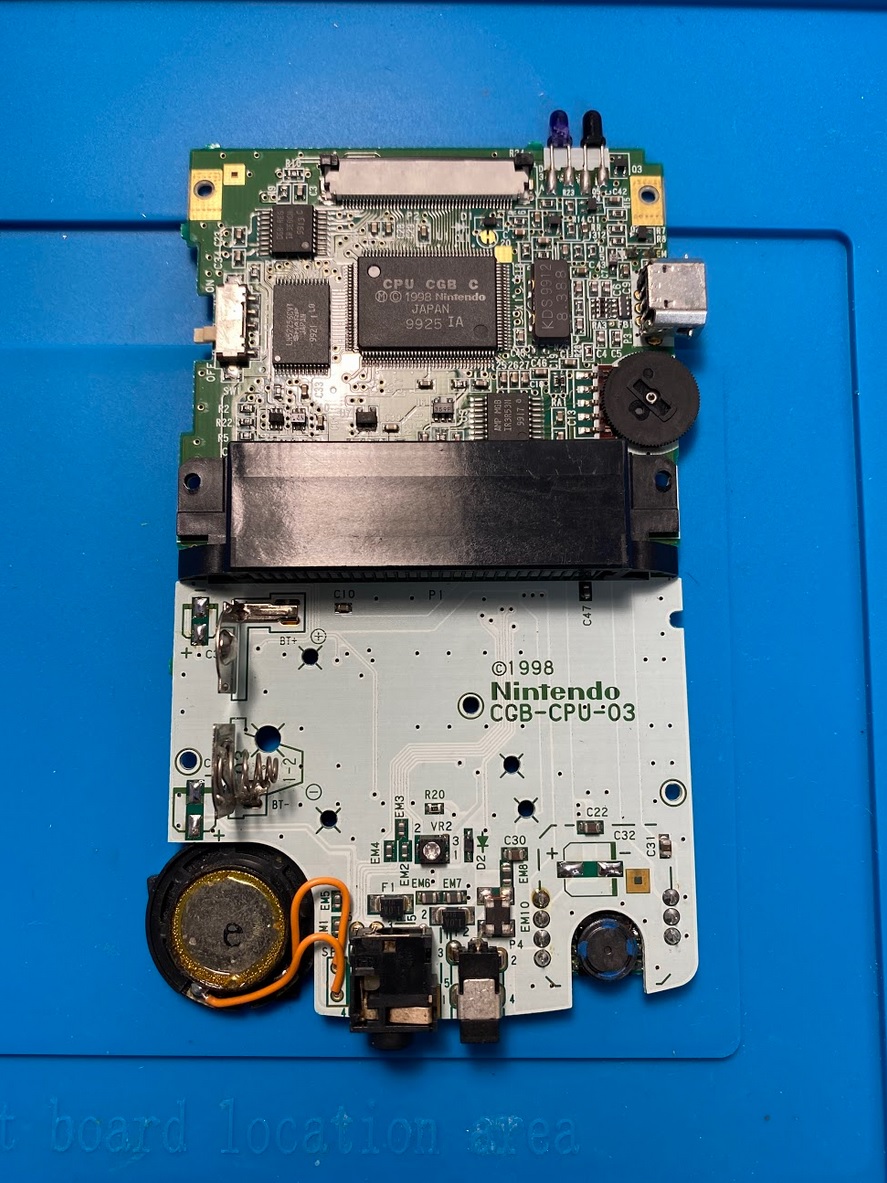
My first step was to fix the sound. Based on my research it could be either a bad/dirty speaker or its capacitors needed to be replaced. I decided to do both because the new shell is transparent so I wanted a clear speaker and very old capacitors could potentially leak causing damage to the PCB. Pictured here is the old speaker and capacitors removed.
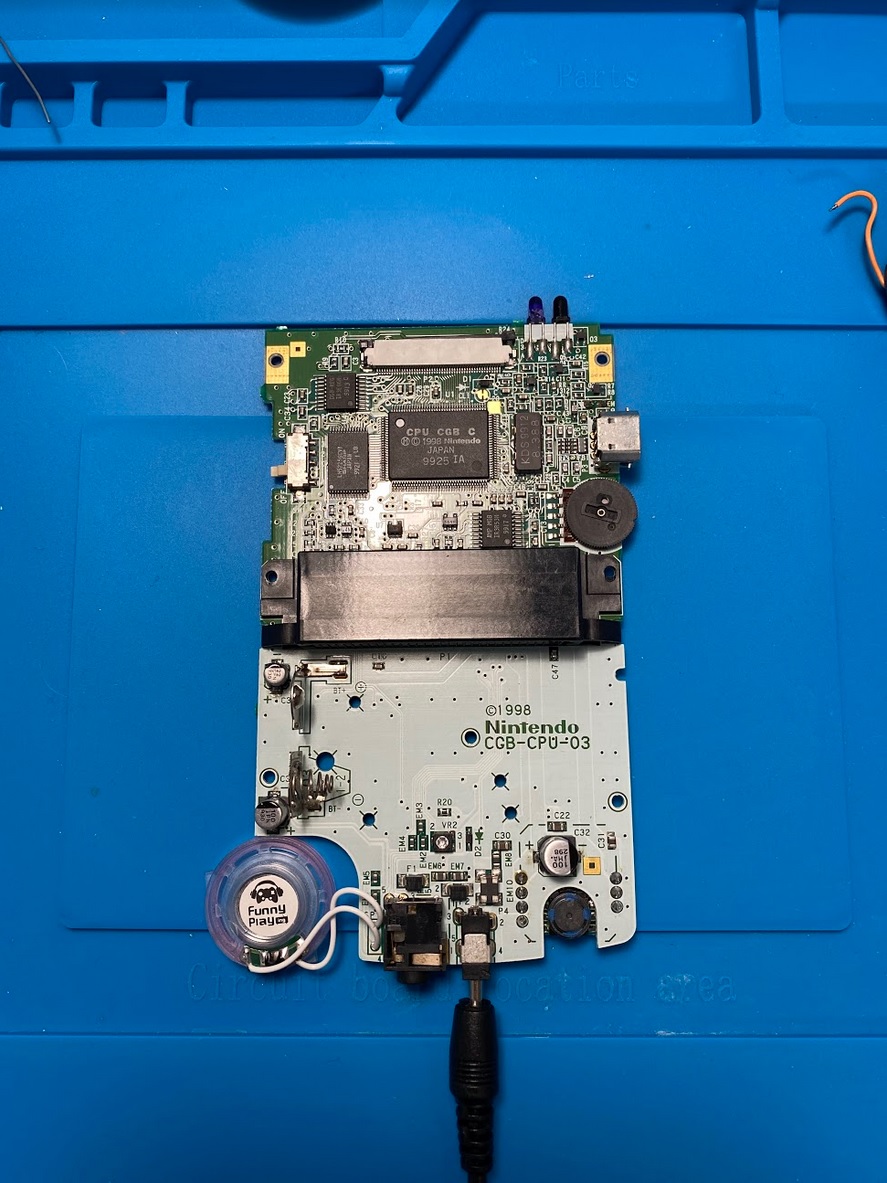
New speaker and capacitors installed and the sound issue has been fixed.
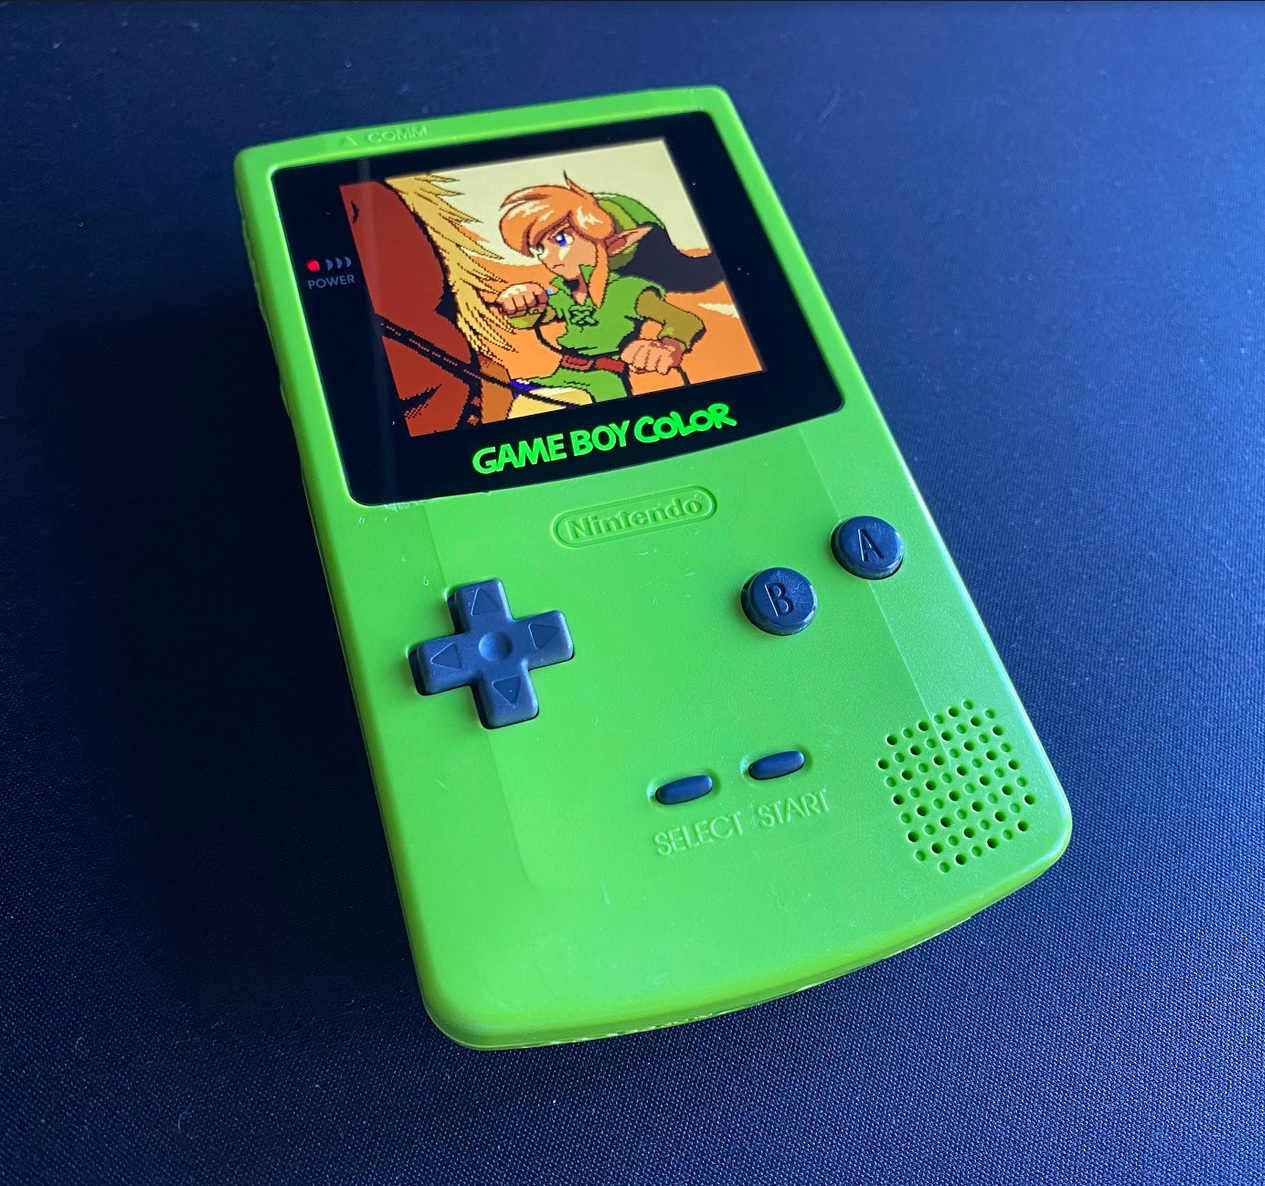
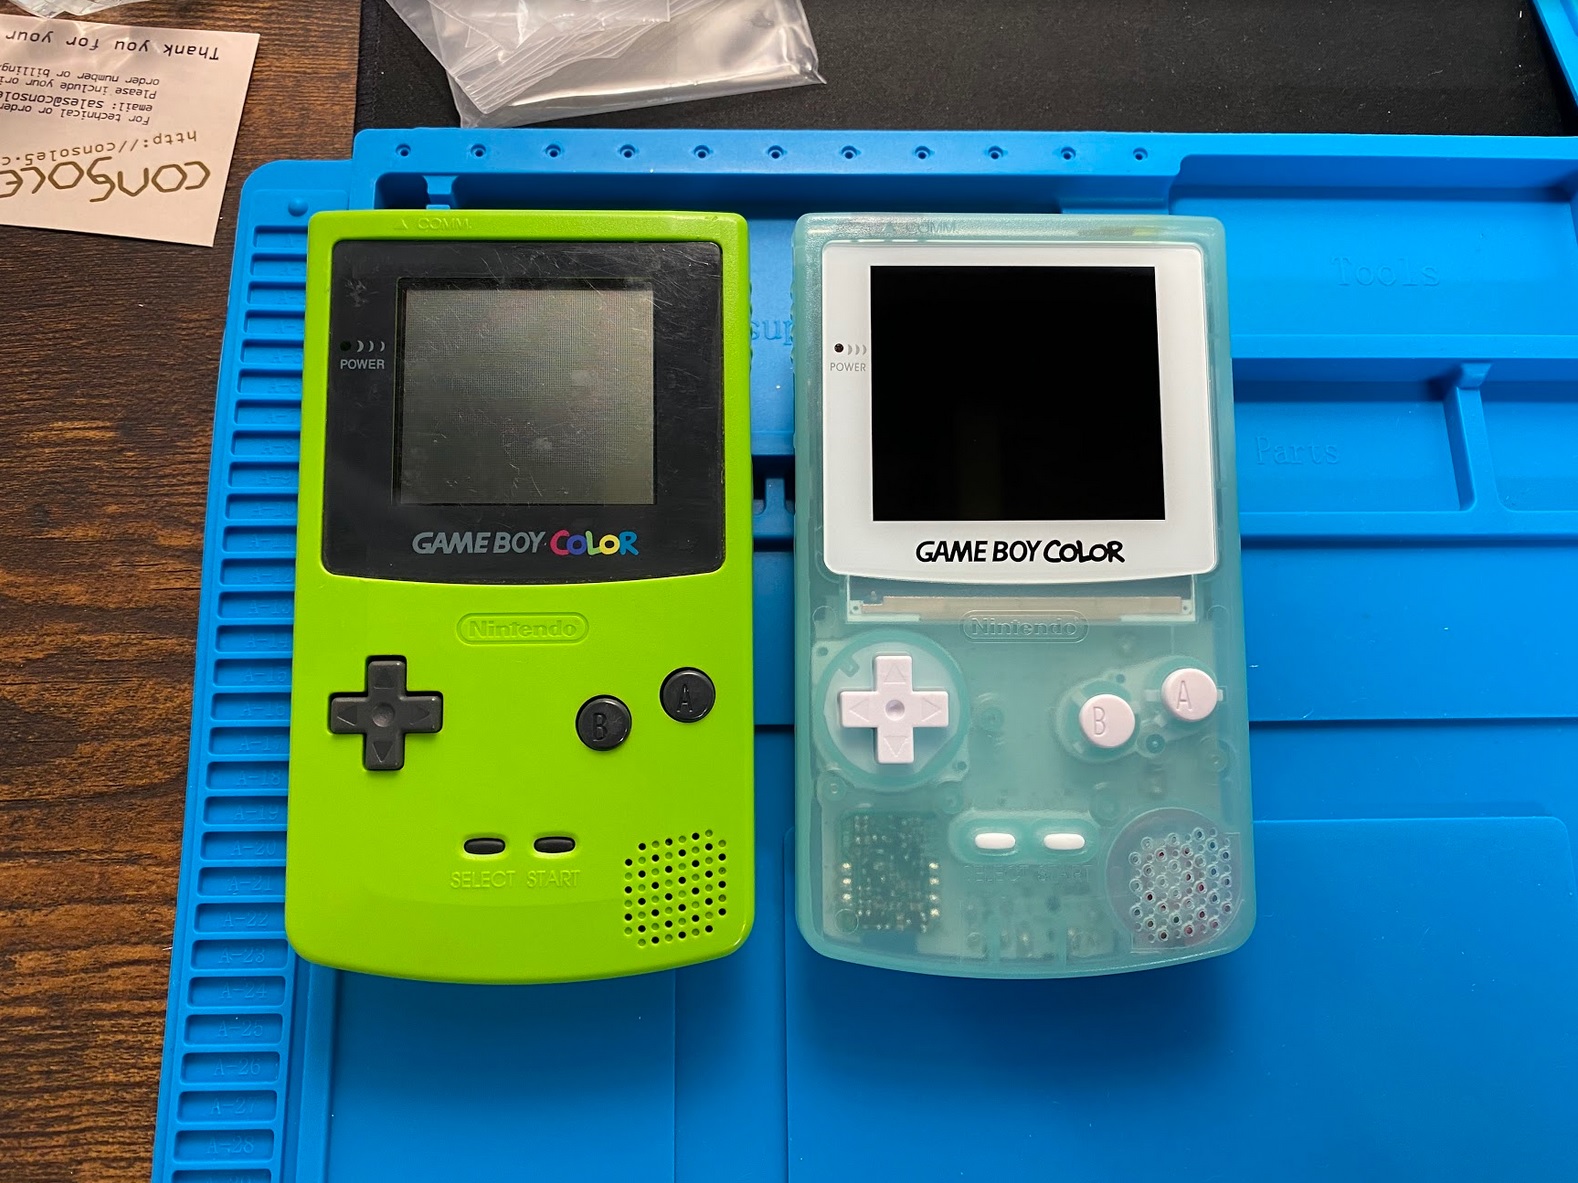
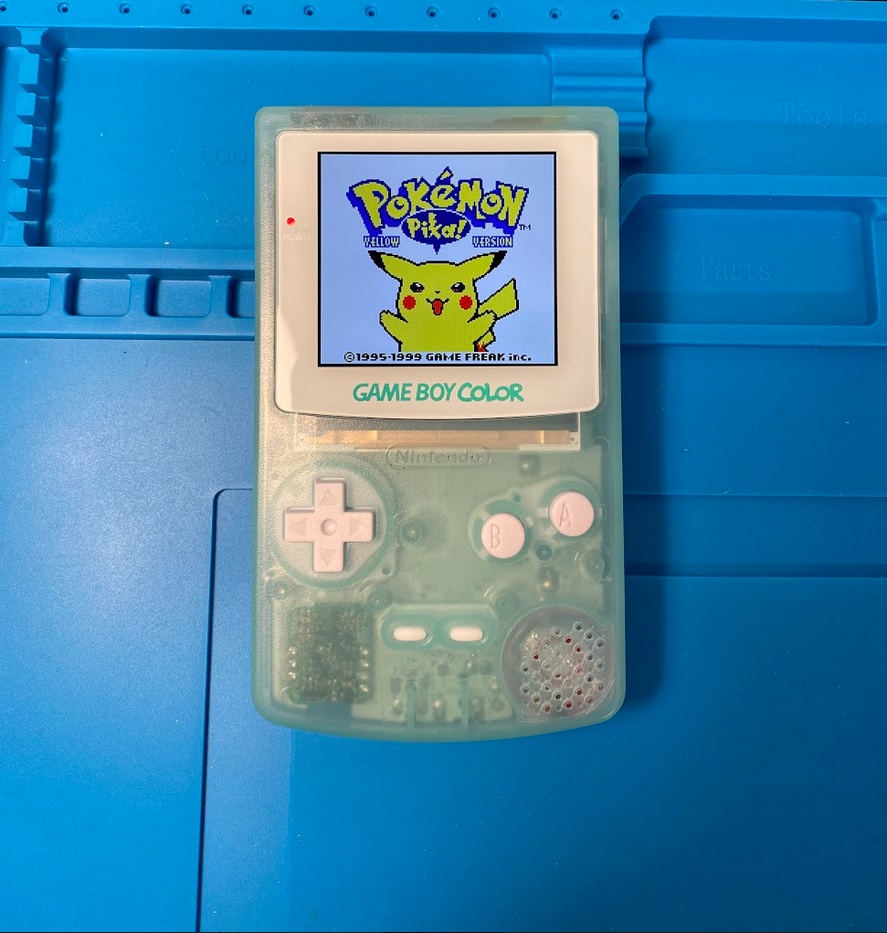
With the sound fixed, it was time to move onto installing the new screen and shell. Not pictured are some newly soldering wires to link the screen with the start and select buttons. The buttons control setting the Gameboy Color logo colour. Here’s the final look along with a side by side comparison of the screen sizes.
The picture quality blows me away.
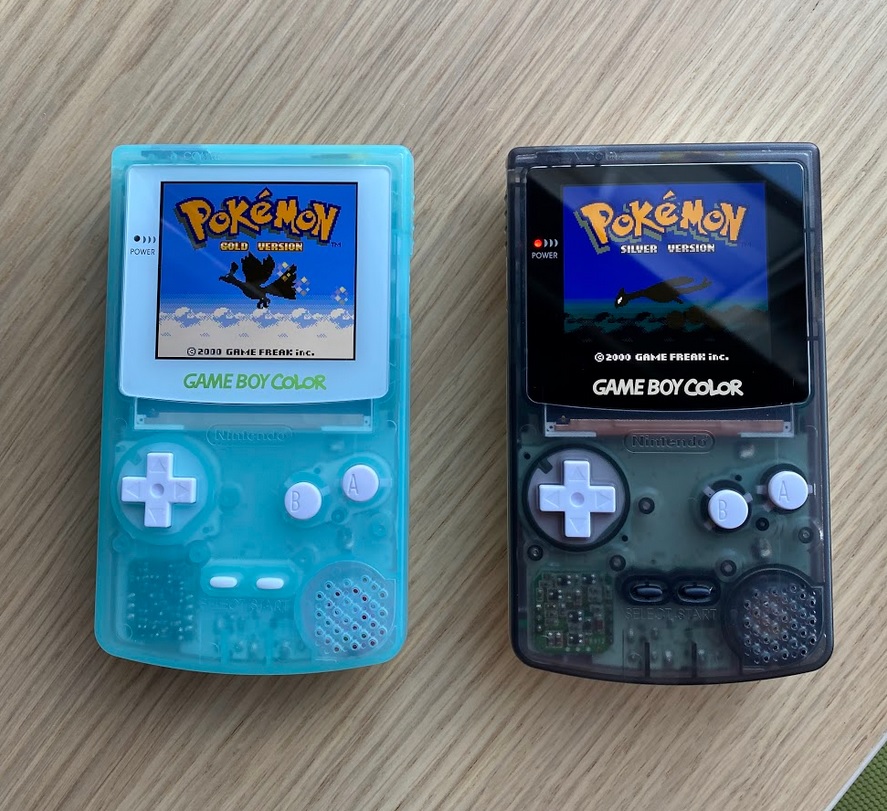
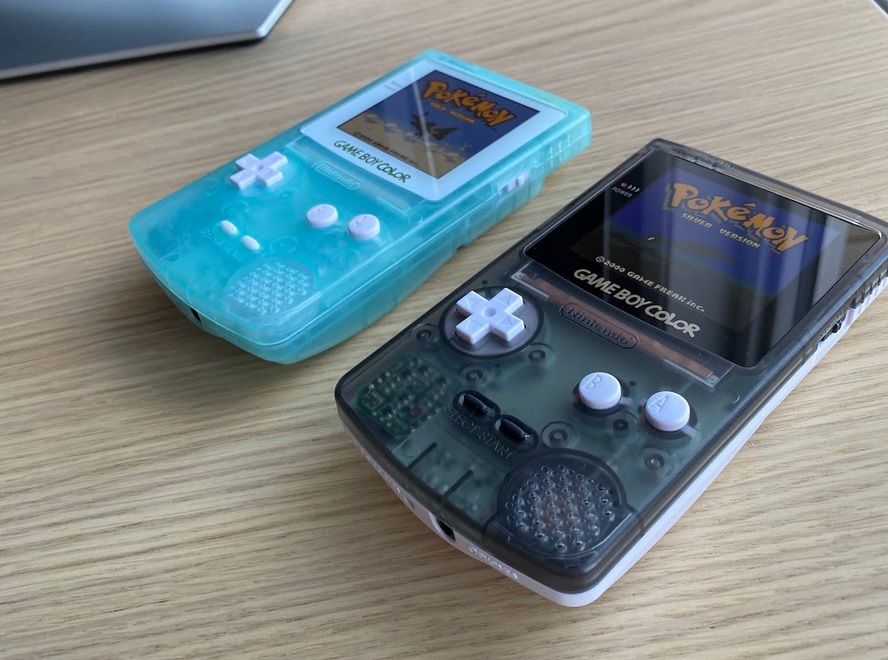
I showed my brother the end result and he asked if his could be modded as well and I said absolutely! Here they are together.
One Year Later
I put the Gameboy Color in a display case and shifted to working on Gameboy Advance for a year. One day I picked up the Gameboy to take a look an noticed a hairline crack above the start and select buttons. I was confused because it was never dropped so how could a crack form? I did a bit of research and apparently I was not supposed to screw back in the screw behind the battery bay and caused the front to bubble and crack.
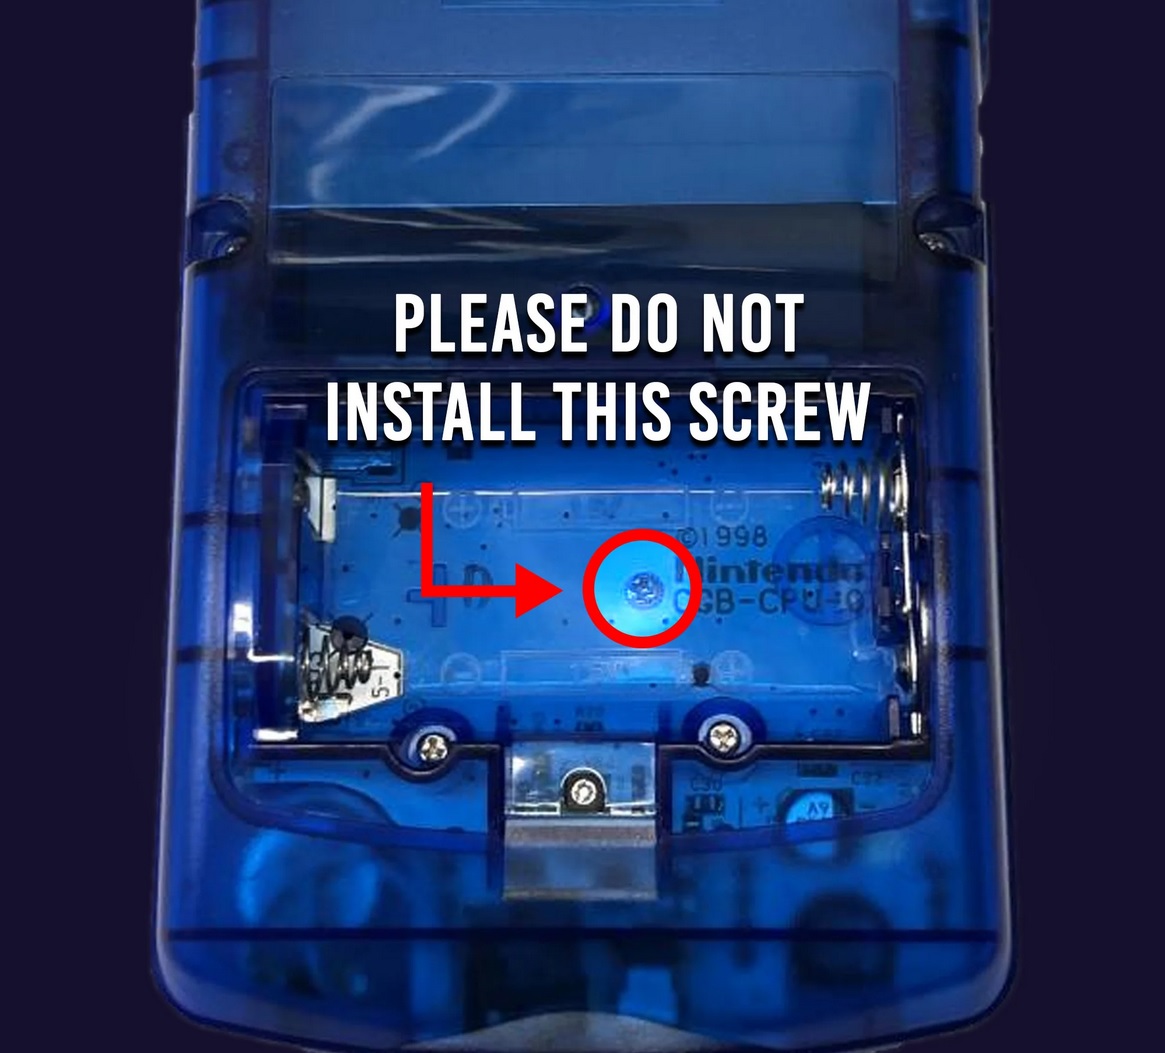
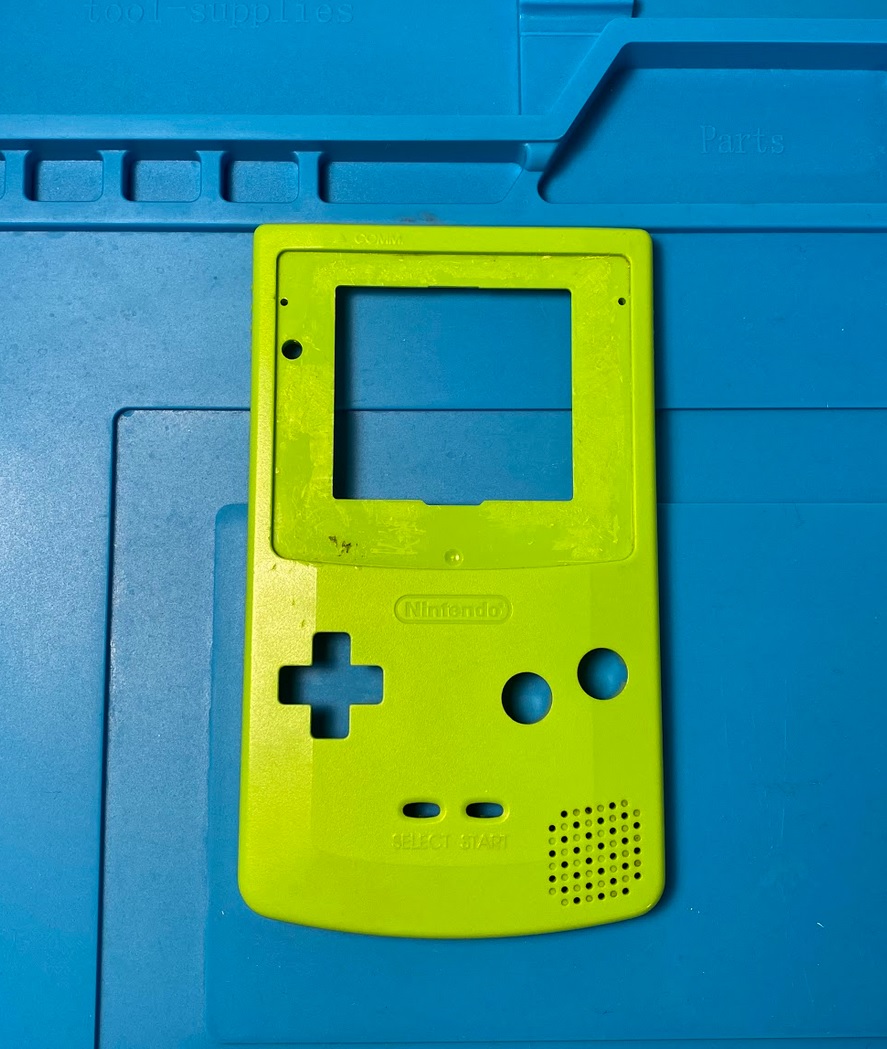
I took this opportunity to try something new. What if I installed the new screen back in the original shell? “The lime green looks so good so why not give it a try” I said ignoring the disclaimer recommending not to do so.
We do not recommend or provide support for modifying the original shell. It is very complicated and the screen assembly can easily be damaged. - Retro Game Repair Shop
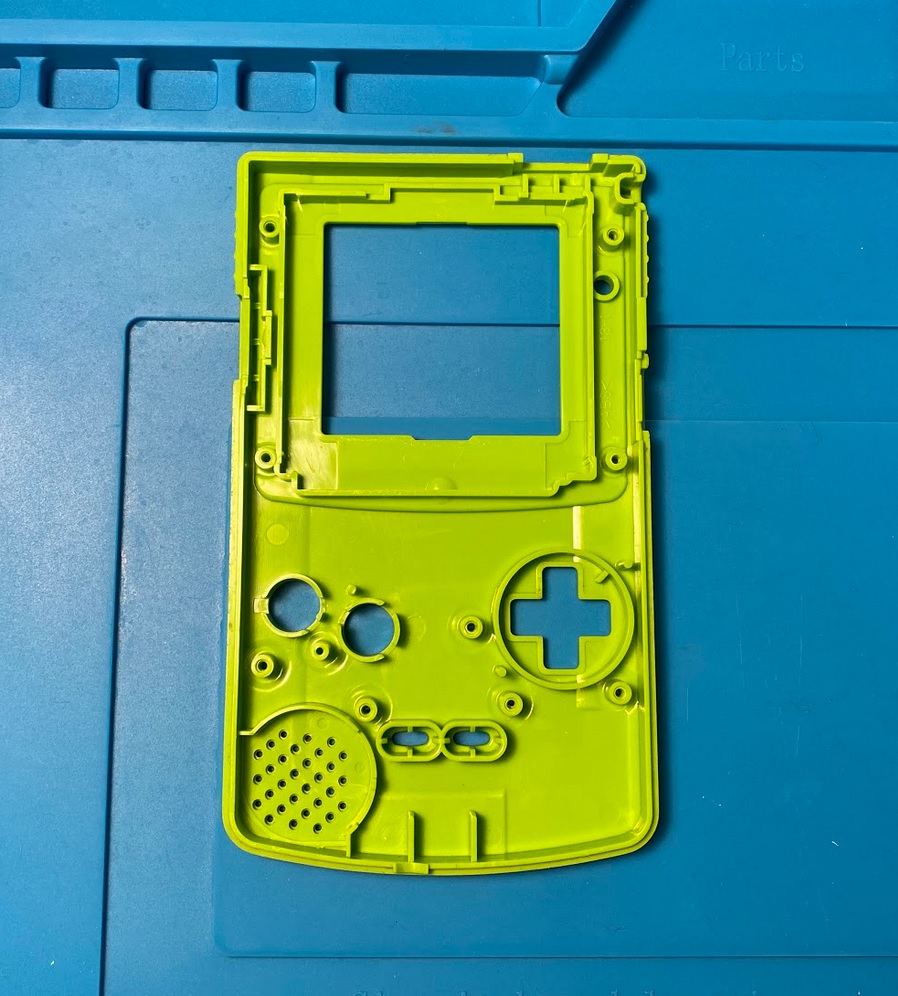
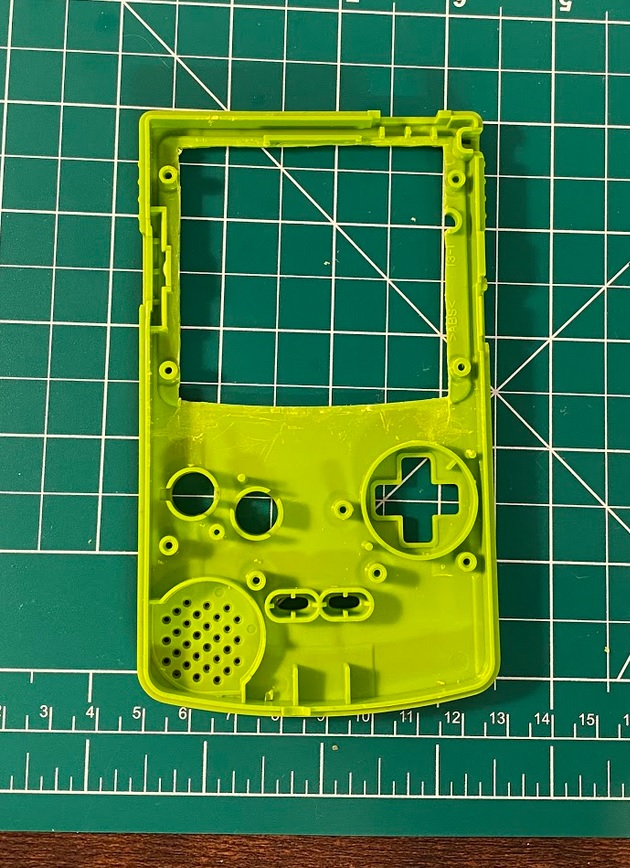
Trimming the original shell took hours. I could have done it faster but I didn’t want to chance ruining the shell because I only had one shot to get it right. Here’s some before and after shots.
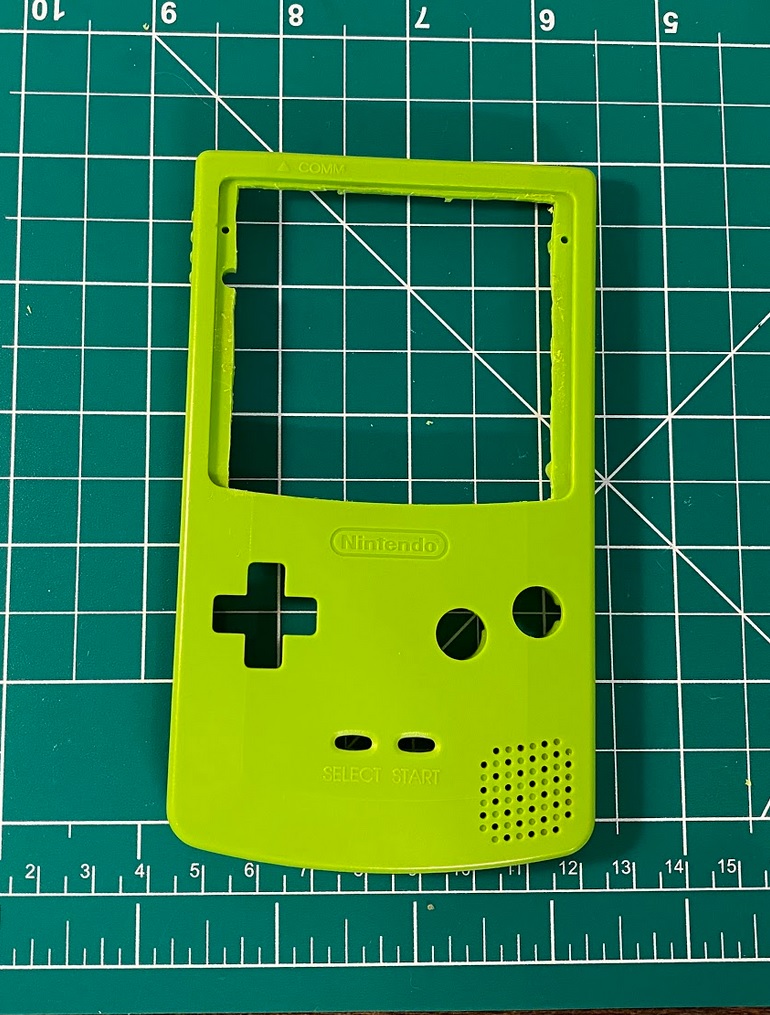
I’m glad I took on the challenge because it turned out amazing! In the end the Gameboy returned to its original shell and buttons but with a new screen.