Reviving A Broken Gamecube
I was an Xbox kid growing up and never had a Gamecube but I loved playing it at my friend’s house. It has a solid library of games I’ve always wanted to play but as time went on the dream faded.
Decades later while browsing Youtube I came across Macho Nacho’s video where he replaces a Gamecube’s disc drive with an optical drive emulator or ODE for short. The ODE used is called the GC Loader PNP and reads games from an SD card. As soon as the video ended, my dream of playing Gamecube came roaring back and I had to make one of my own.
After a week of research I narrowed down the parts I needed and a few additional mods I could do as well to spice things up. A personal challenge I set for myself was to only buy broken/repairable devices. The ODE mod requires removing the disc drive and I would feel incredibly guilty removing a working drive.
Part list:
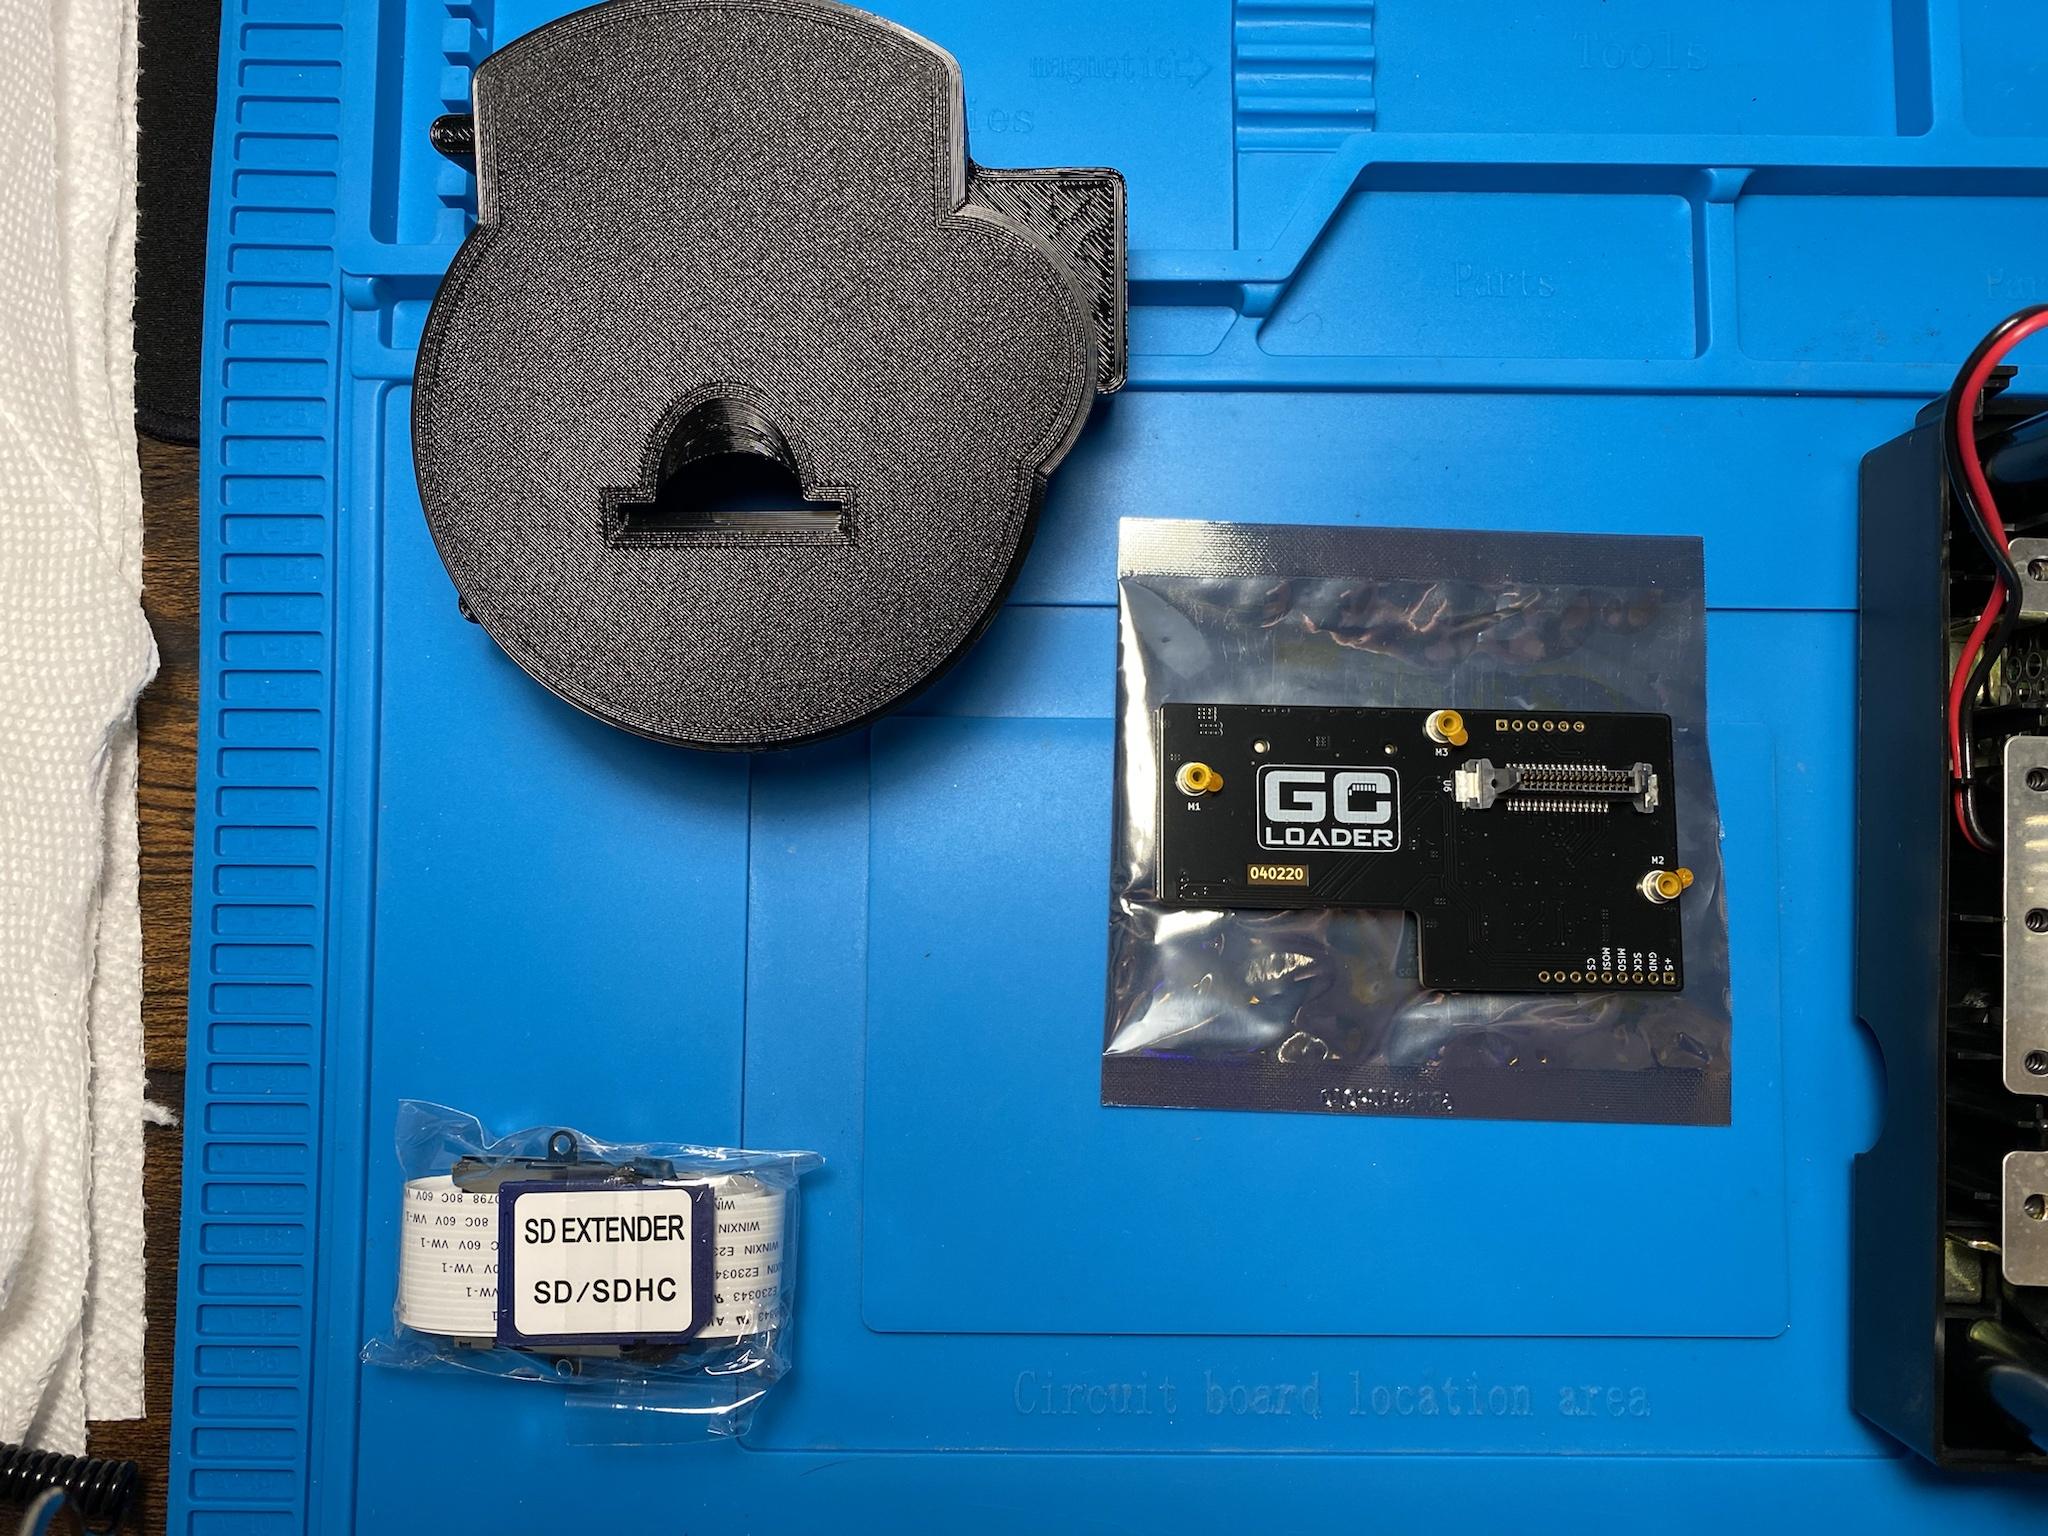
- GC Loader PNP
- SD2SP2 chip
- Tabbed CR2032 Battery
- Noctua 40mm fan & 3D printed mount
- 3D printed SD card drive bay
- SD card extender
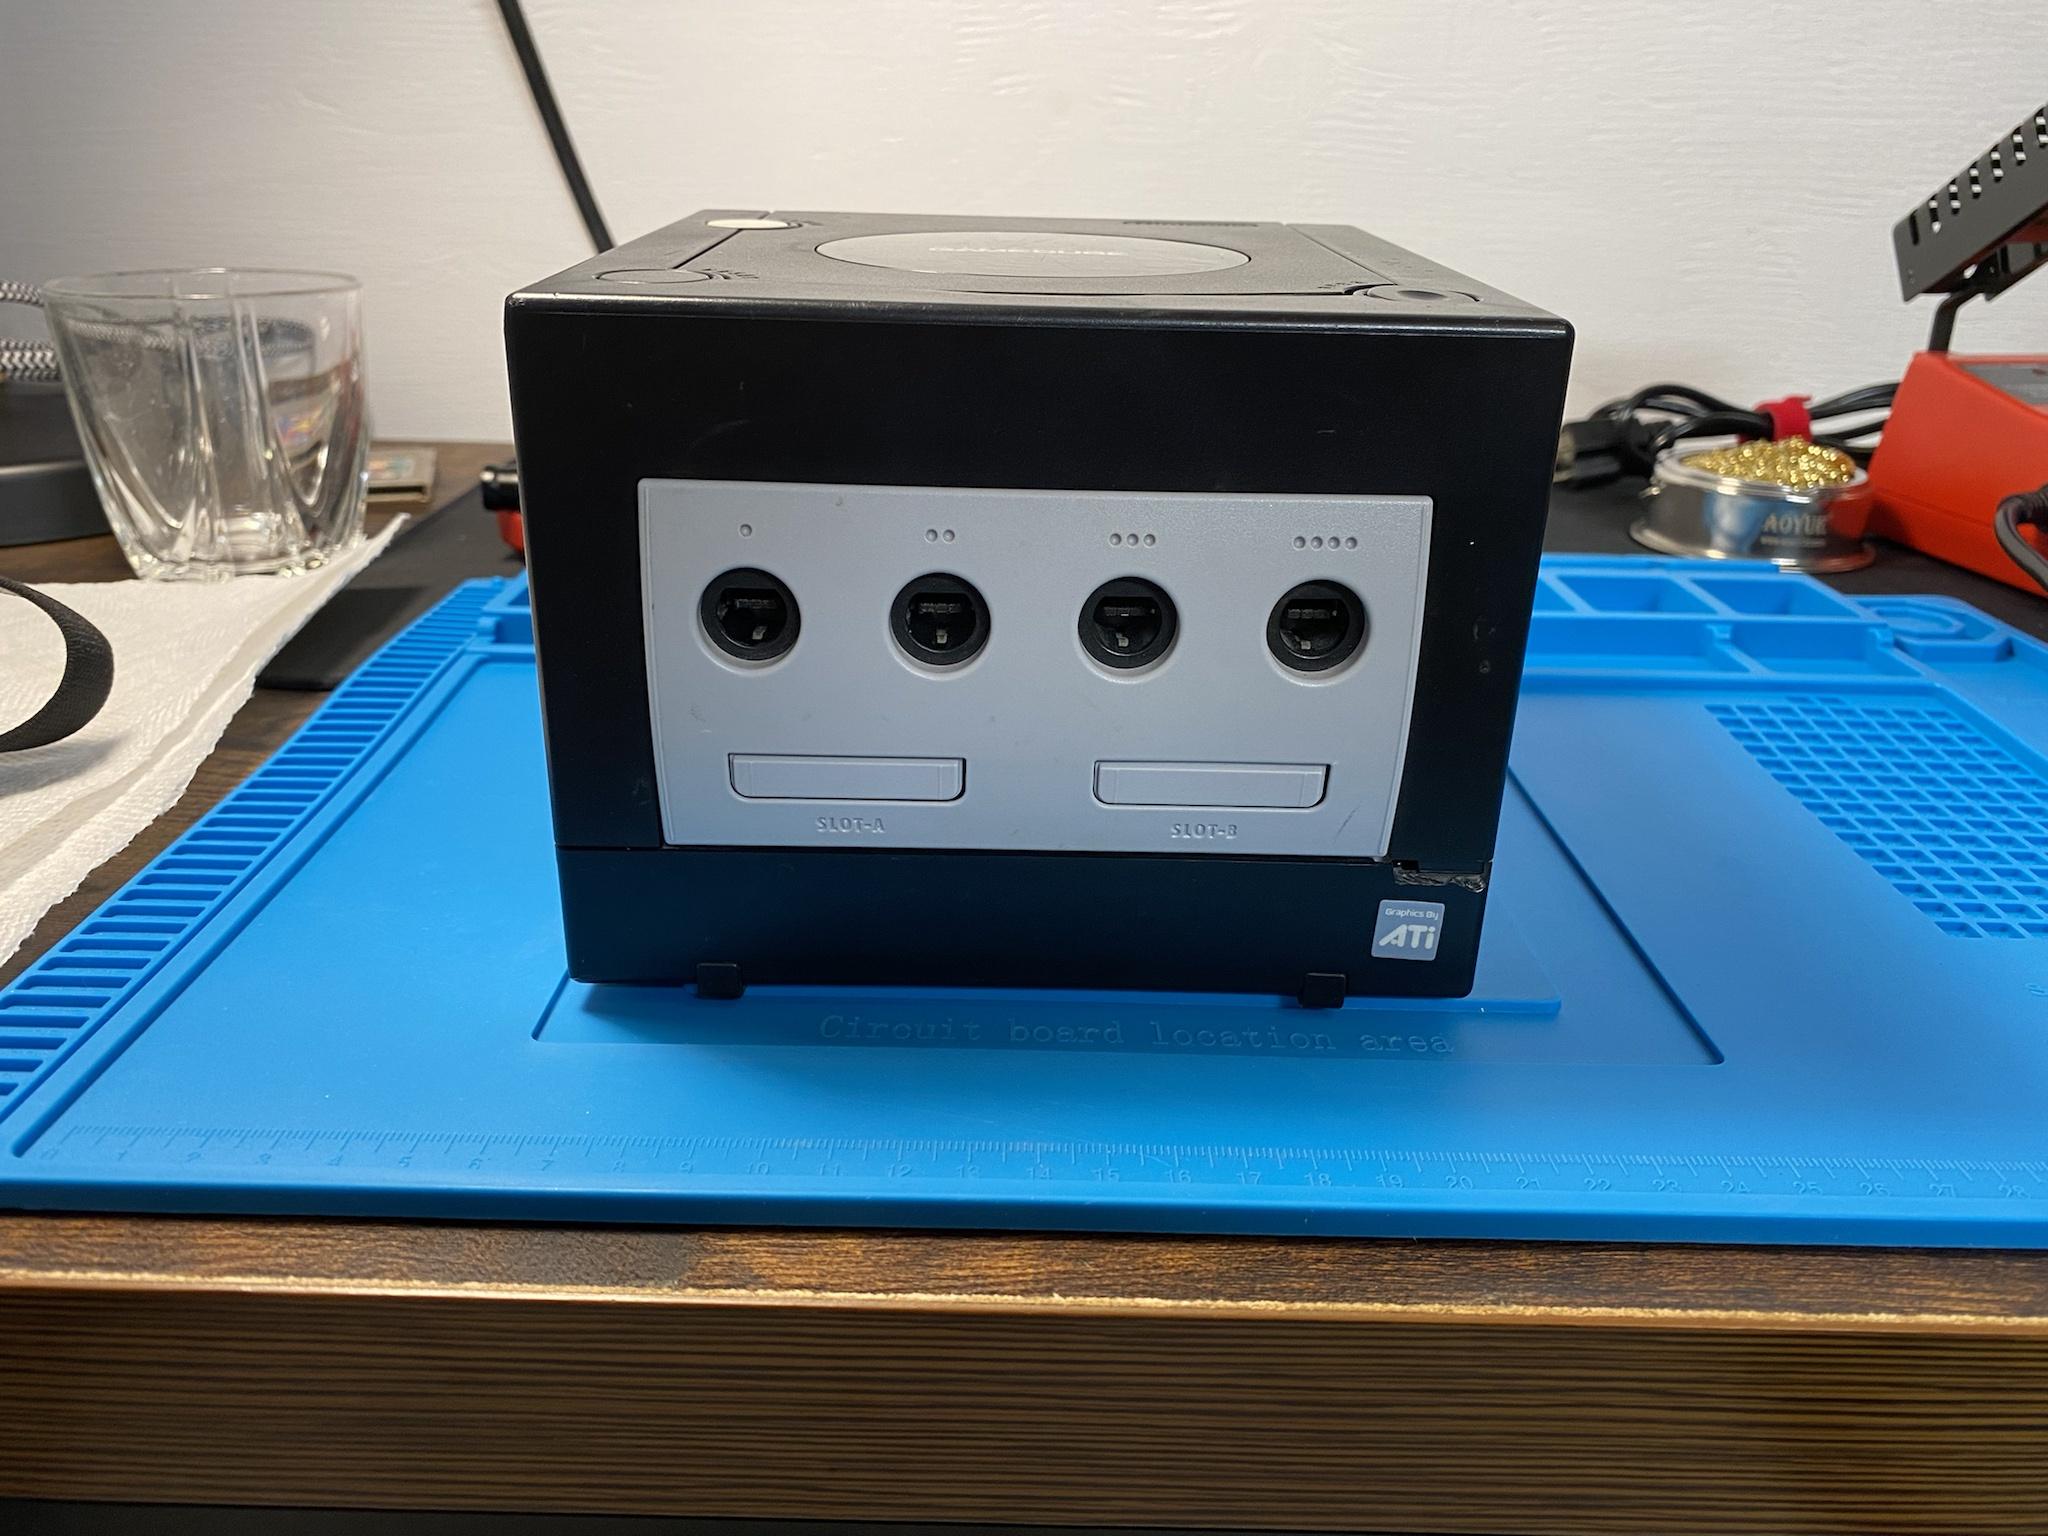
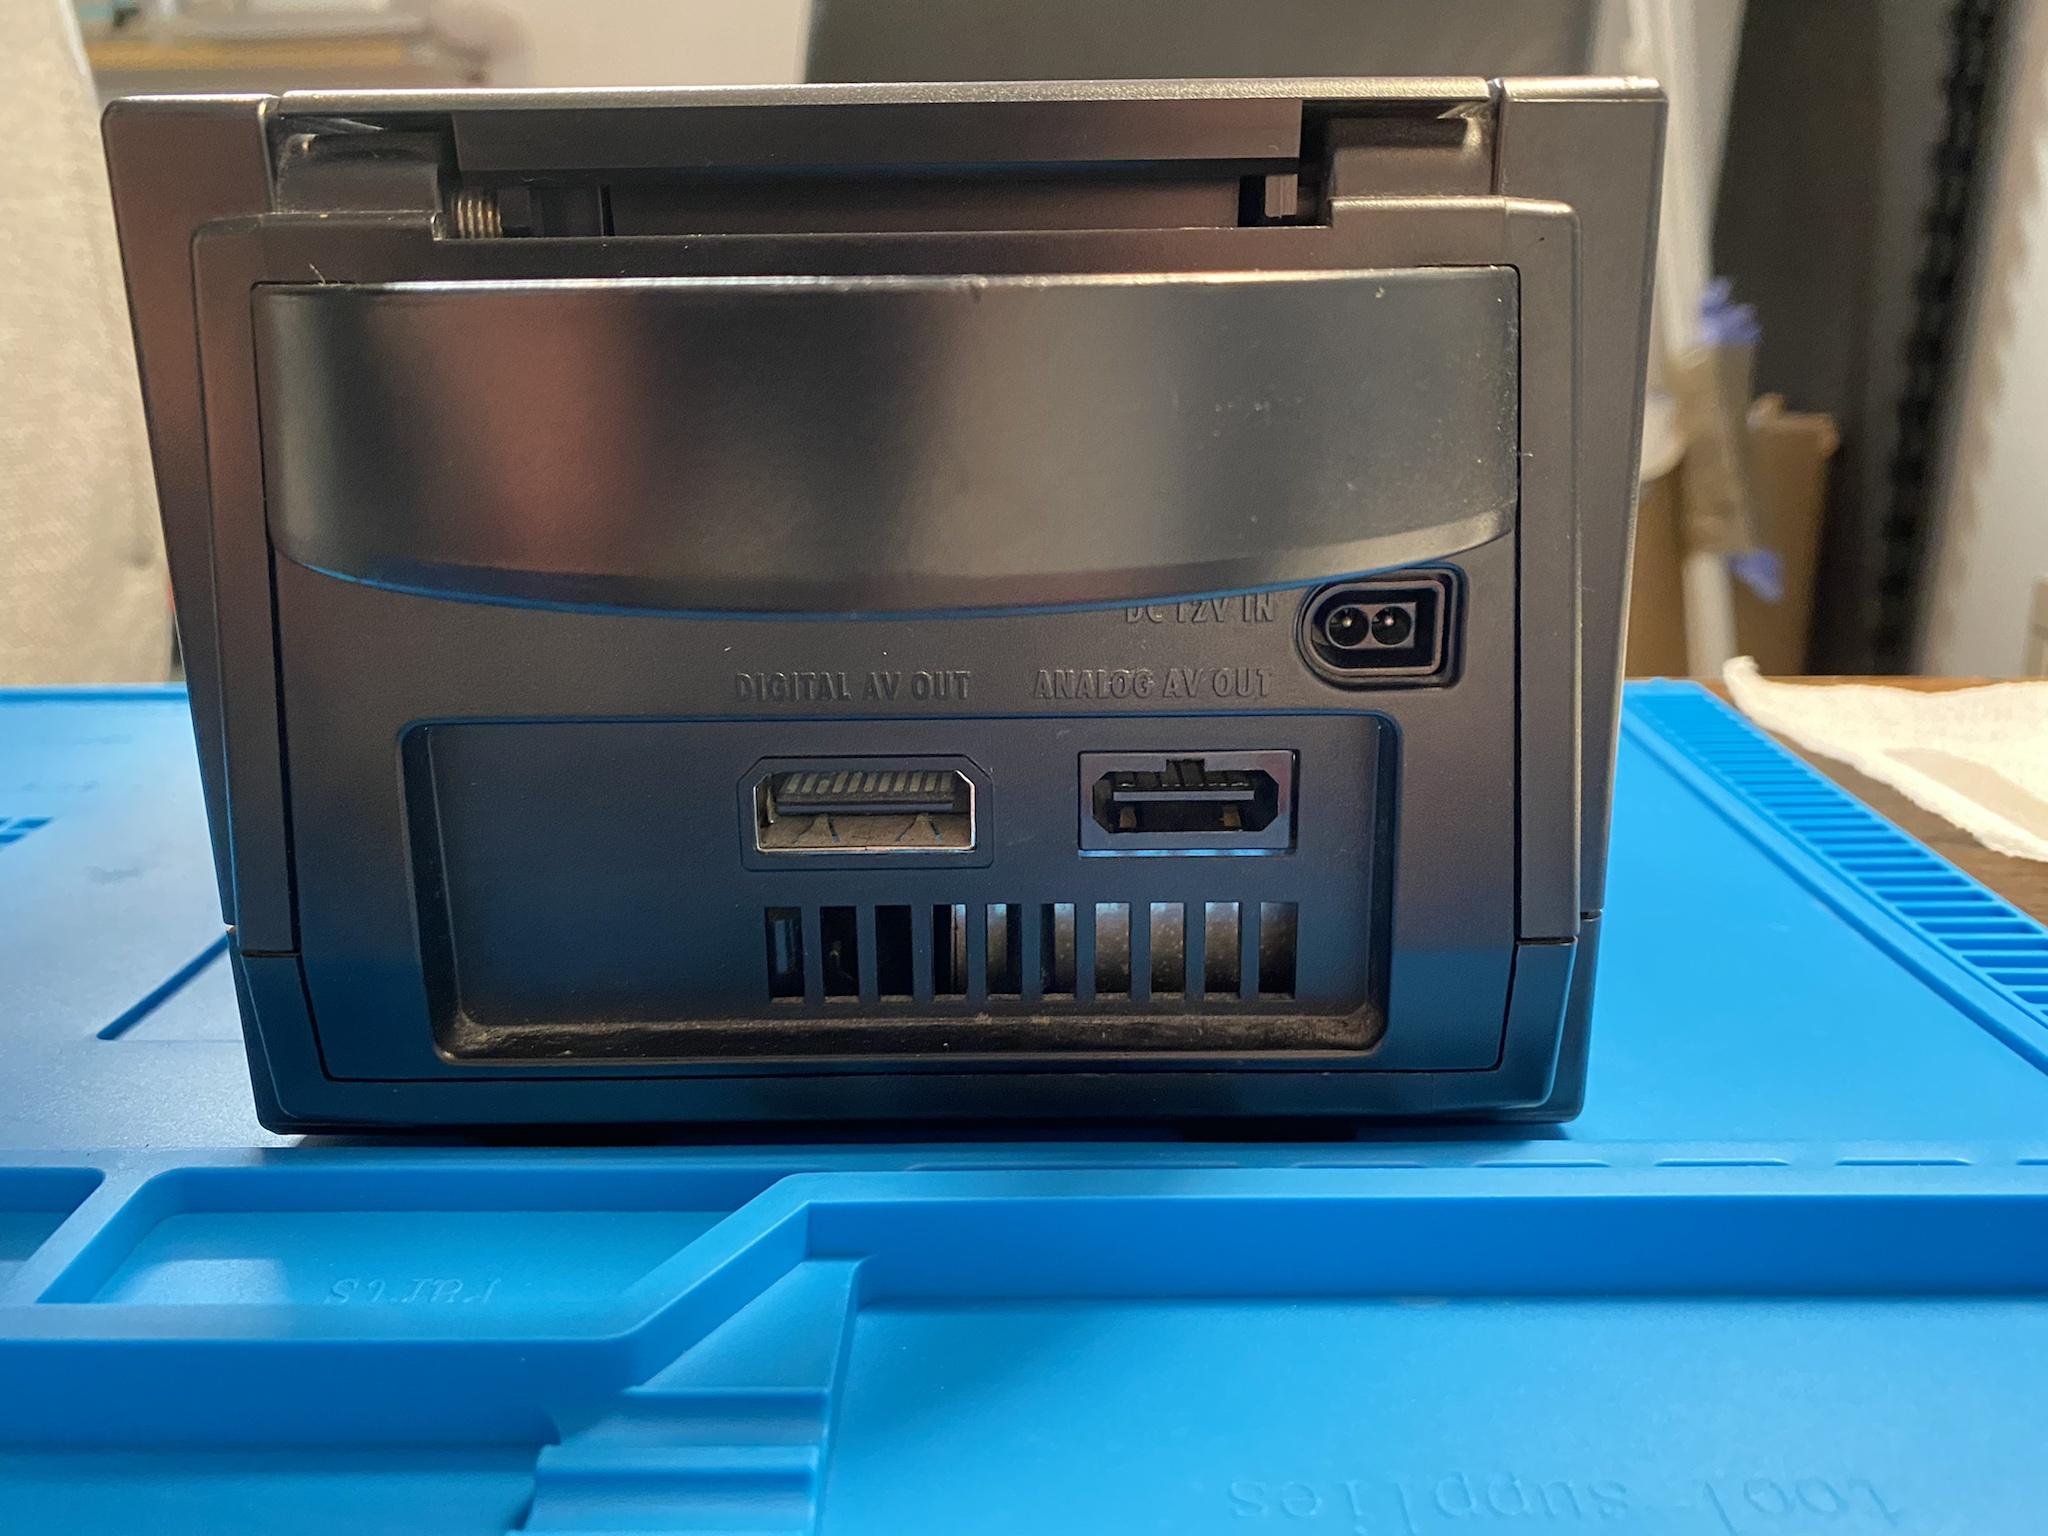
I hit the ground running and found an auction selling 2 Gamecubes with broken disc drives almost immediately. They were both DOL-001 models which was a huge bonus. The DOL-001 model has a Digital AV Out port meaning I could pick up a fancy HDMI dongle that outputs a 480p image instead of the standard blurry one with AV cables. I’ll be getting the Carby but at the time of writing this, they are out of stock.
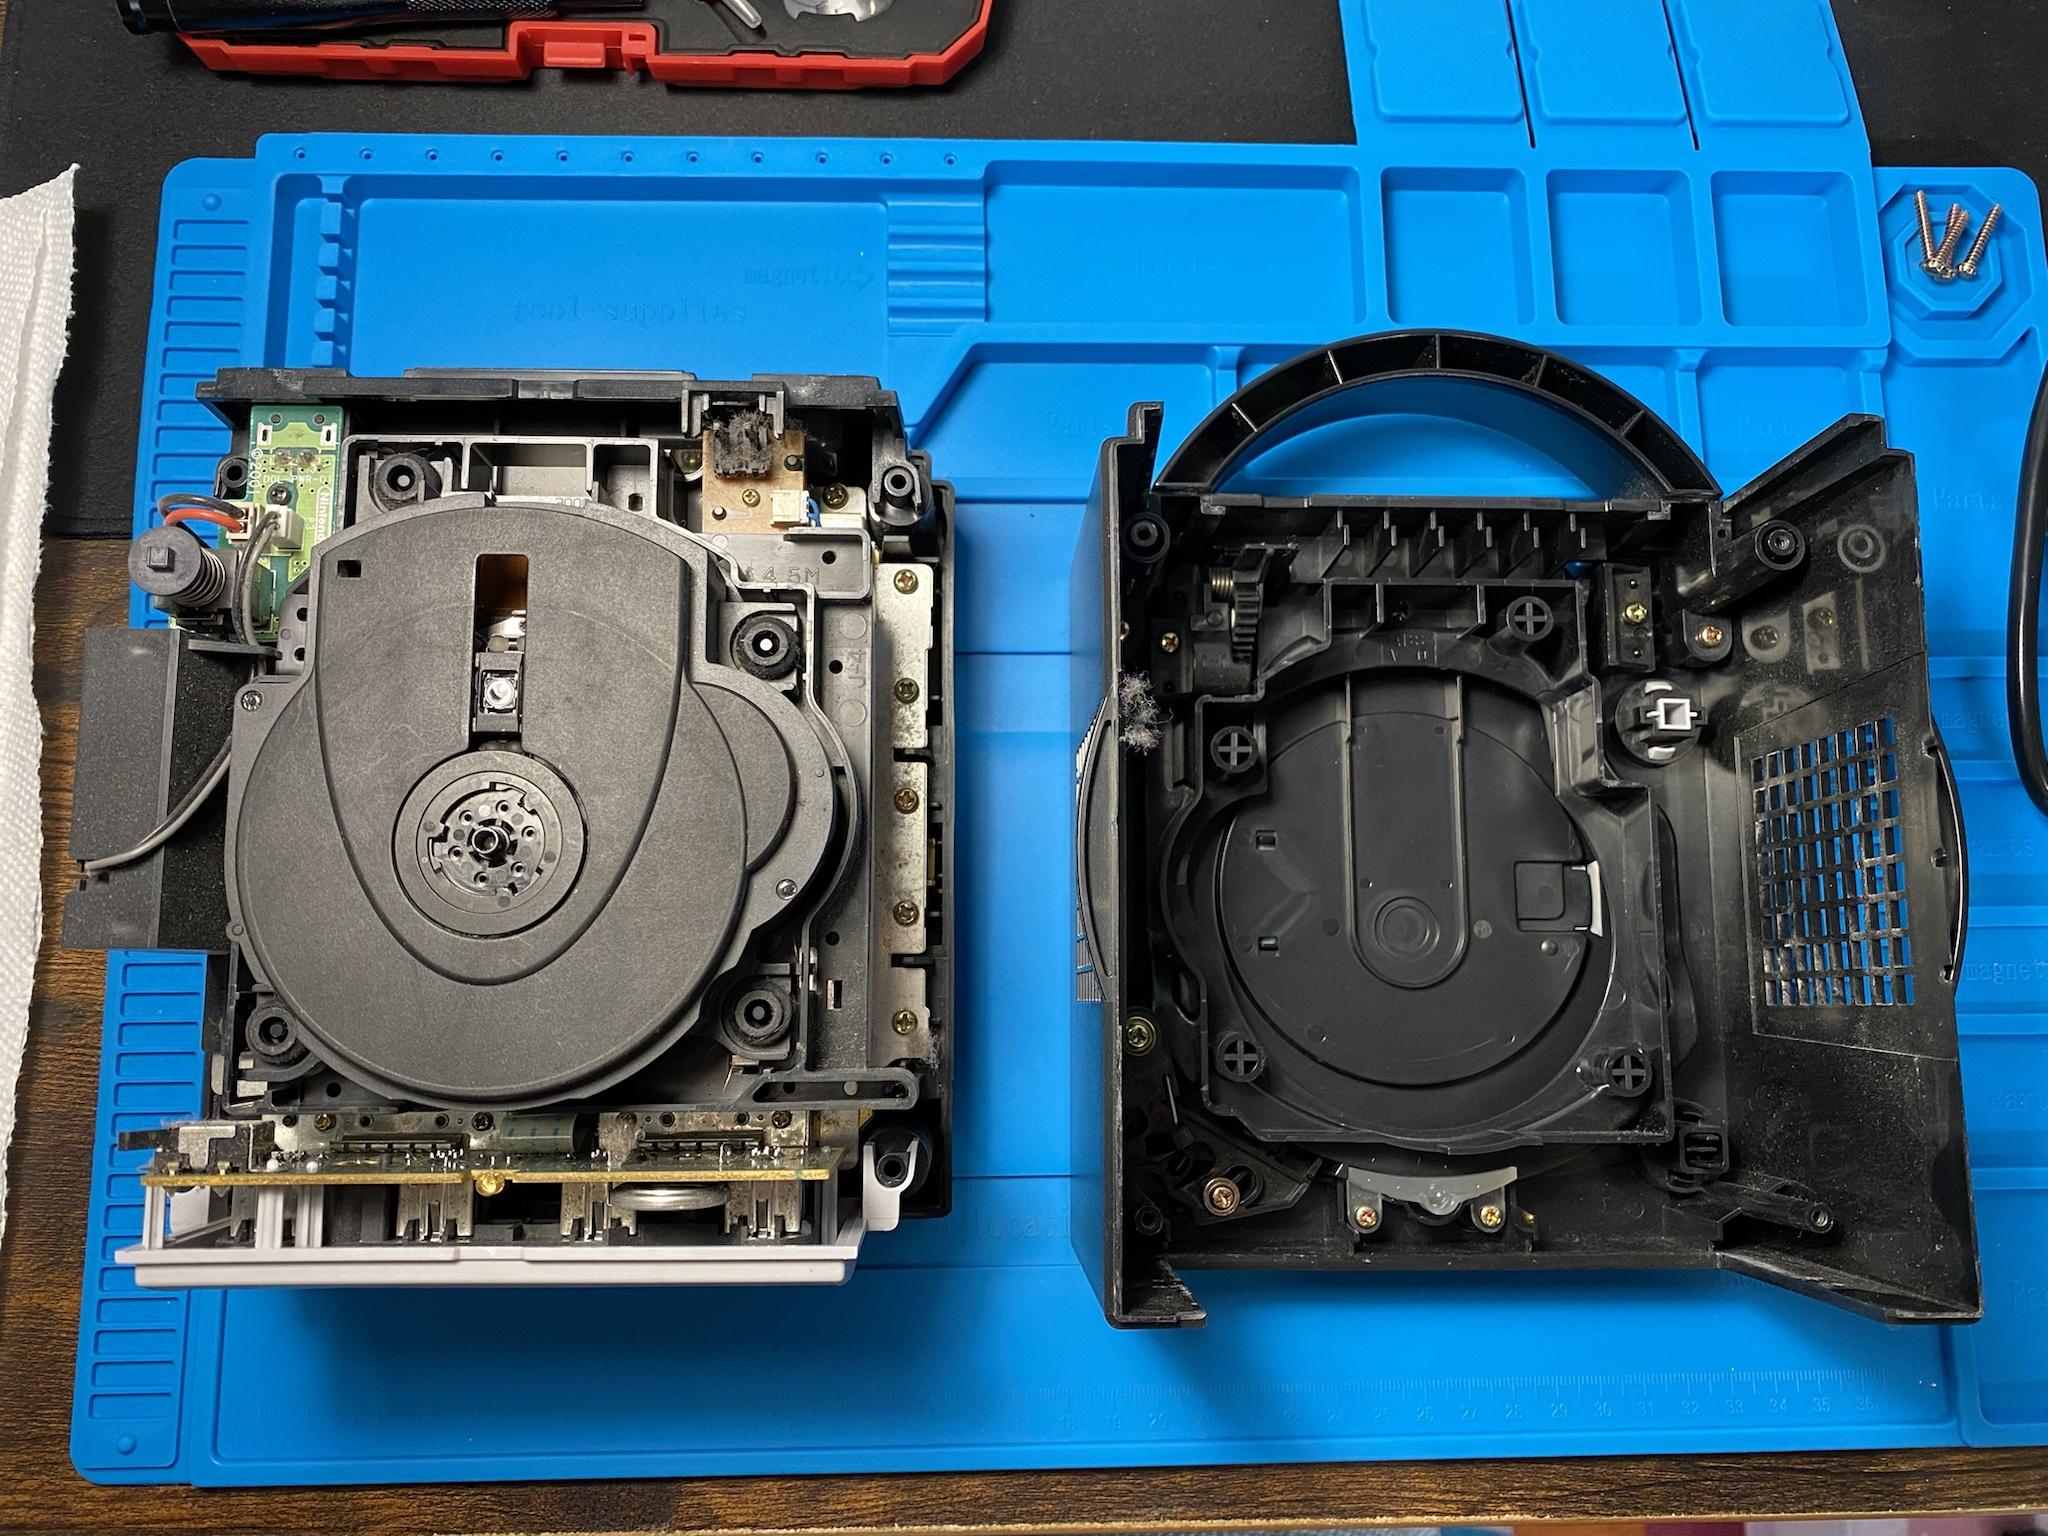
A 20 year old device is bound to be dusty inside but for me, the more dusty it is, the more excited I get cleaning it up.
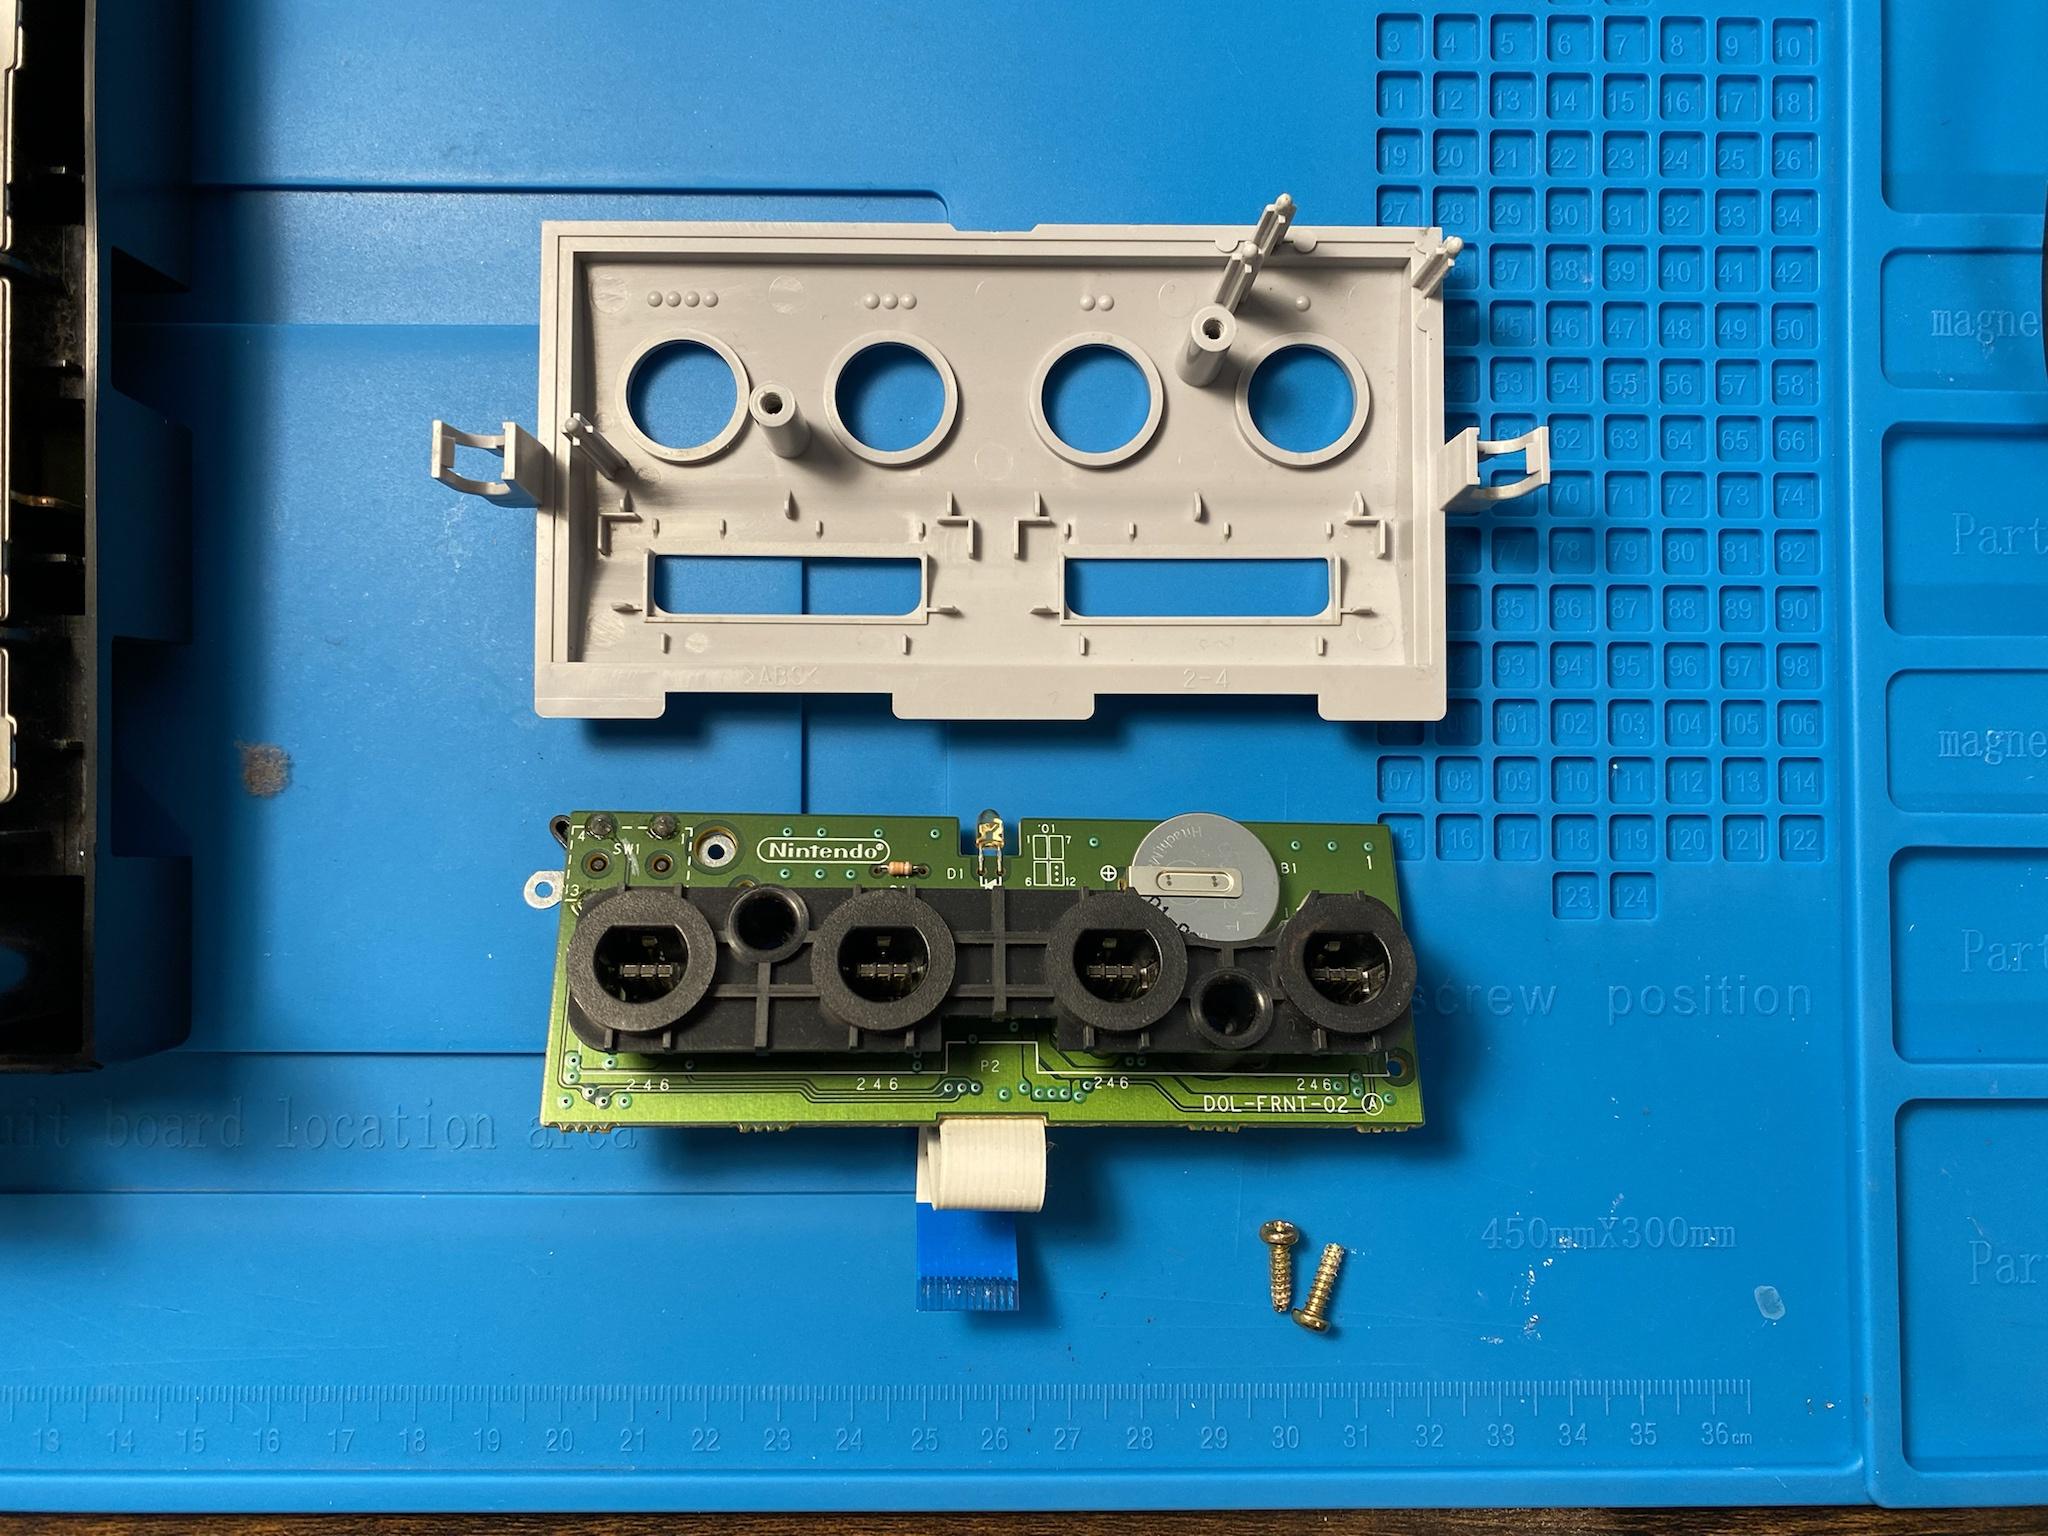
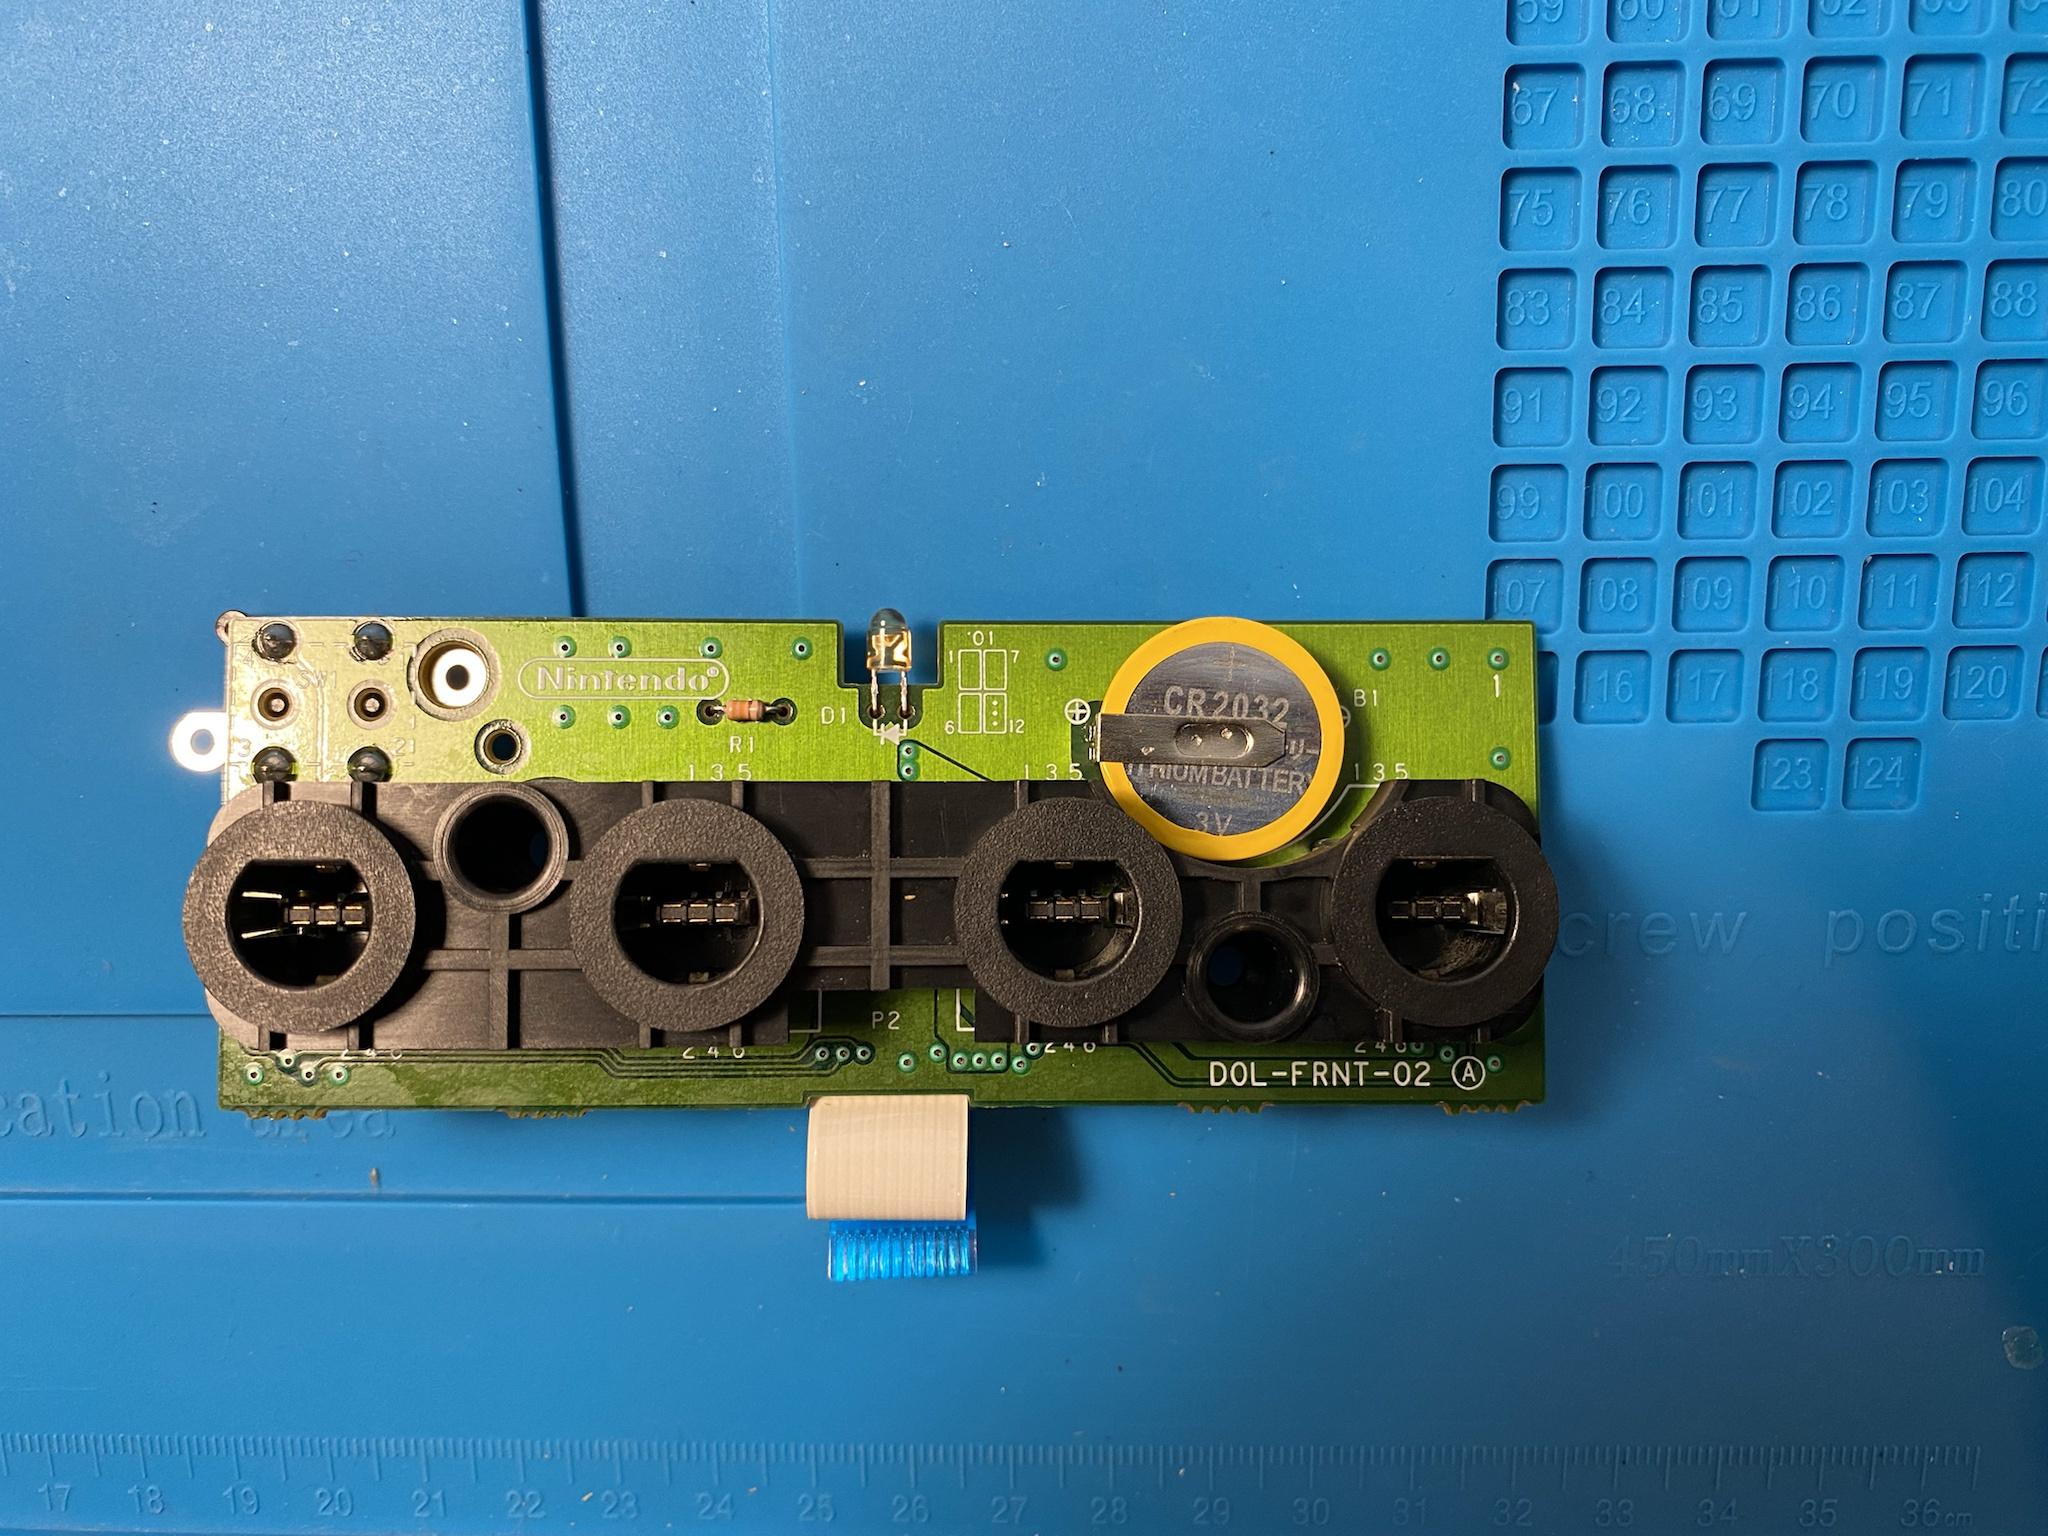
The front face plate attaches to the main board through a flex cable and contains a CR2032 battery to keep the console’s clock ticking. The clock hasn’t been ticking for a while so next up soldering a new battery.
Blam new battery!
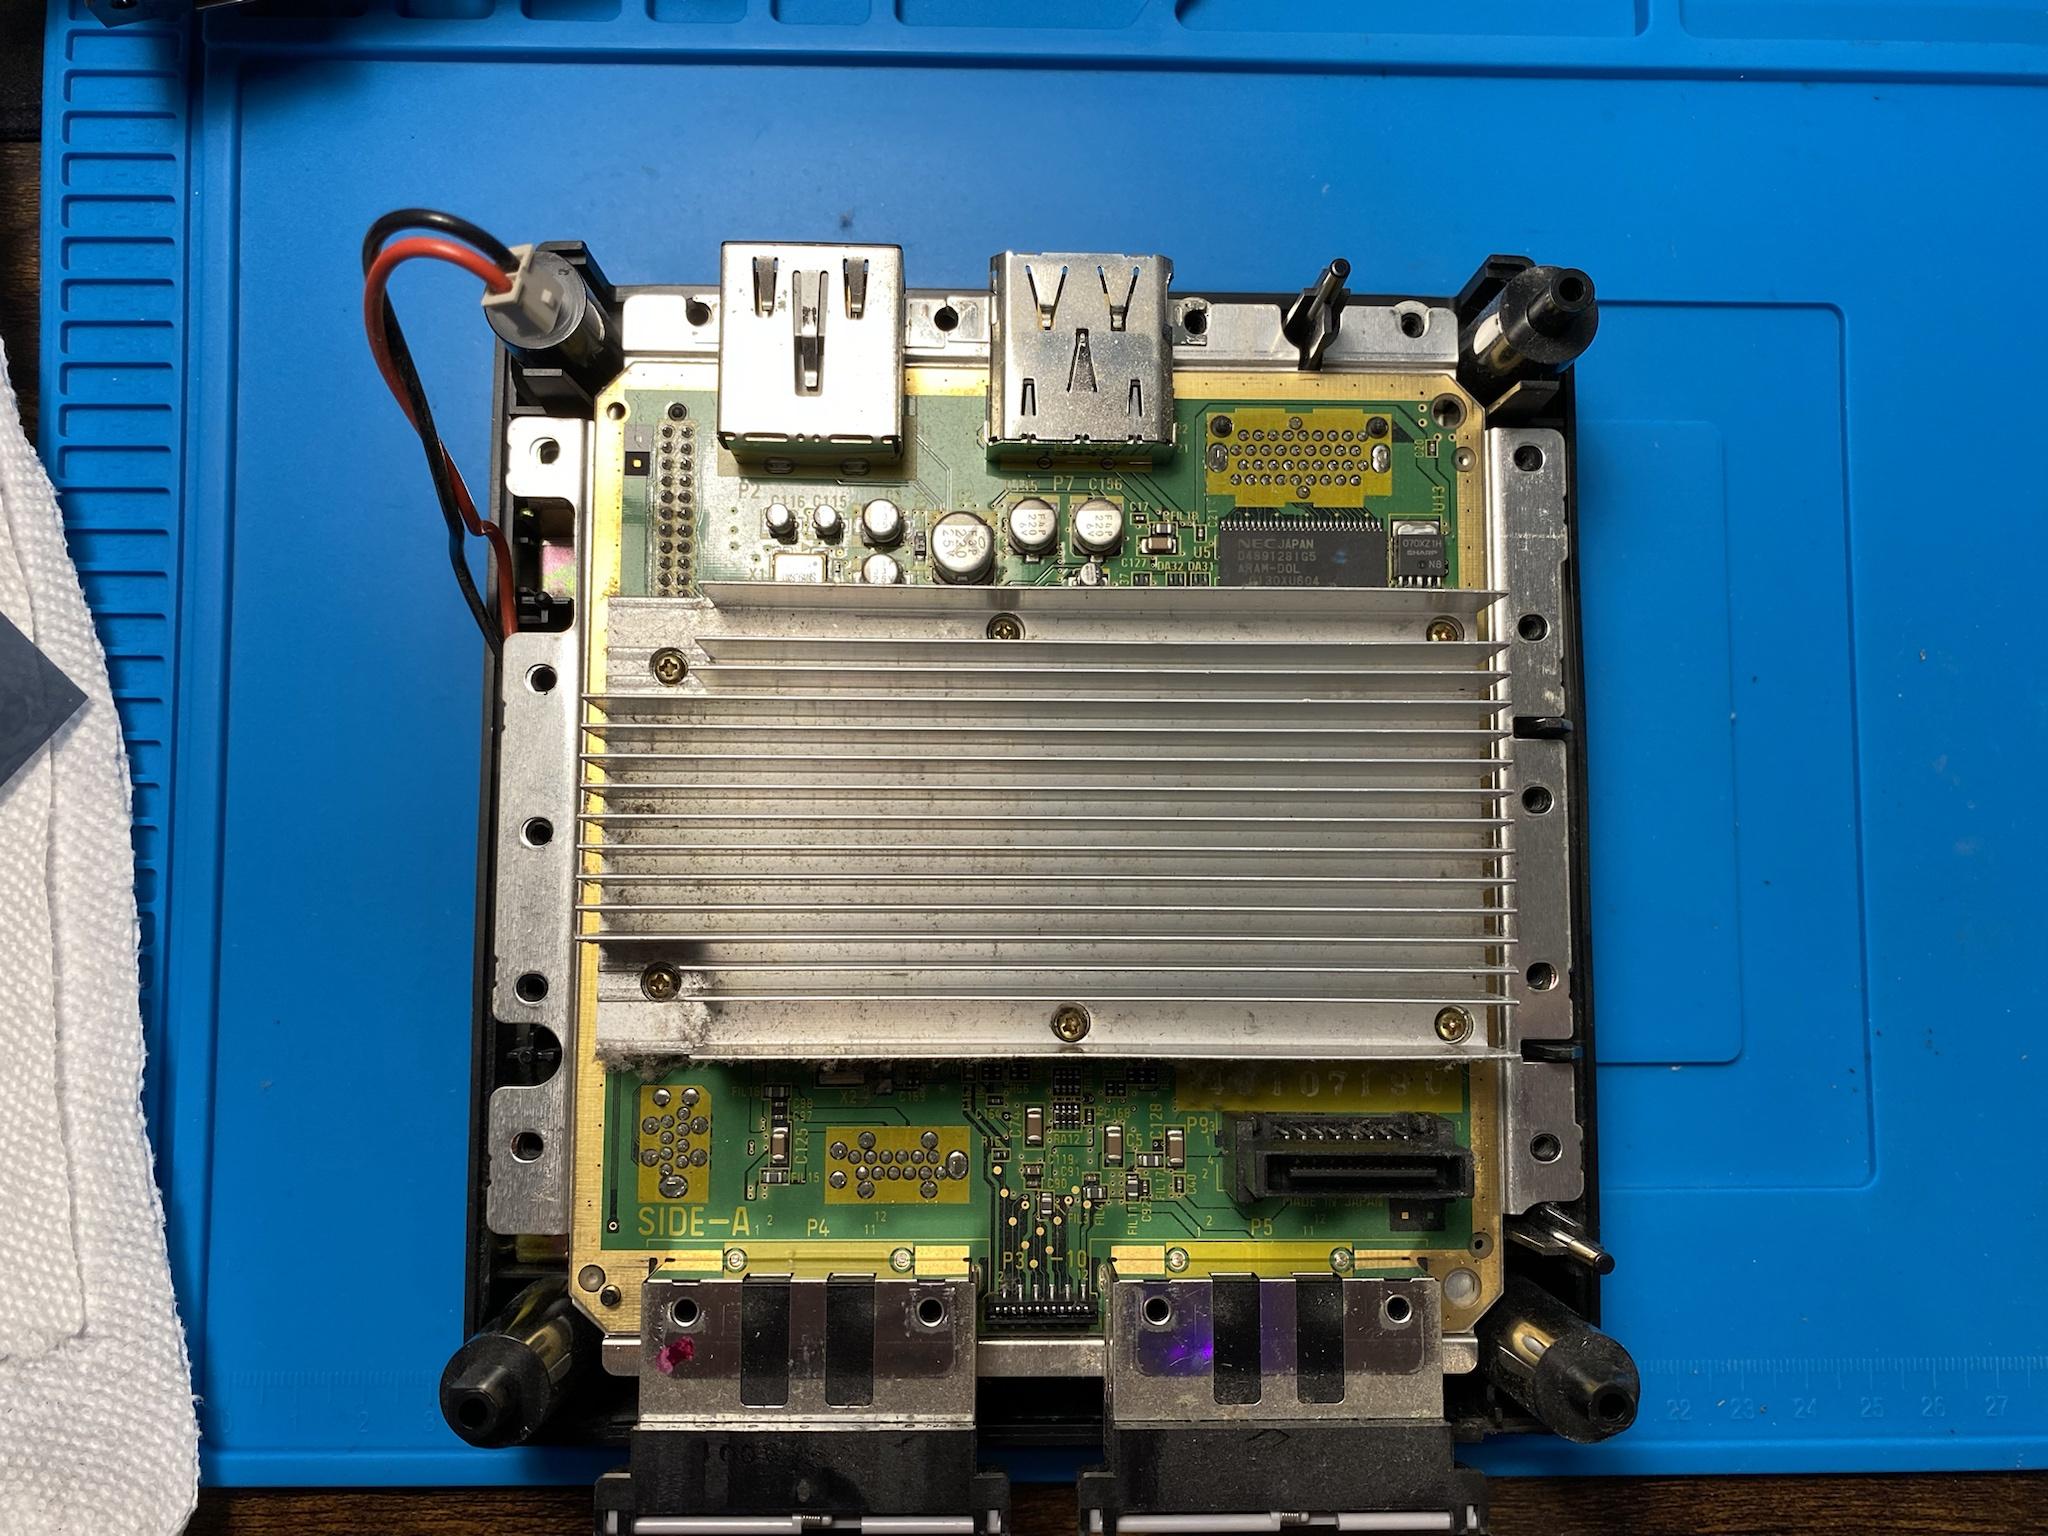
Not pictured was the removal of the disc drive and its heat shield. The bottom right is the plug the drive connected to and what the GC Loader will eventually connect to as well. Back to removing dust.
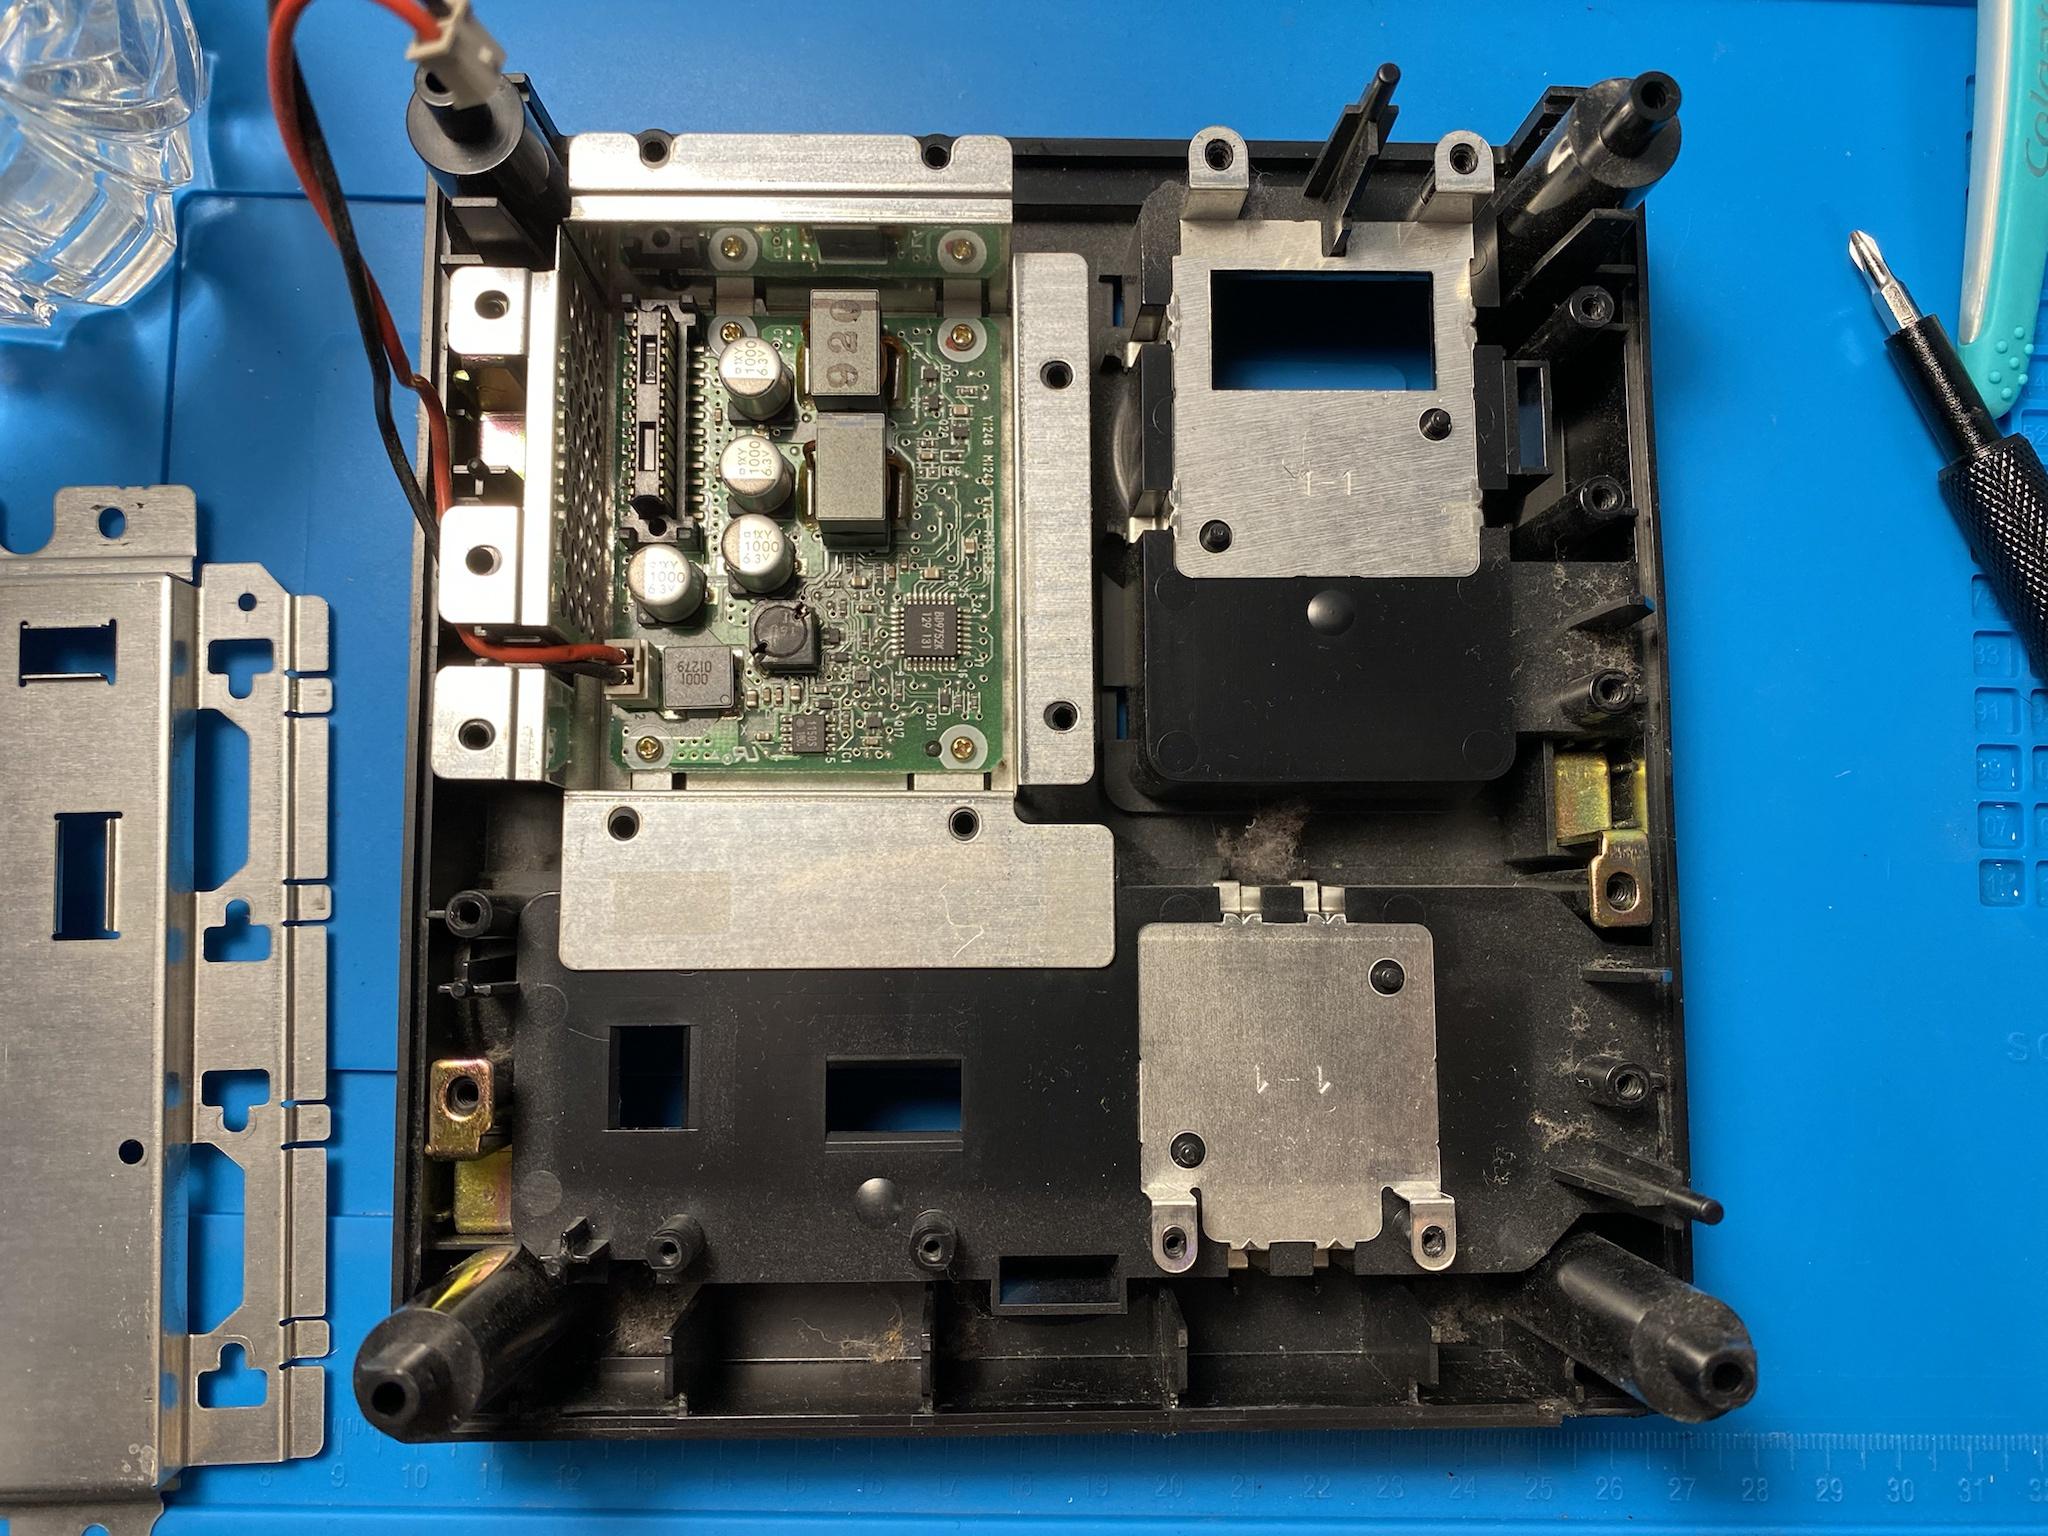
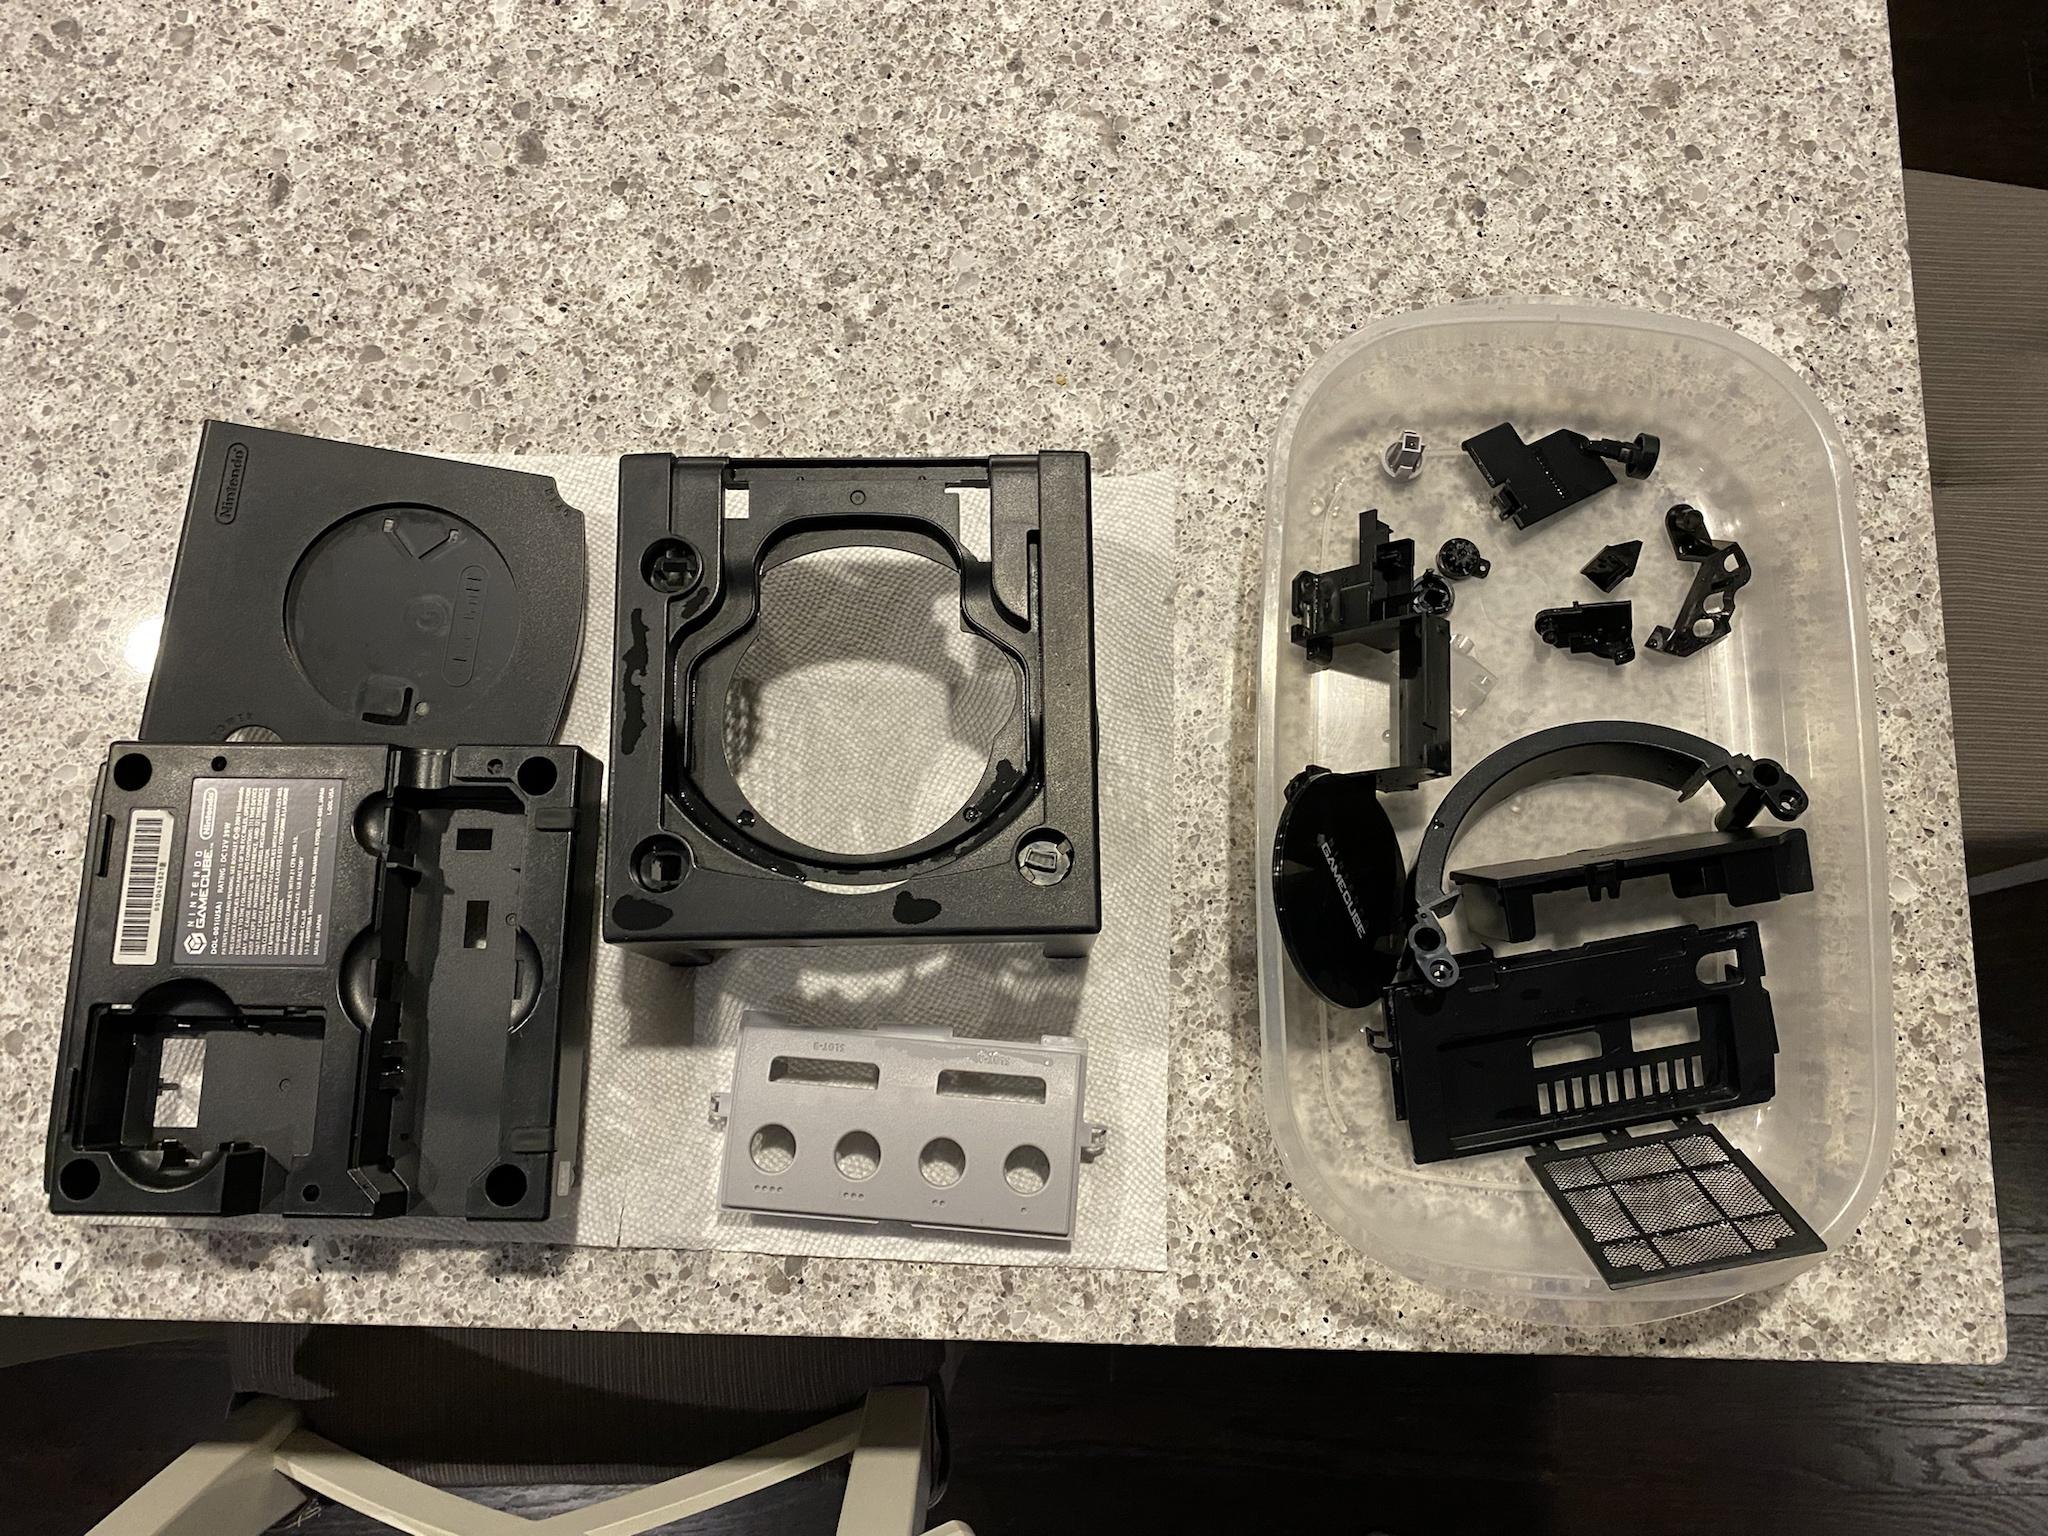
Removing the motherboard reveals our last layer to disassemble and clean.
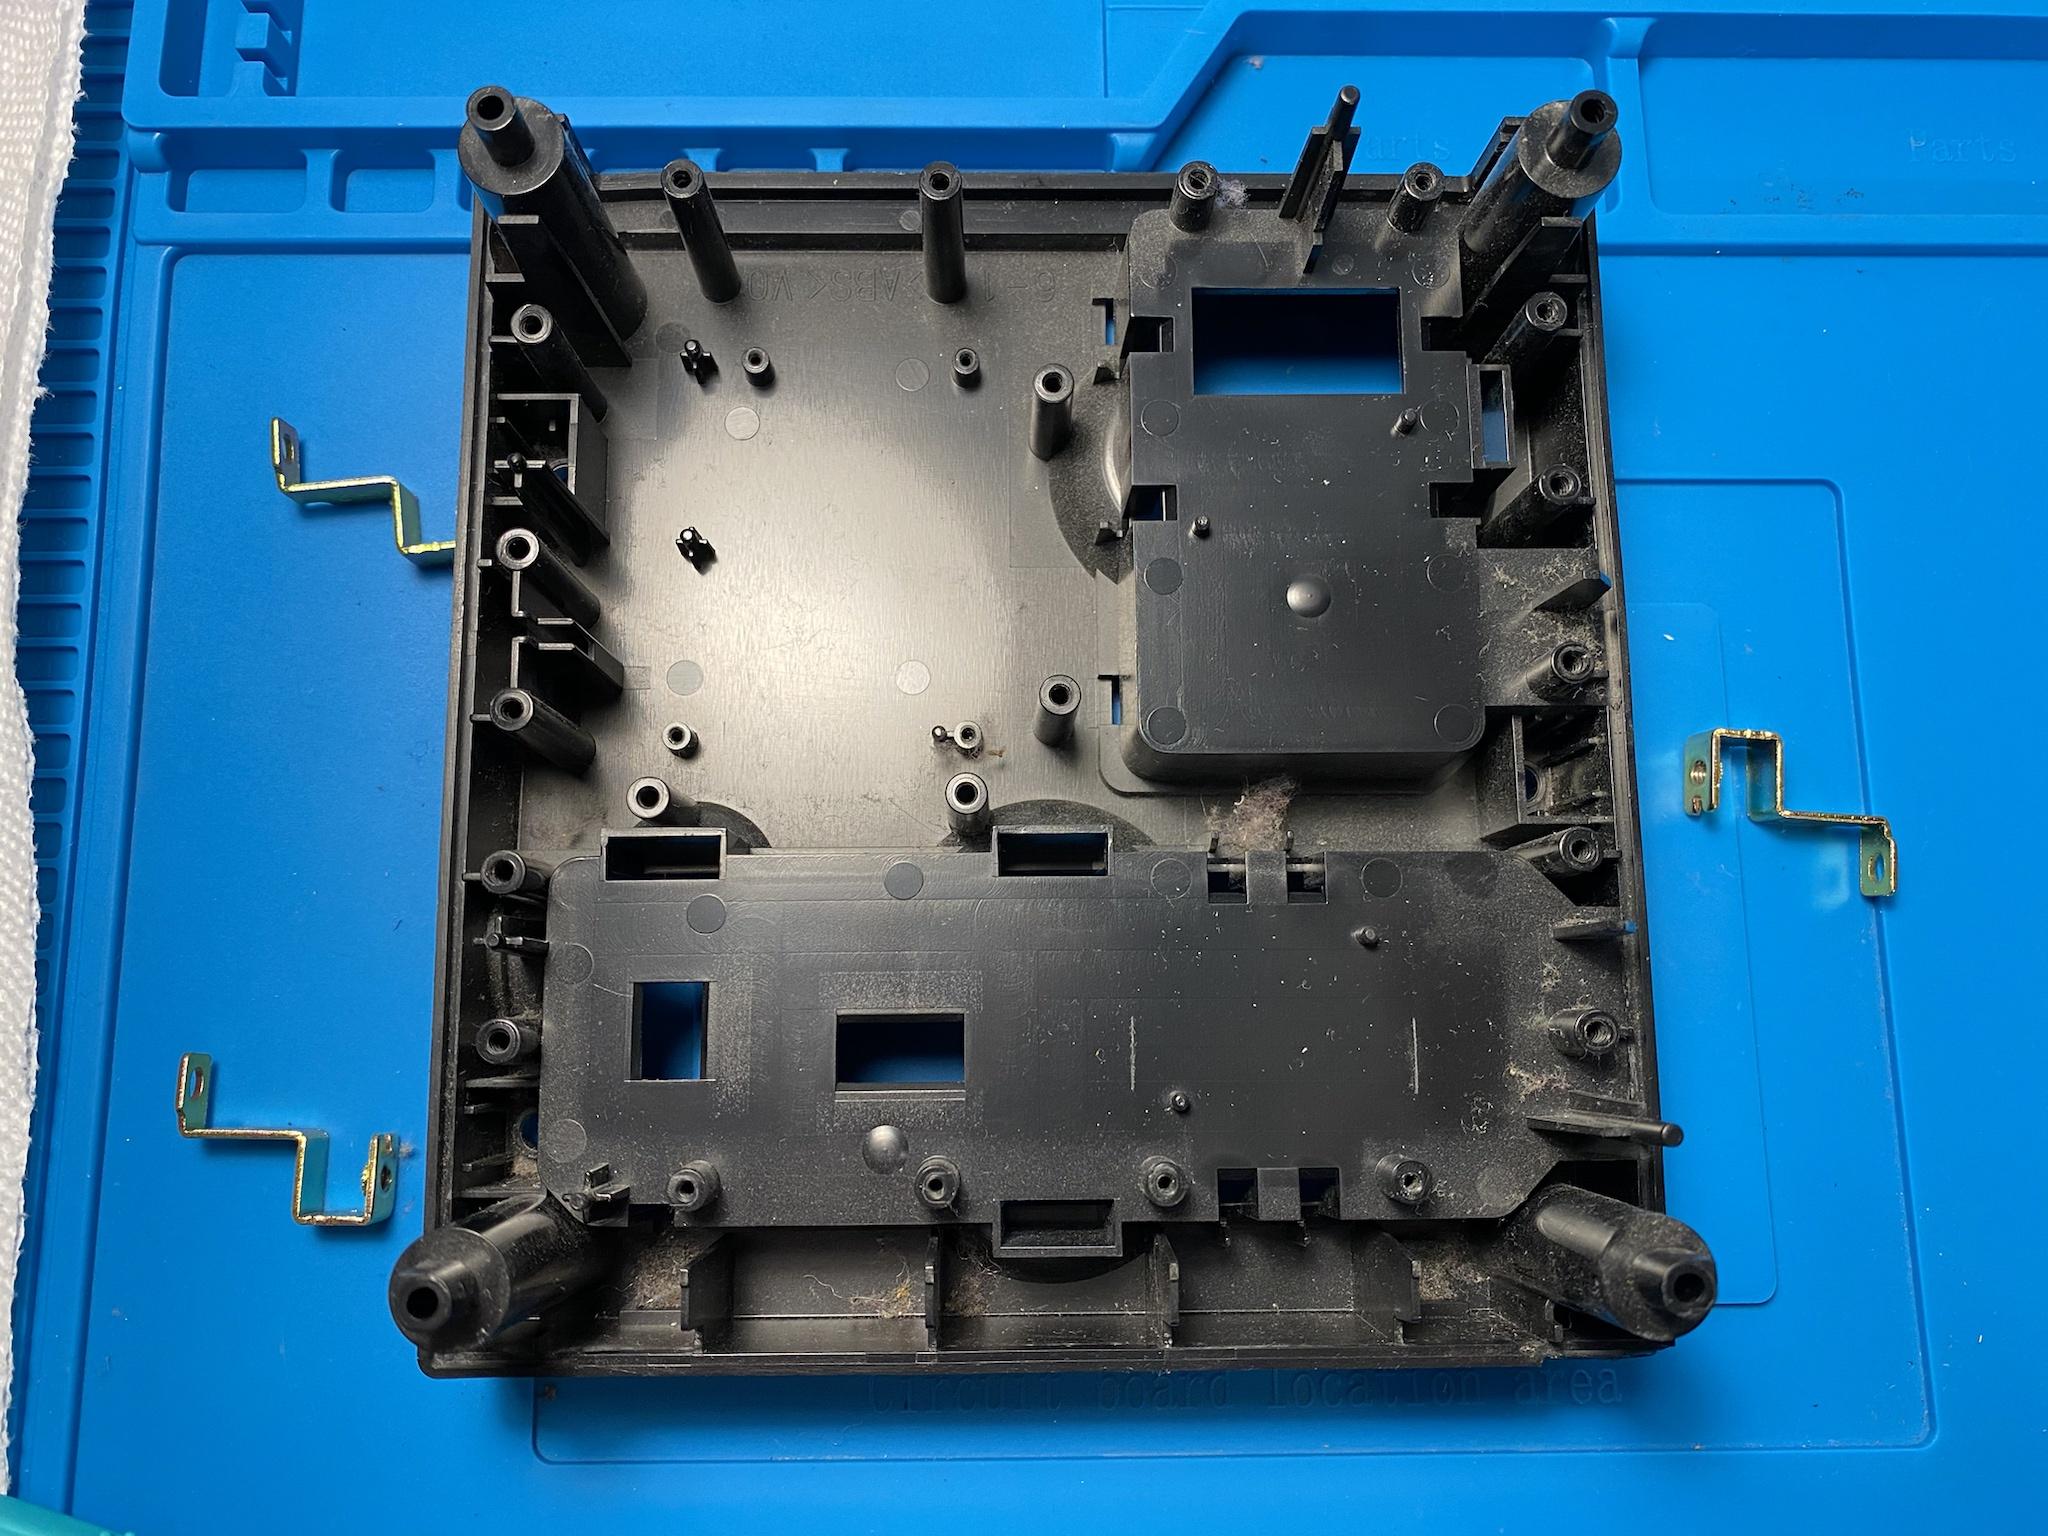
We are done disassembling and can start cleaning all the plastic bits with soap and water.
Everything has been cleaned and is now drying. Fun fact, most of the parts here are from the lid.
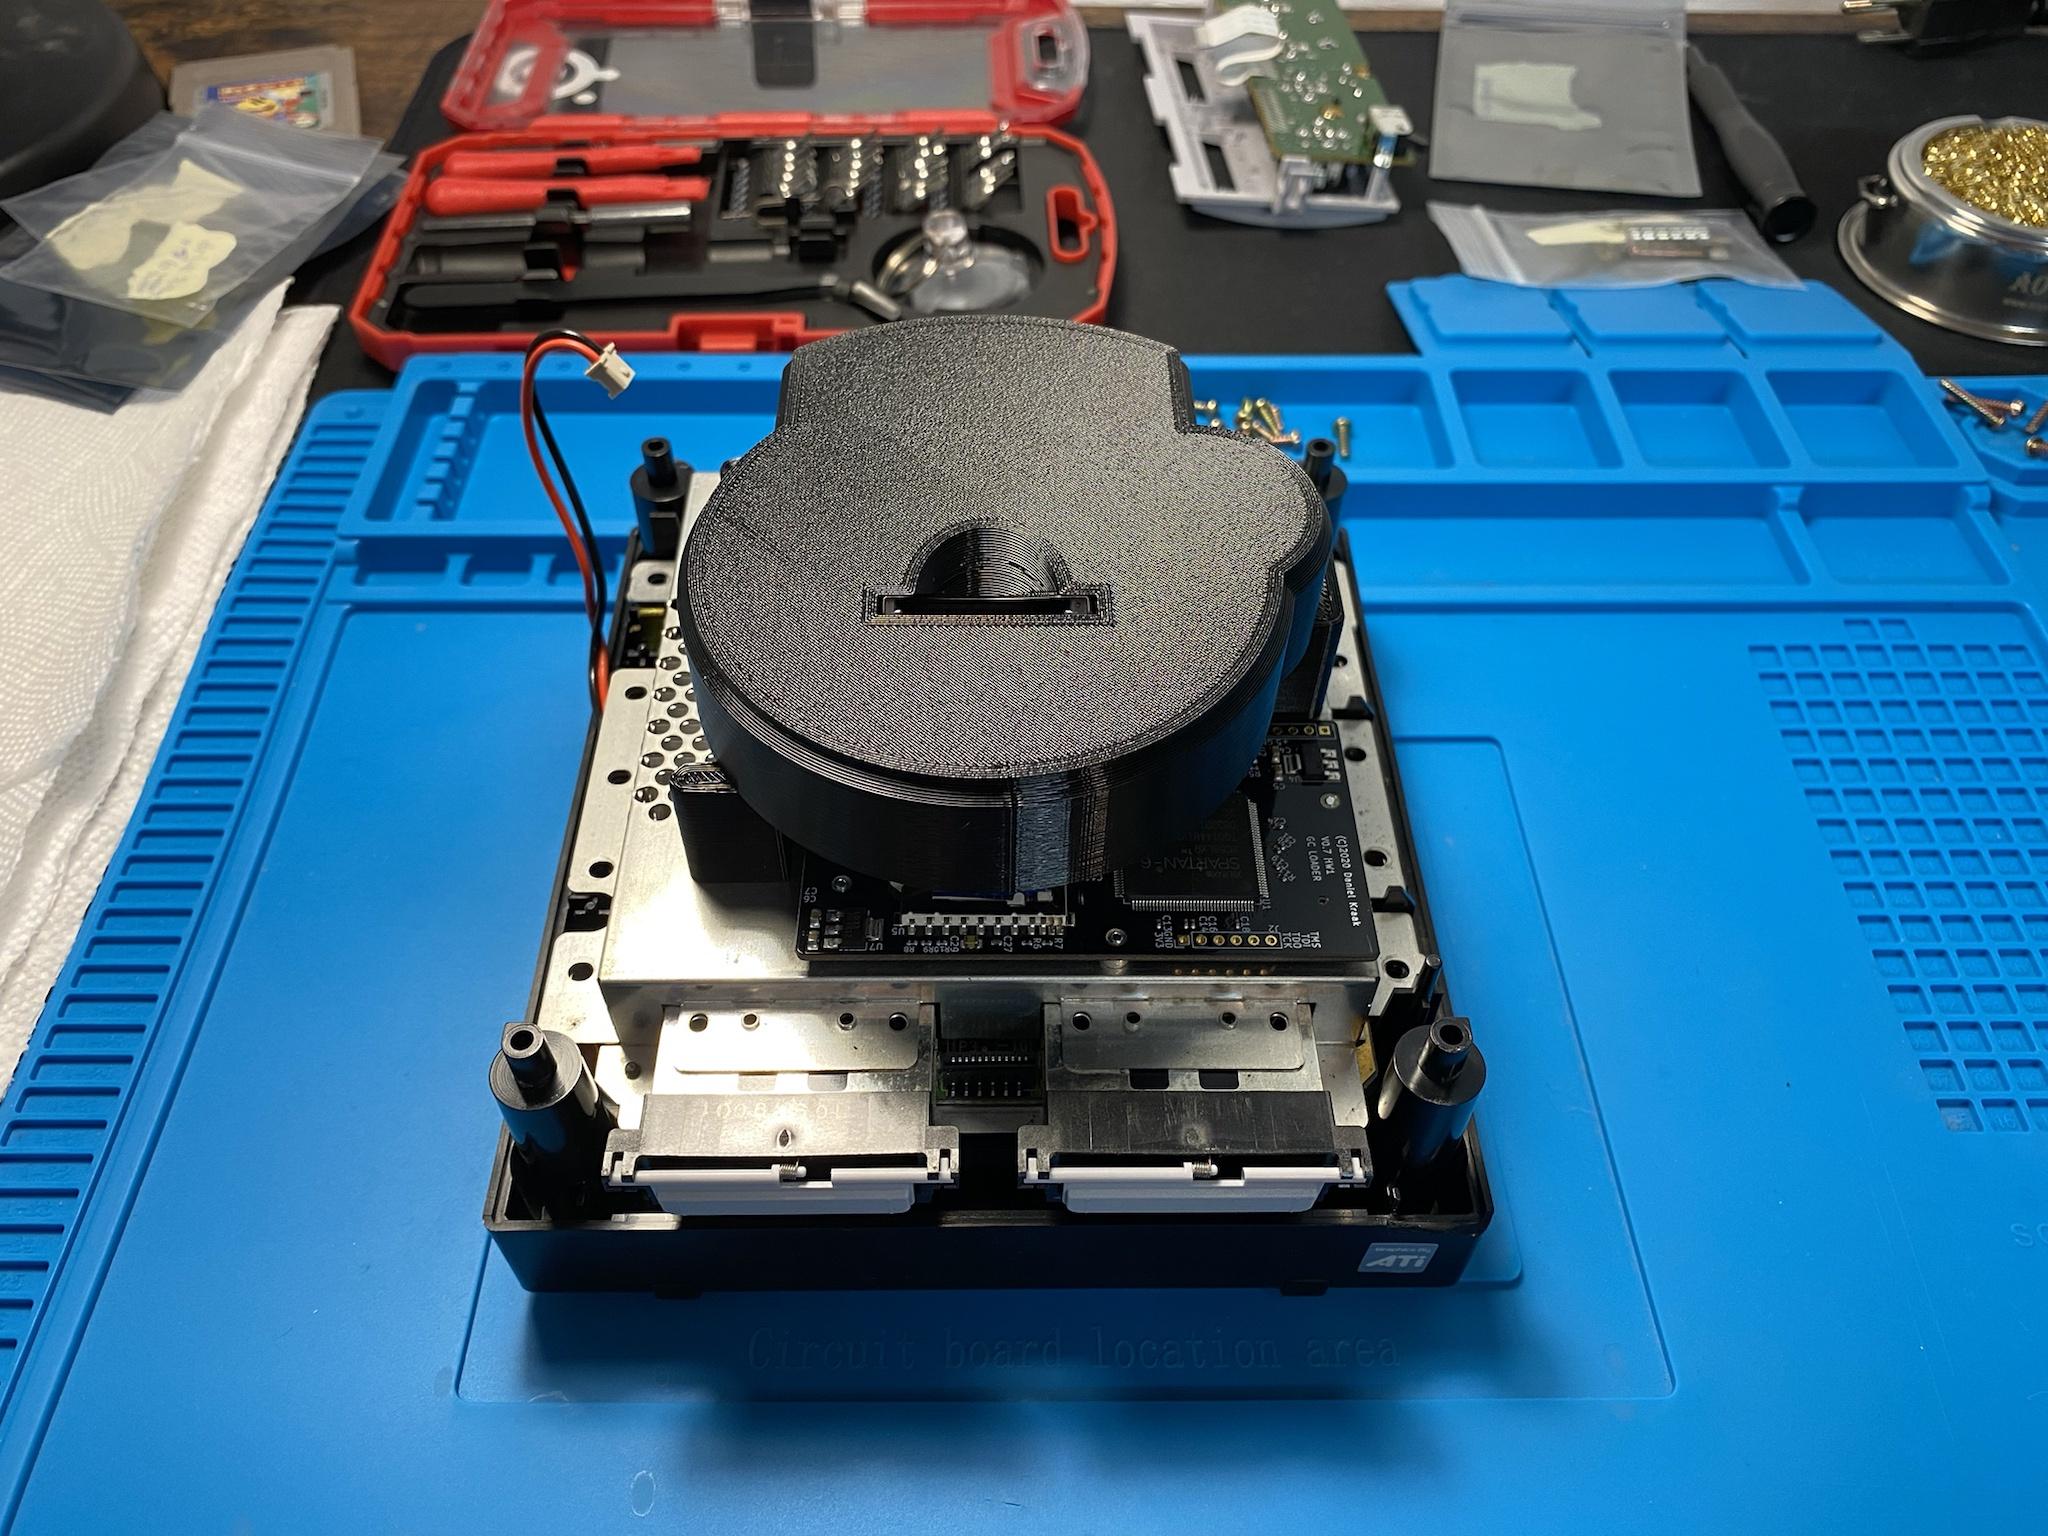
Fast forward to things being dry and everything from the bottom to the motherboard is reassembled. Next up is installing the GC Loader and 3D printed drive bay. The 3D printed bit is optional but it looks weird not having something filling the drive’s space. I got my 3D print from RetroFutureWorks.
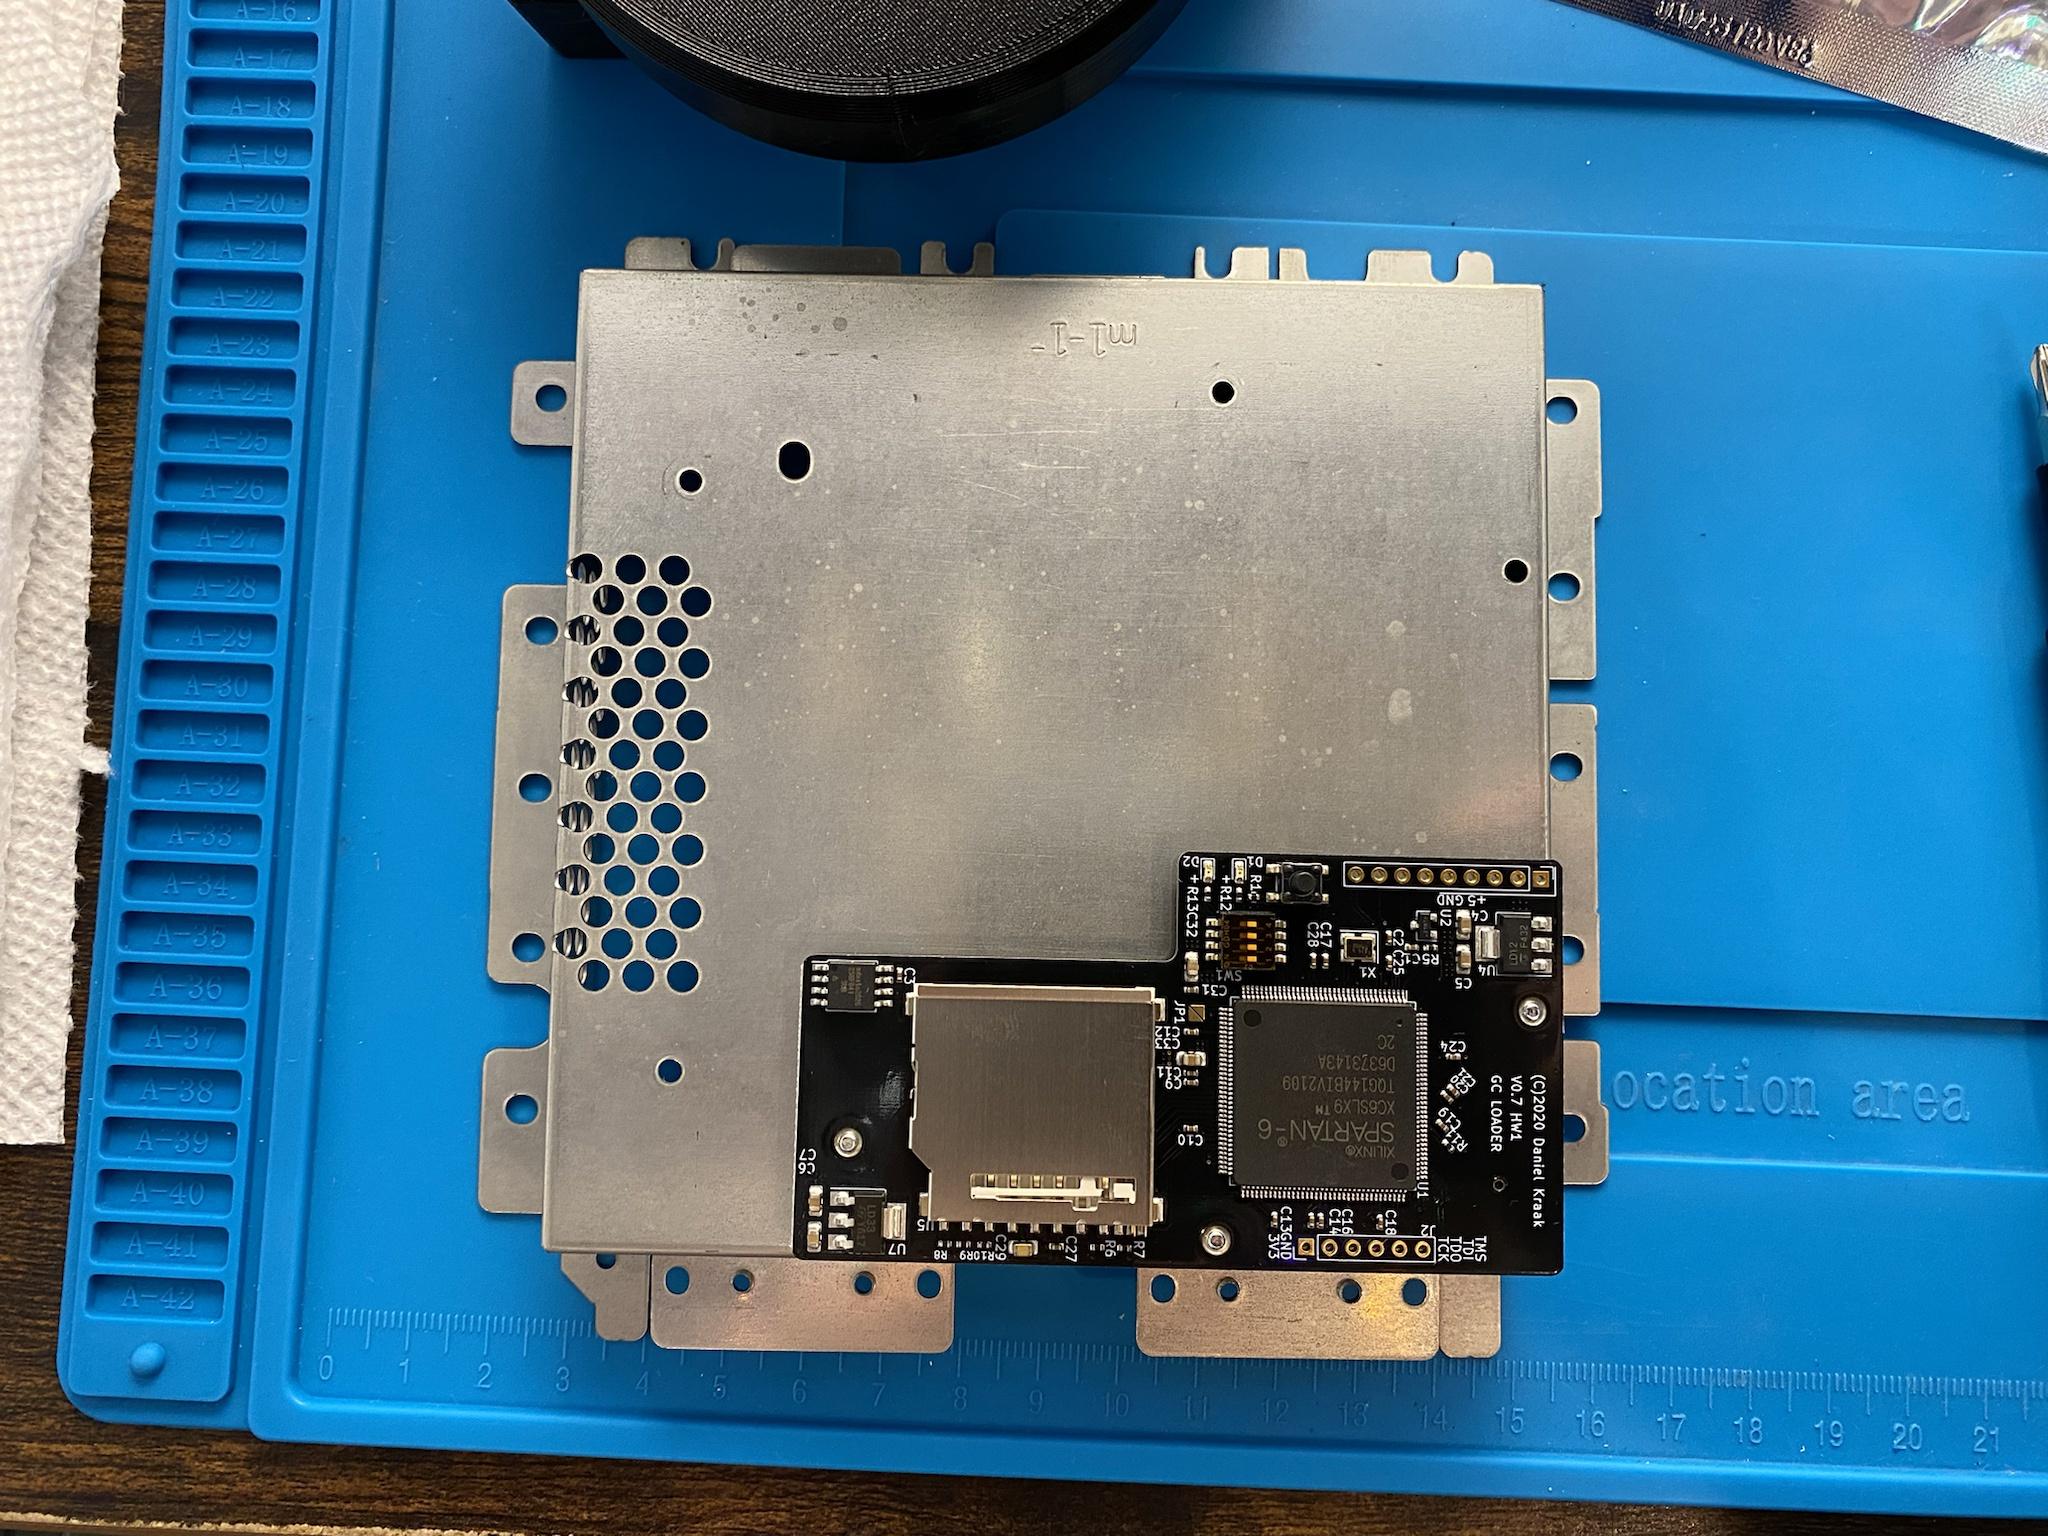
The GC Loader screws into the old drive’s heat shield and plugs into the same location.
Plop in the SD card extender and screw the other side to the 3D print.
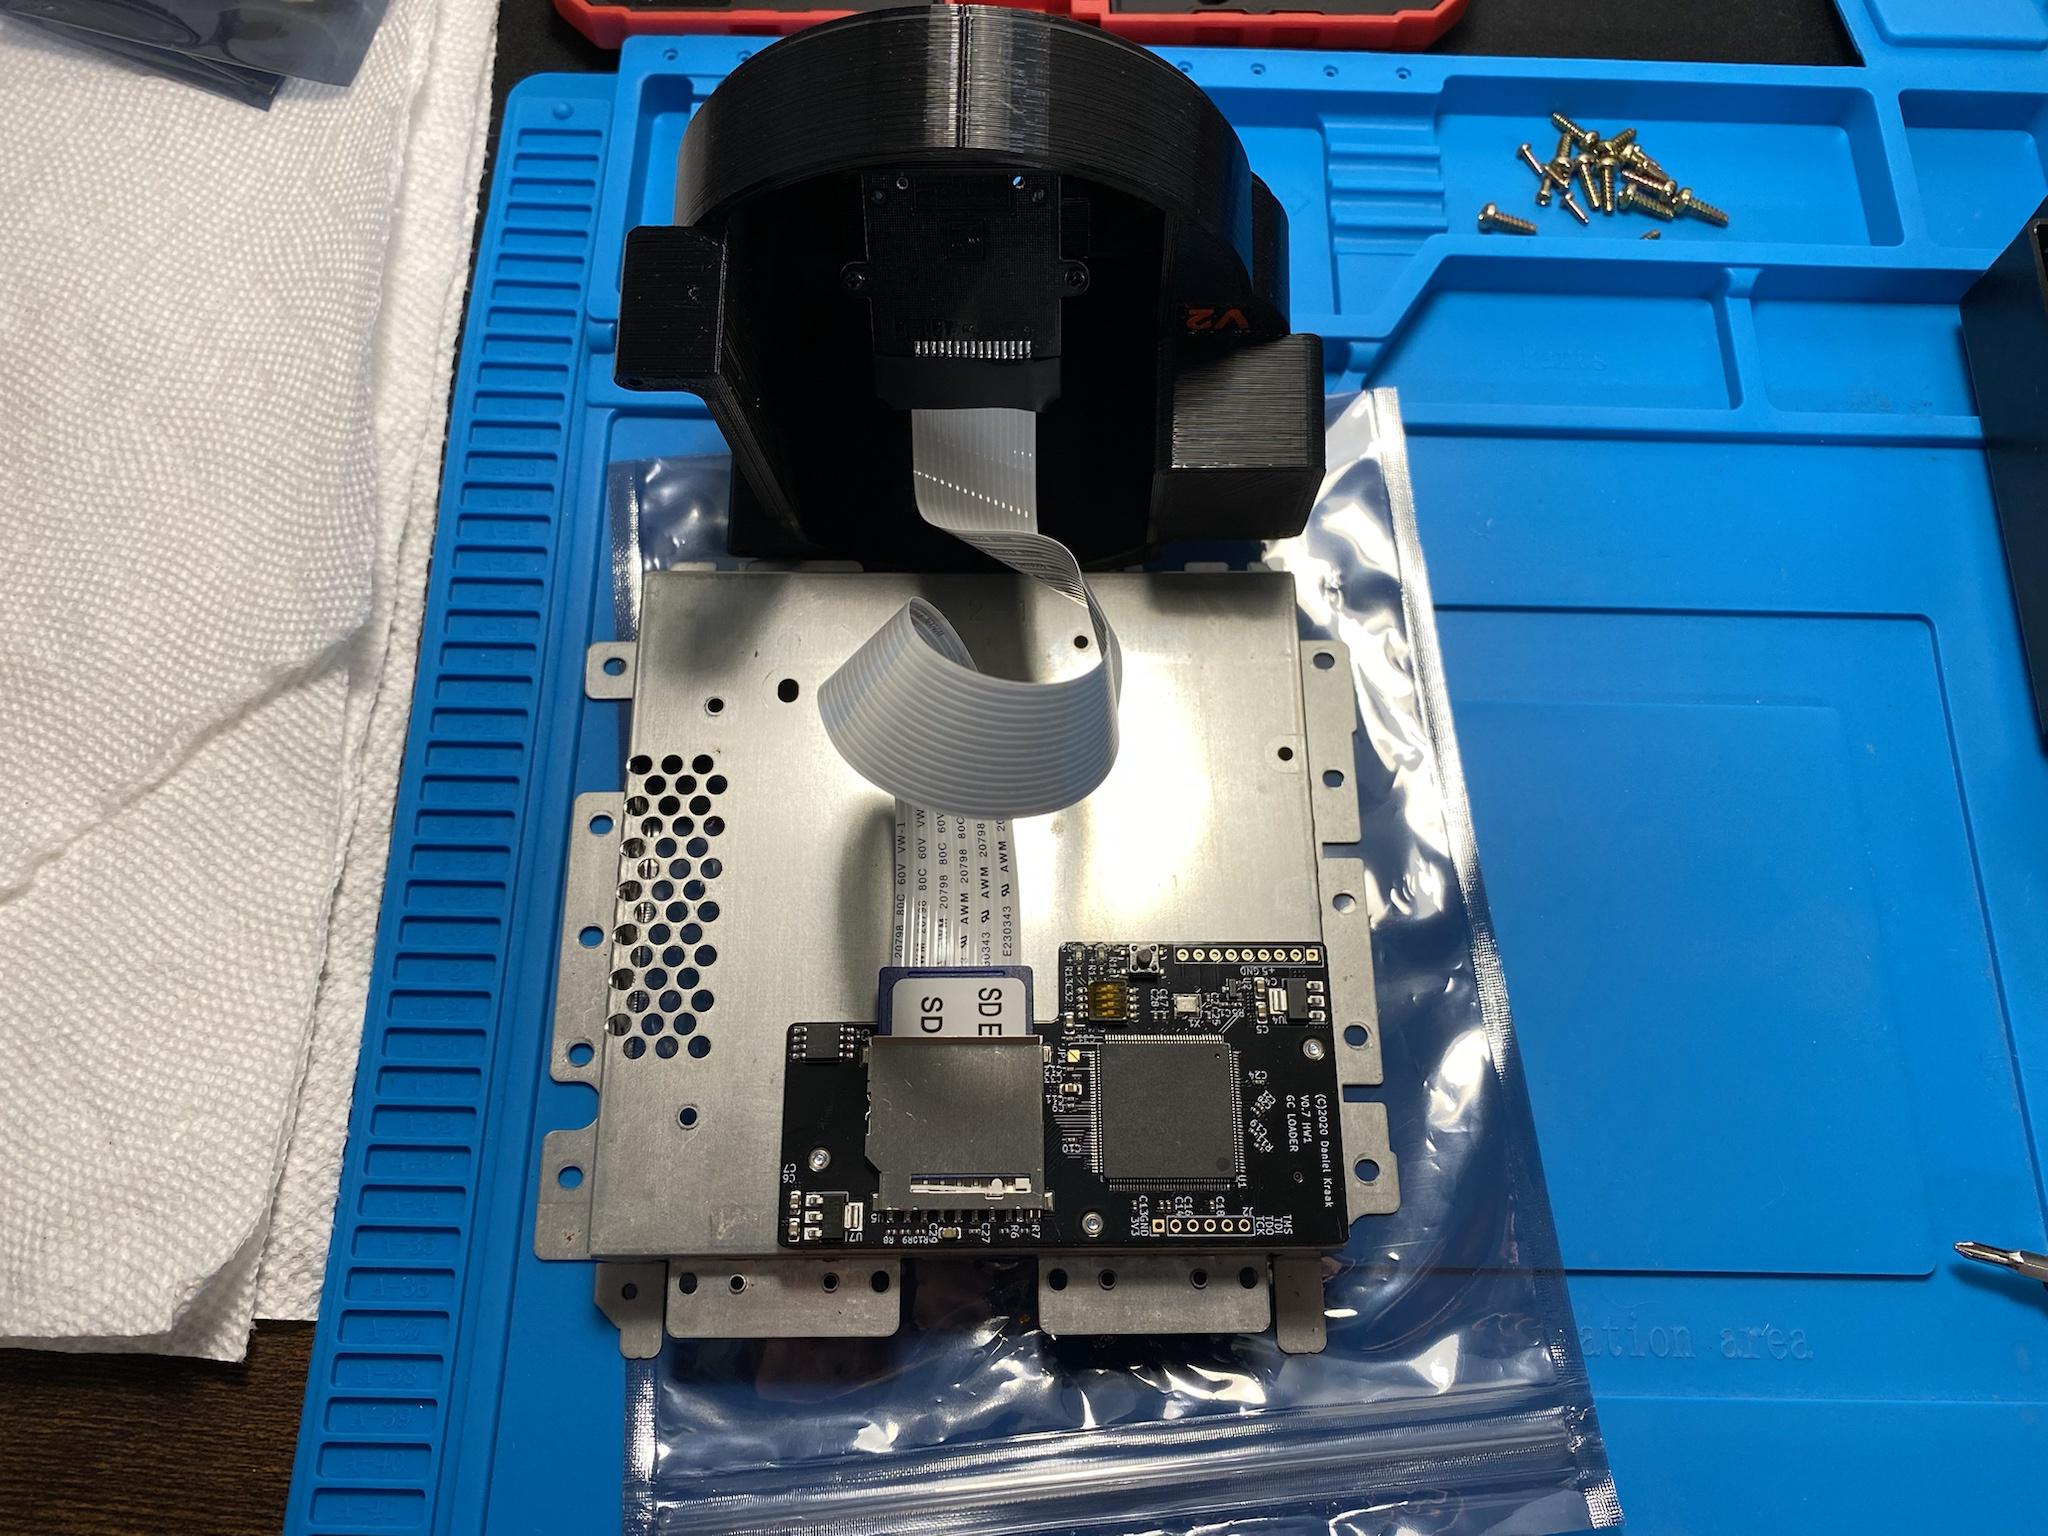
The 3D printed drive bay screws into the heat shield using the previous drive’s screws.
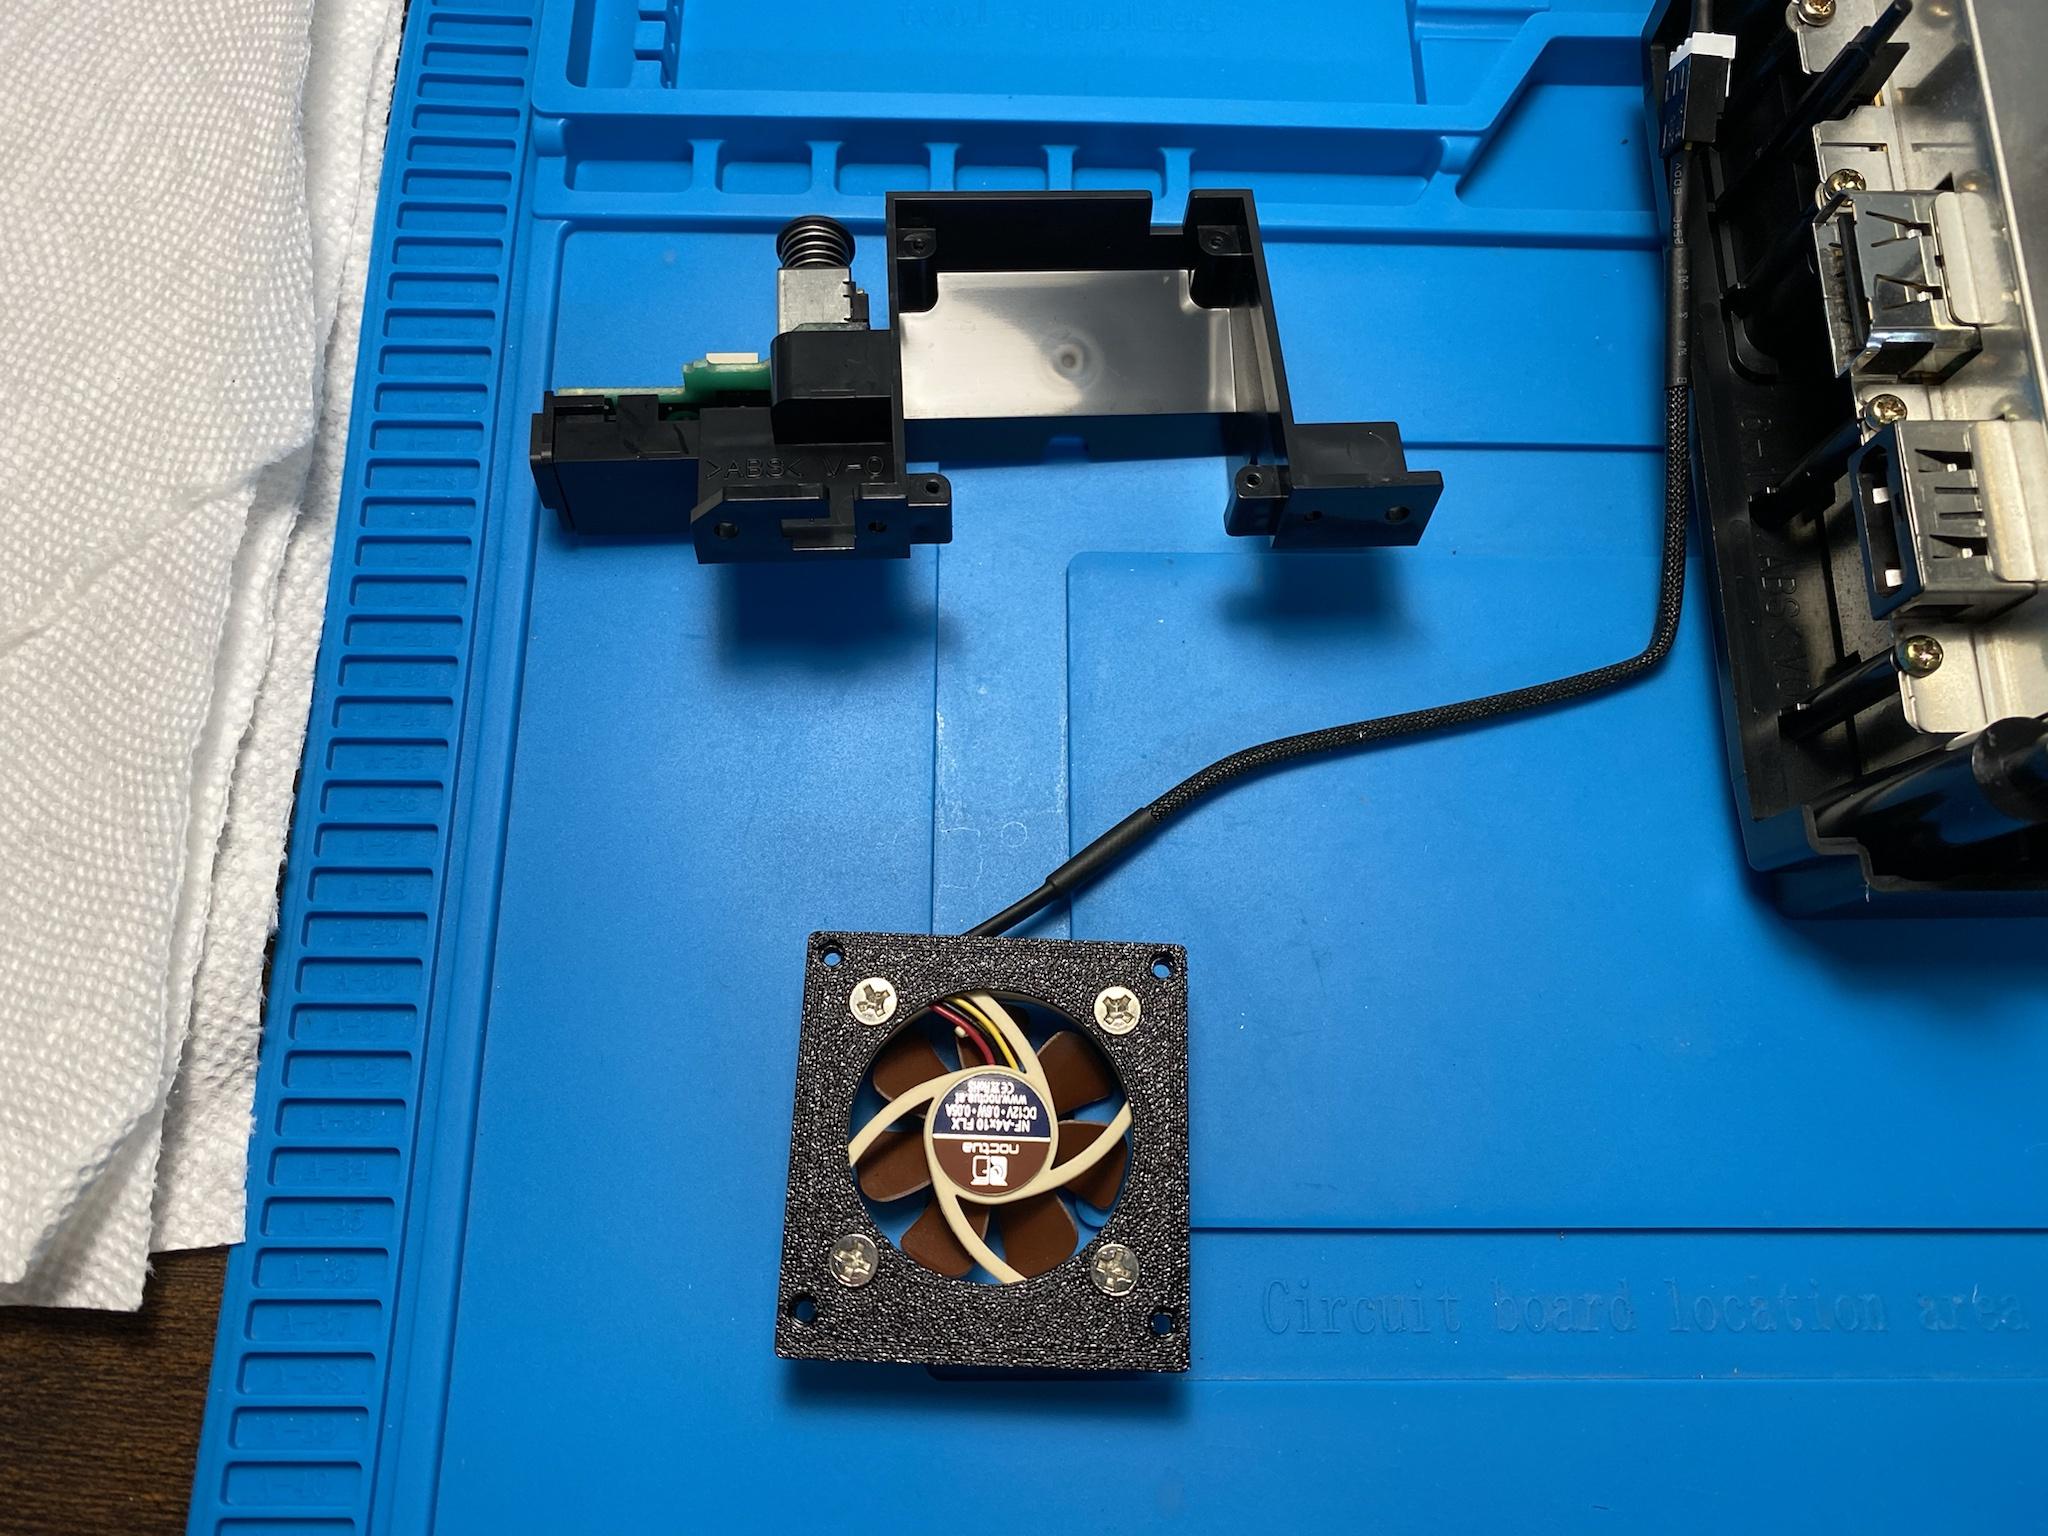
Onto the next mod. This is not required but I thought why not upgrade the fan with something more silent. There’s plenty of guides on how to replace the fan so it was an easy mod to attempt. The Gamecube uses a 50mm fan but the Noctua fan is 40mm thus requiring a 3d printed bracket. I also got my print and 3 to 2 pin wire from RetroFutureWorks.
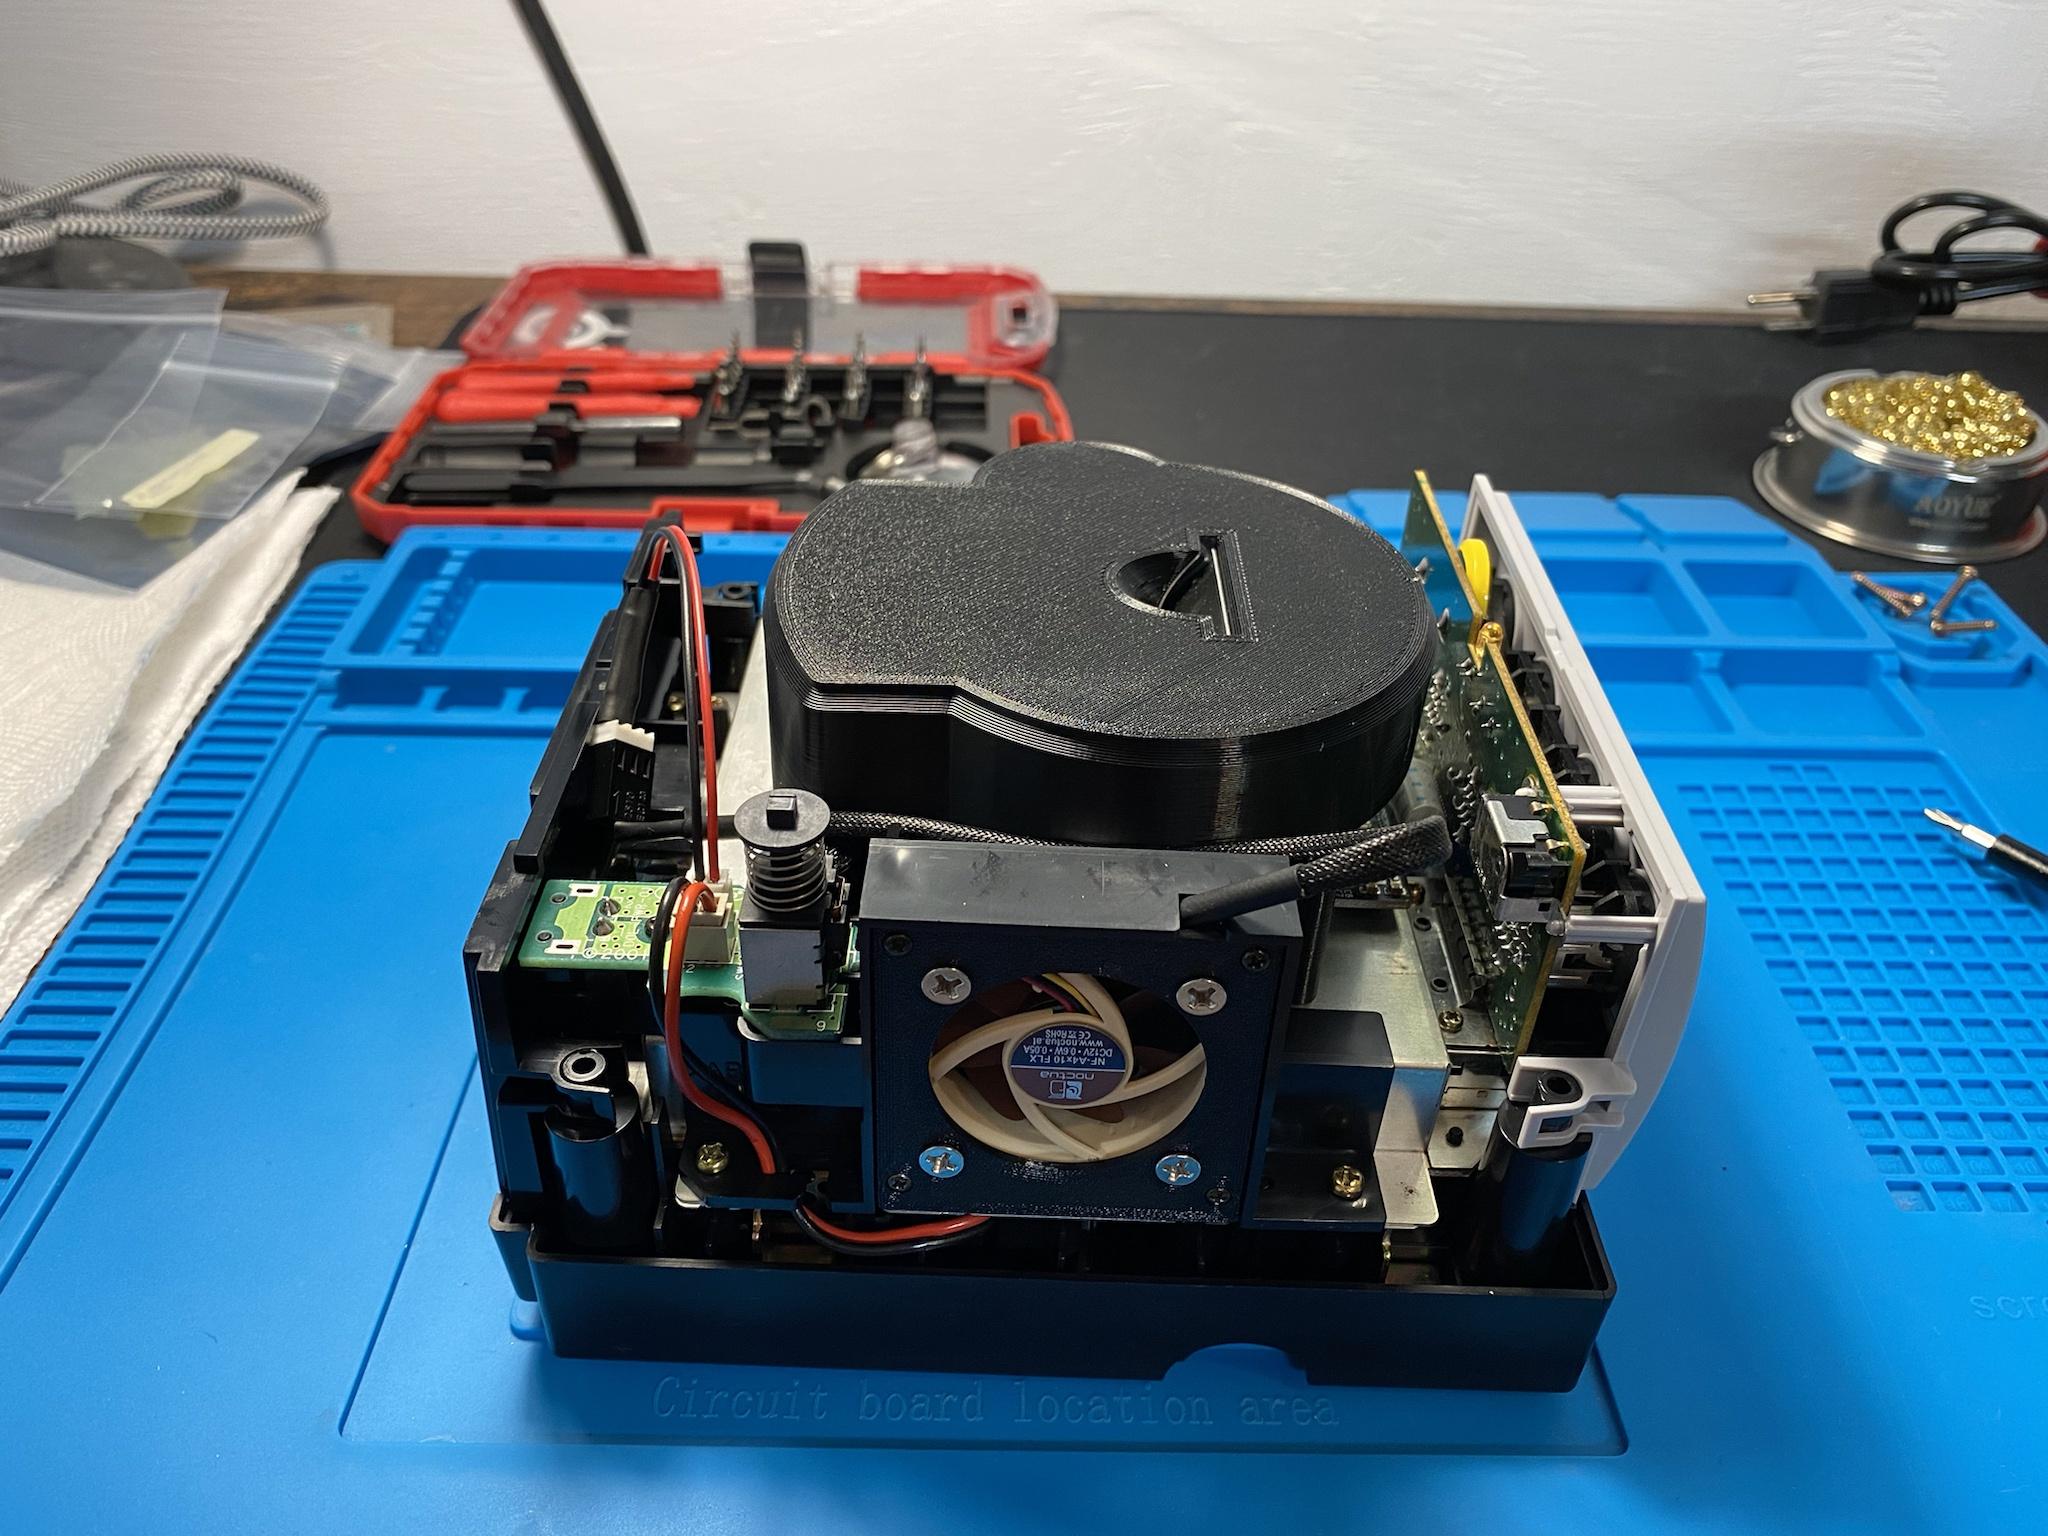
Fan and its housing are screwed back into place.
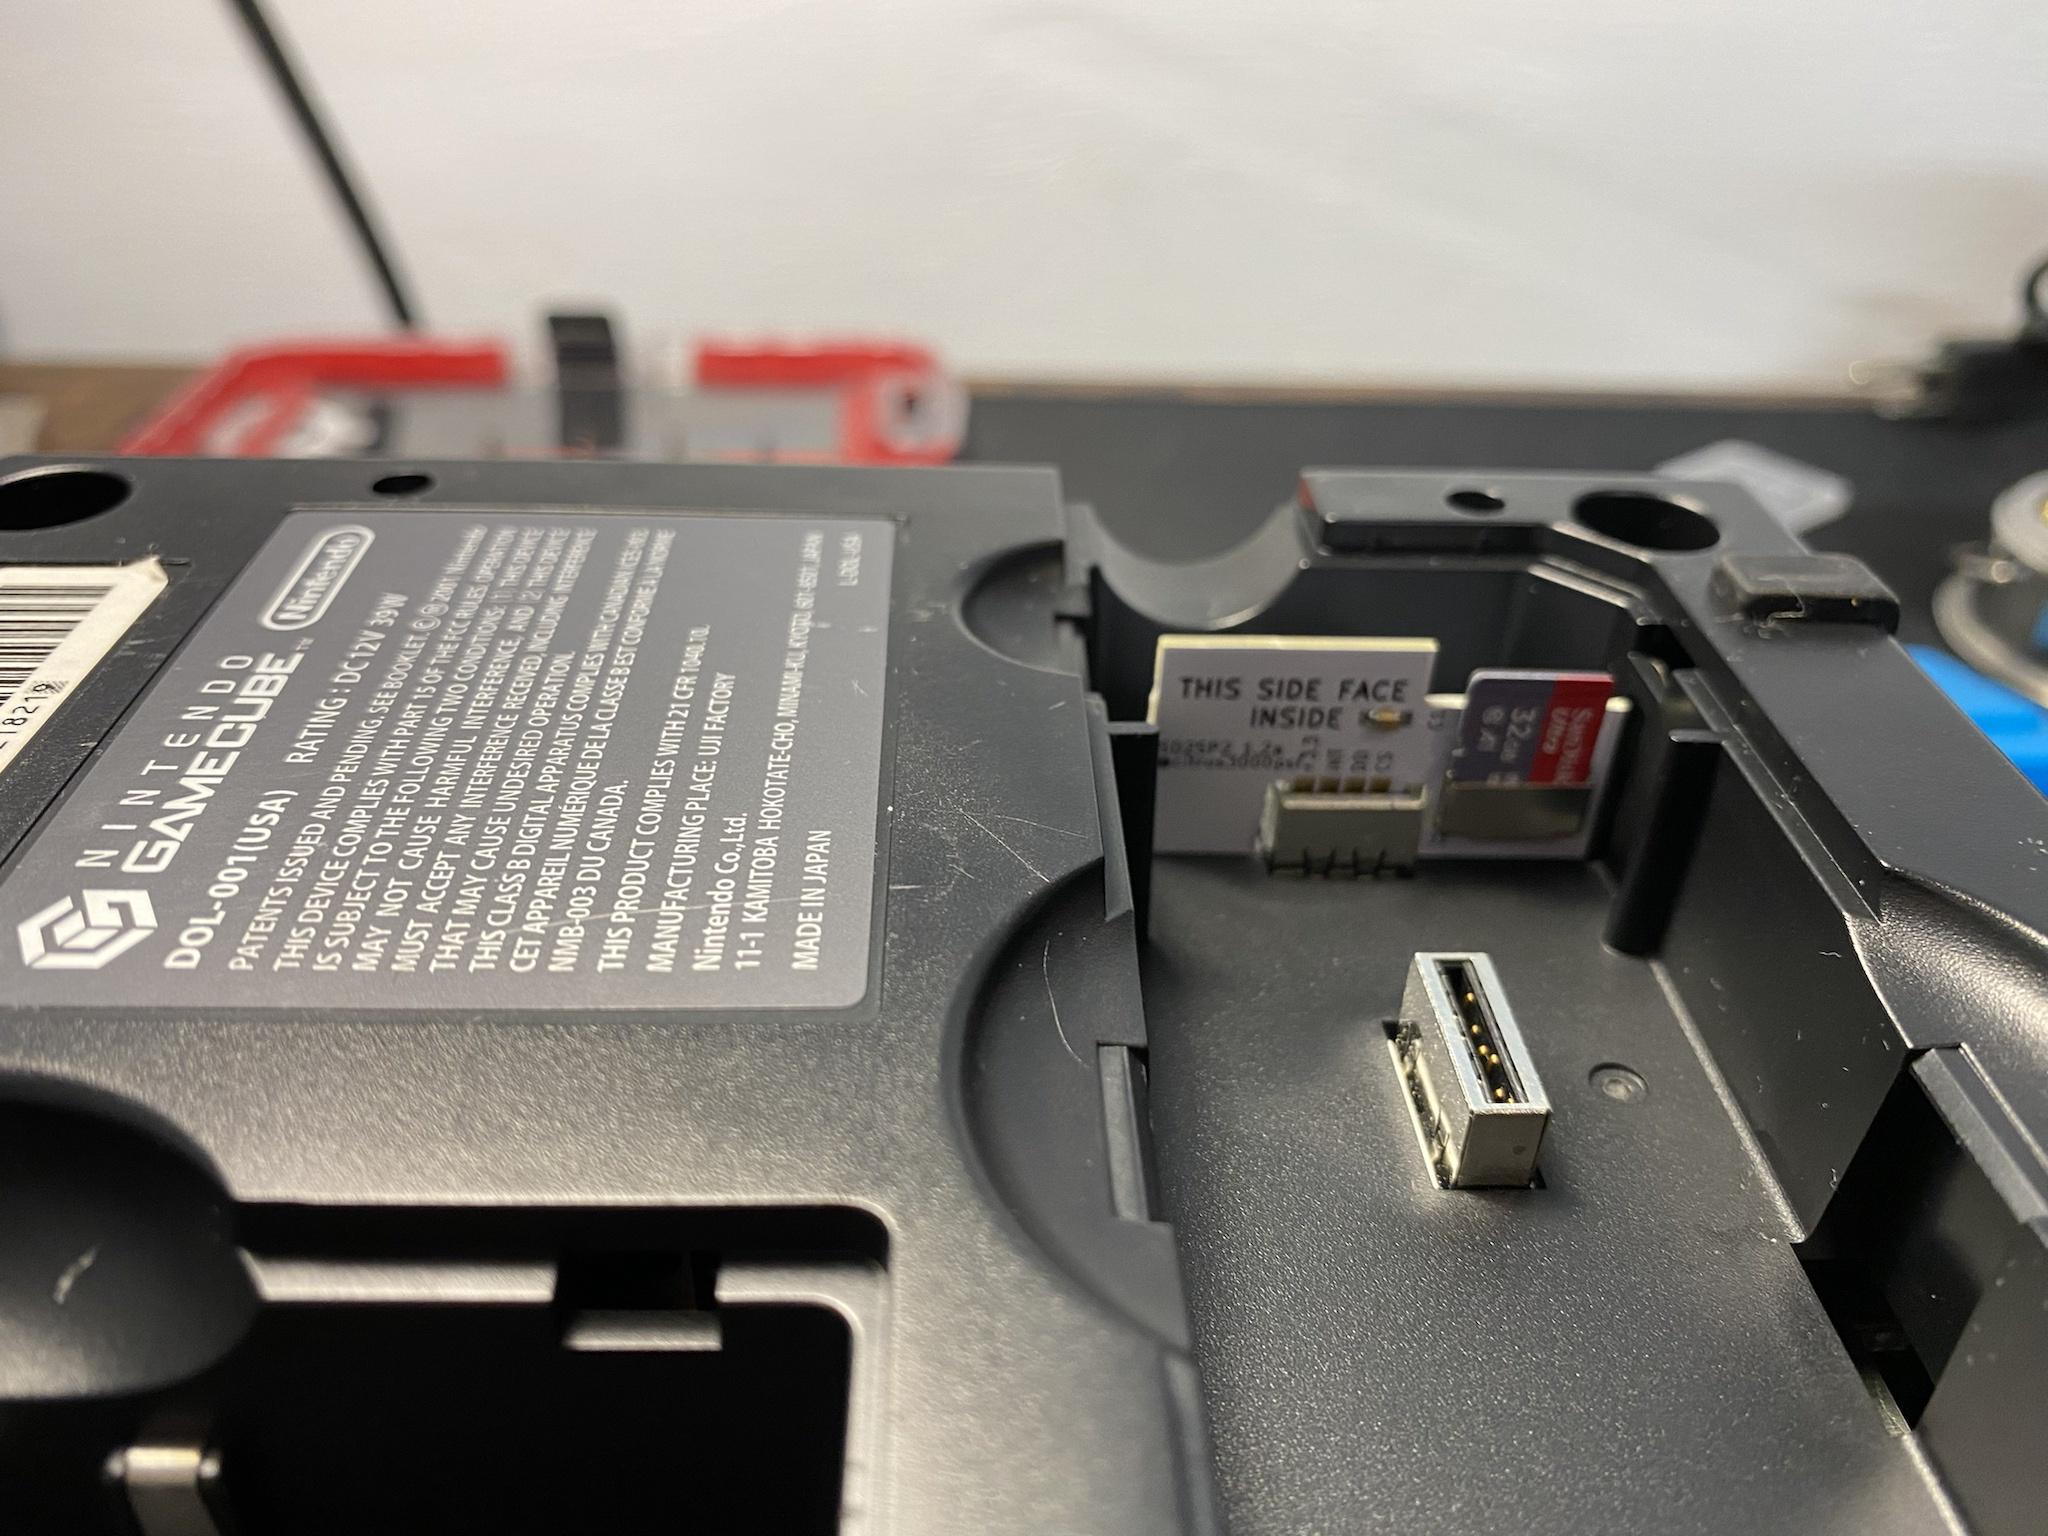
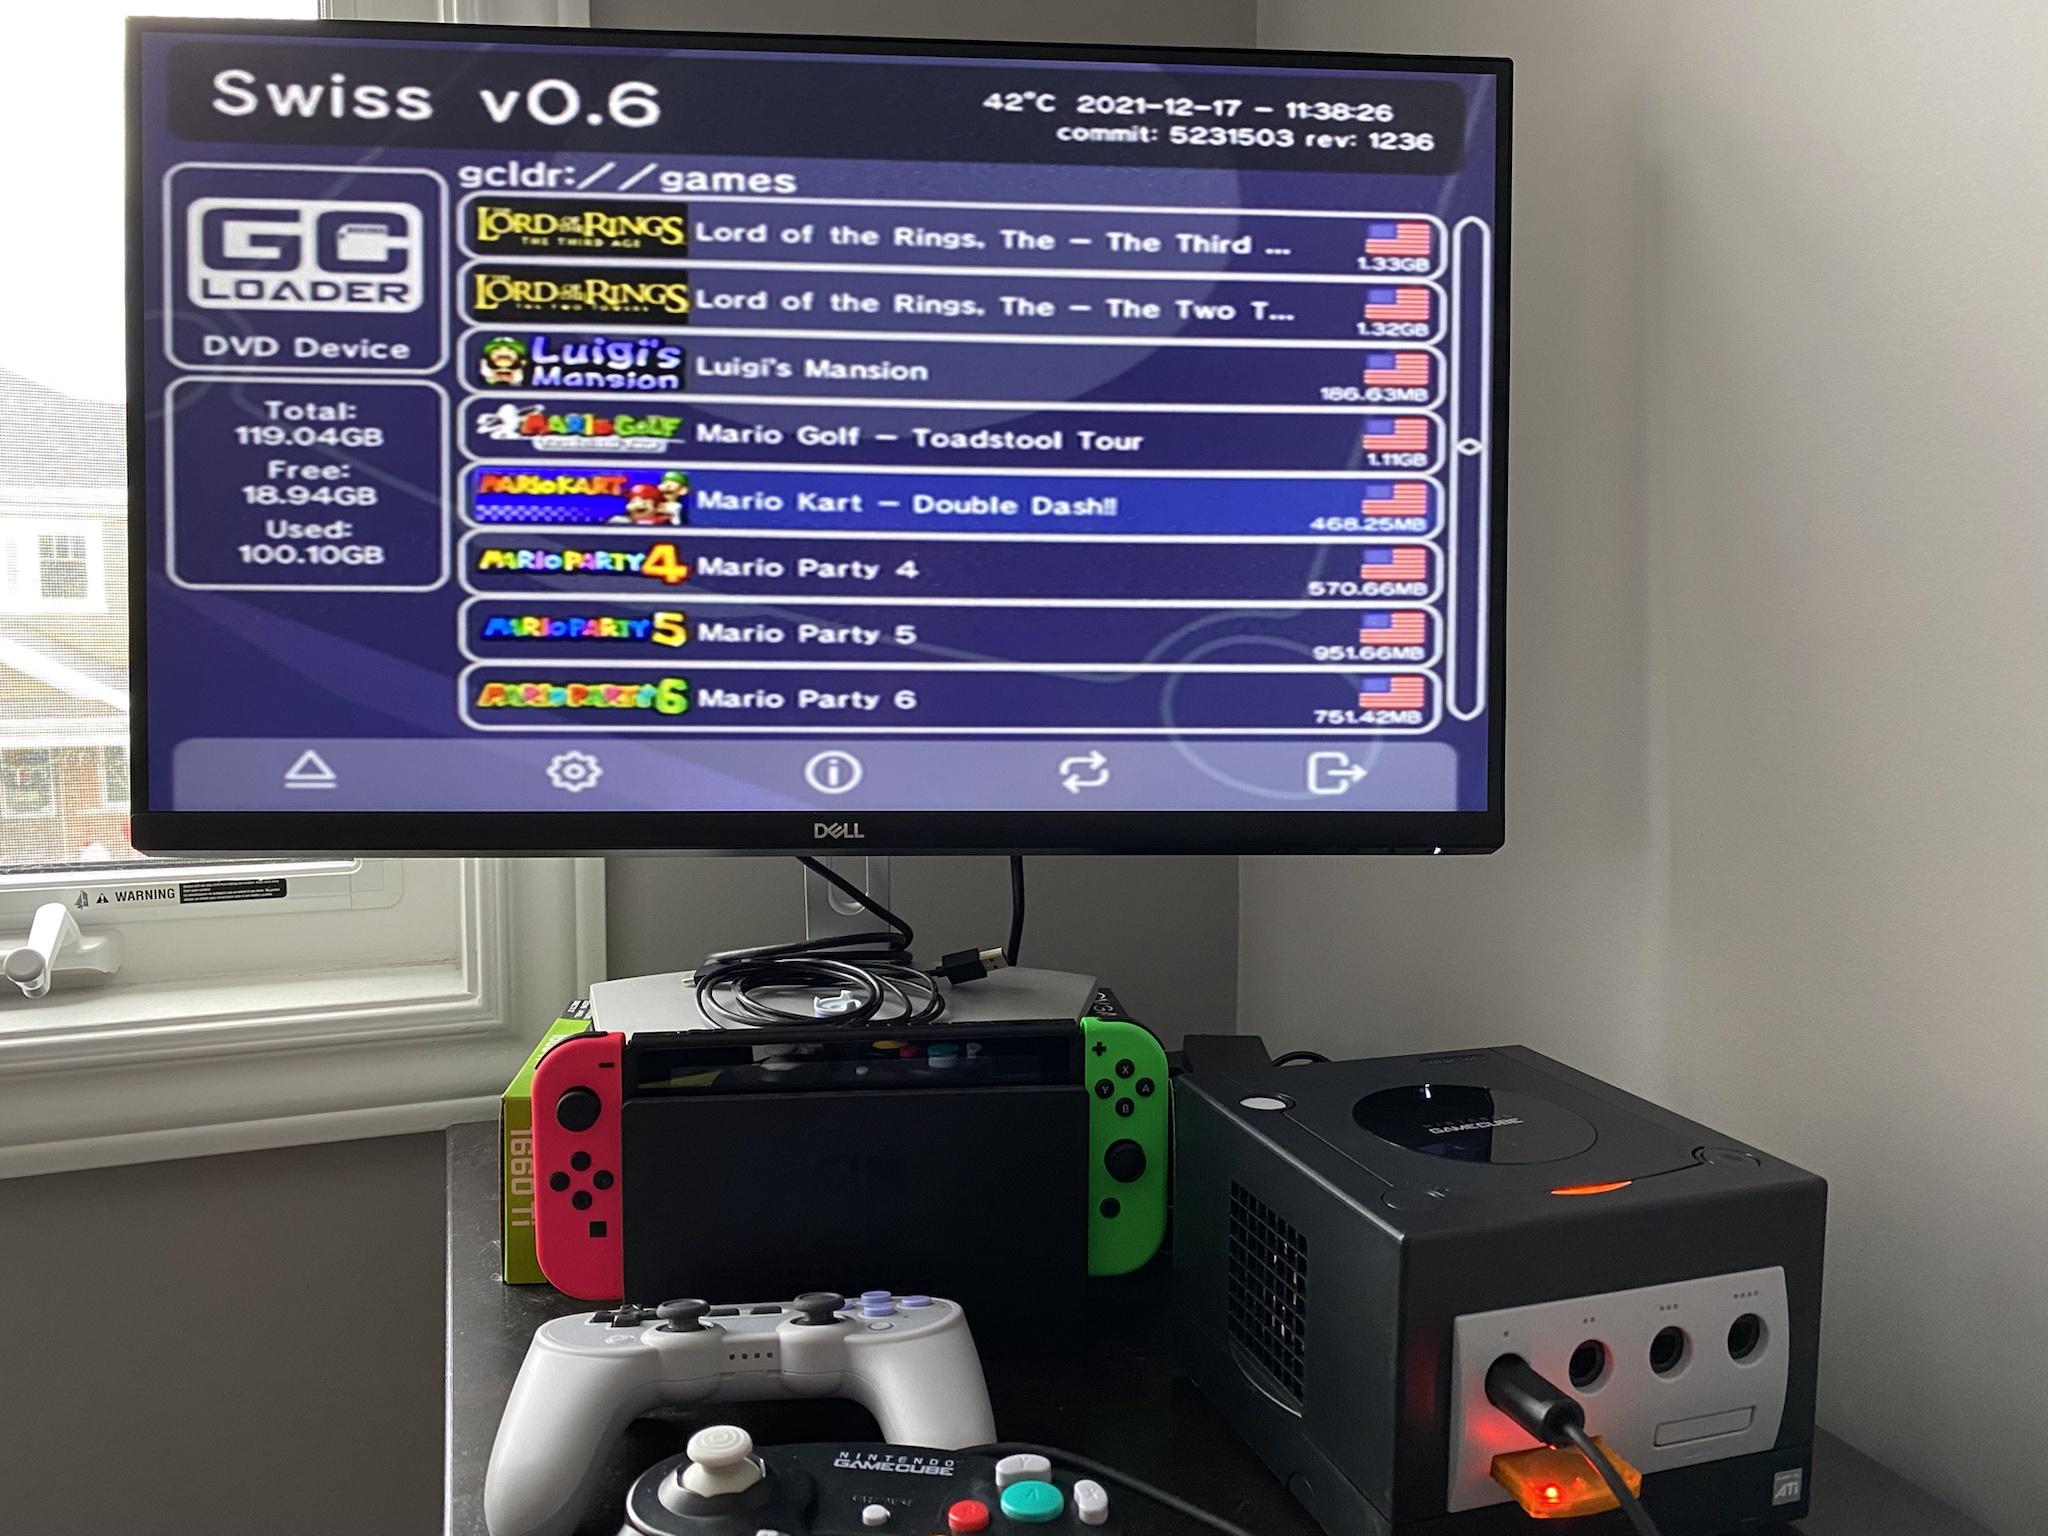
I’ll be using the Swiss software with the GC Loader and decided to get an SD2SP2 chip to save my user settings. It’s not completely required but if you want to save user settings, you will need to get one to keep your memory card slots available. At the time of writing this, the GC Loader cannot write back to the main SD card but this method allows Swiss to write to a different location.
It works!
I love the H3 Podcast and thought it would be fun to get a custom jewel of it. AB’s story of playing Donkey Konga had me in tears so I had to pay tribute.
Dang it looks good.

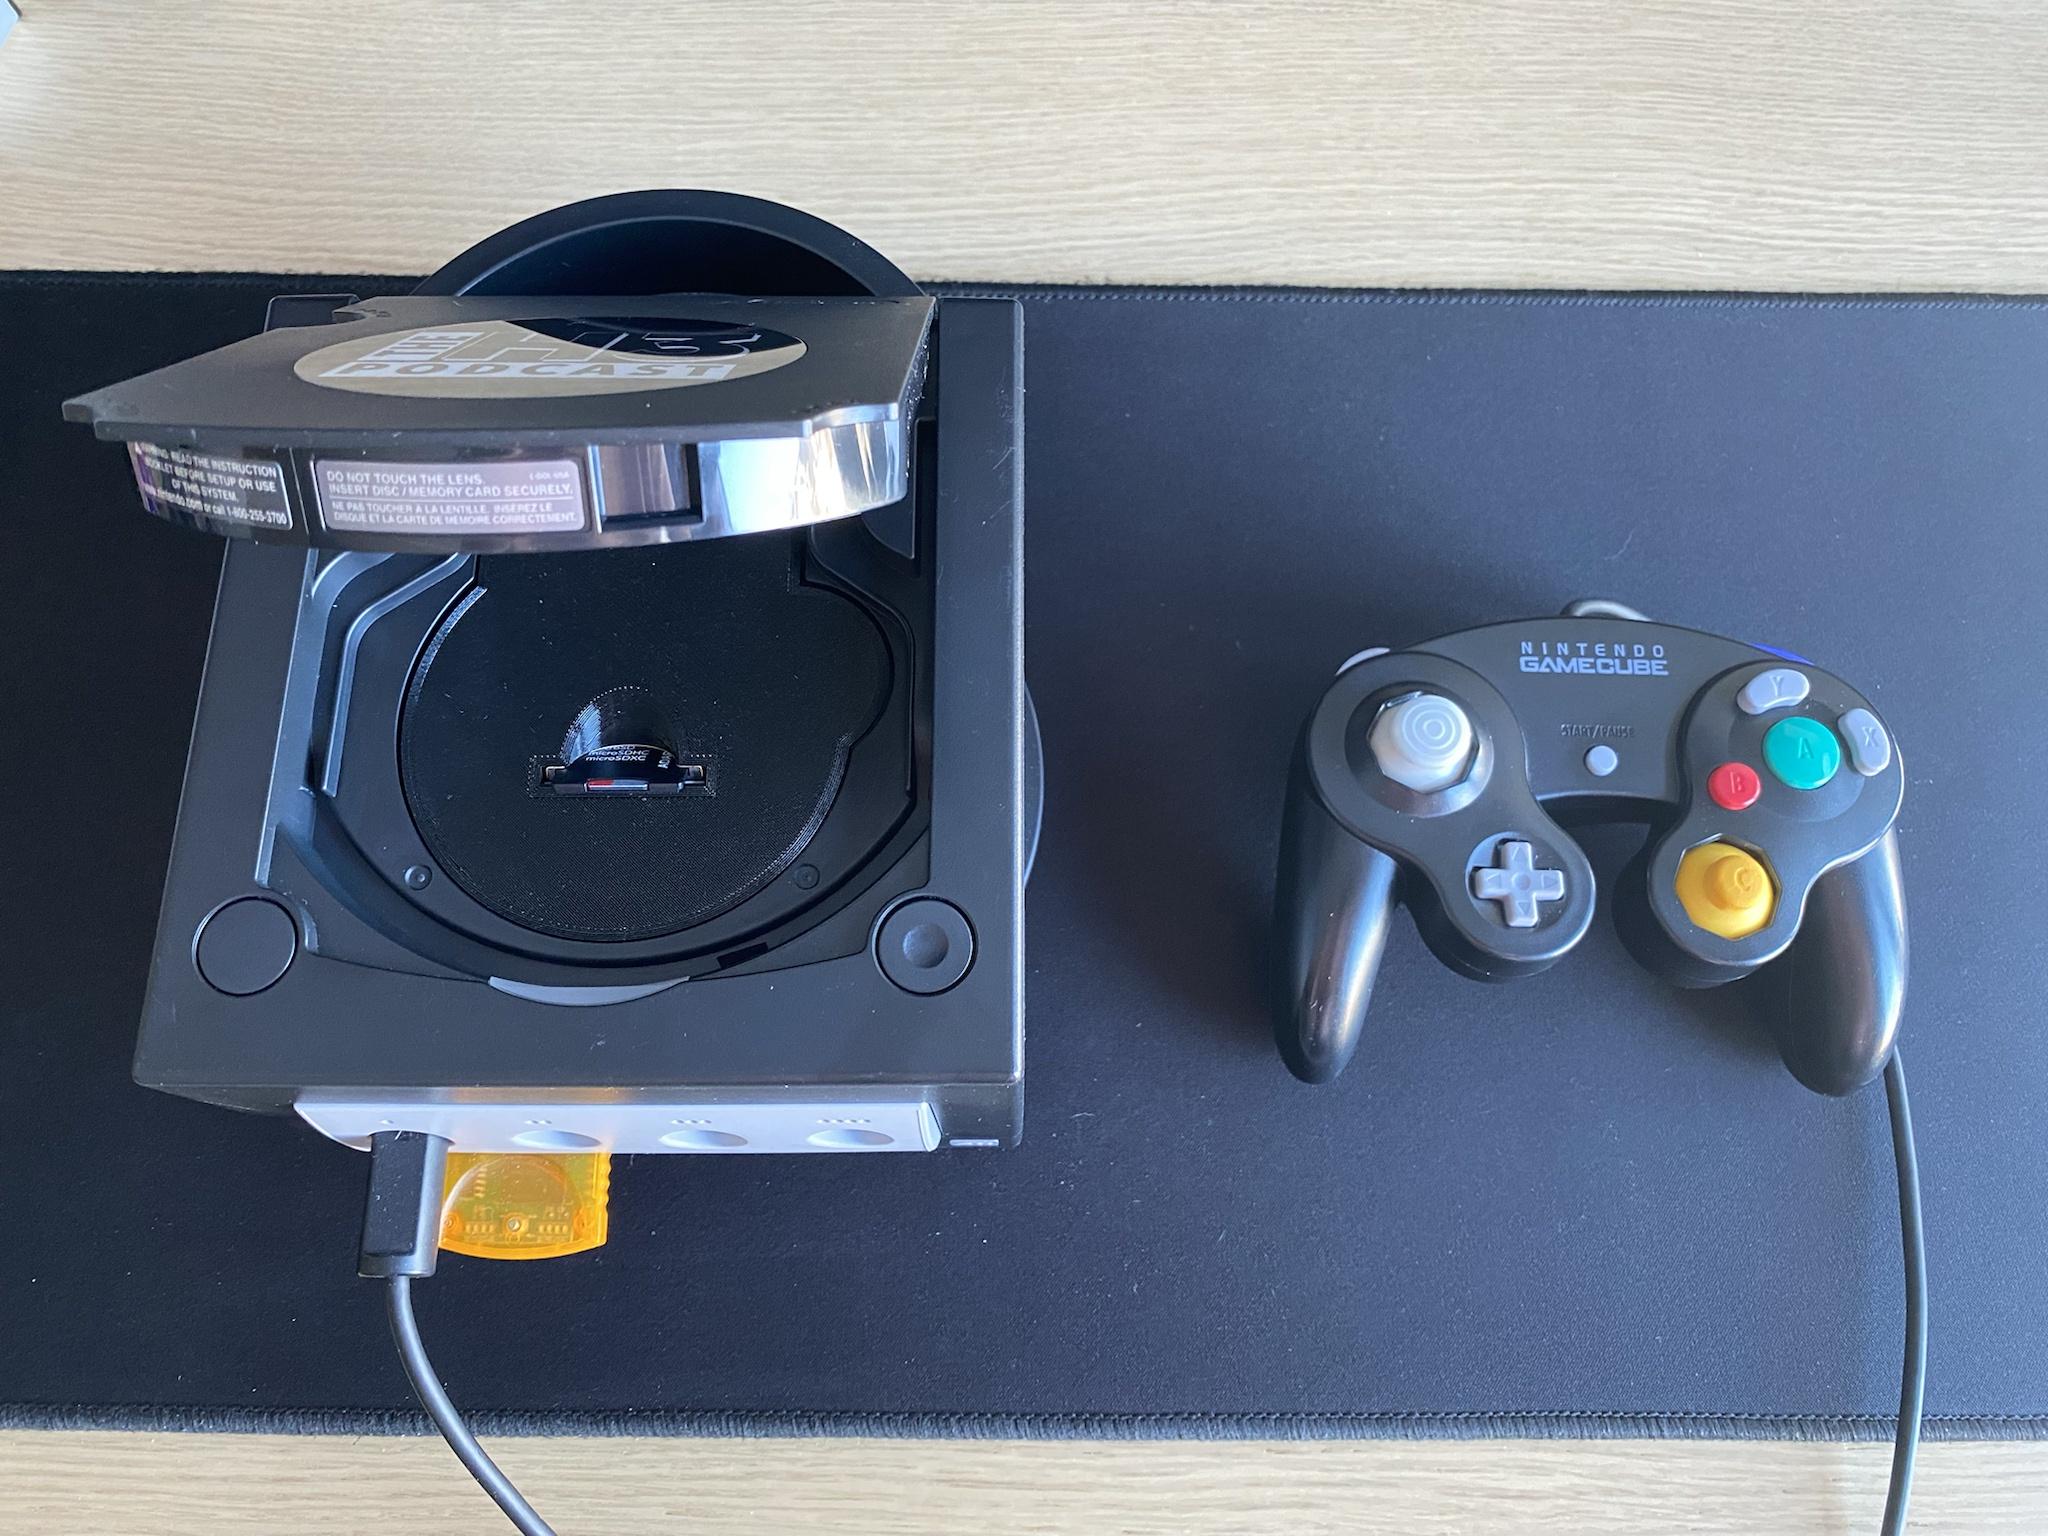
Mod complete! Time to fix a controller.
I bought this controller in a different auction for $20. The description claimed the controller had stick drift issues and after looking up the controller on GC Controller Library I determined the type of stick boxes were either T1 or T2 and both can be replaced with after market parts. The thumb sticks themselves looked alright but I ended up replacing the grey one because it was discoloured. I got both the stick boxes and thumb sticks from Retro Modding.
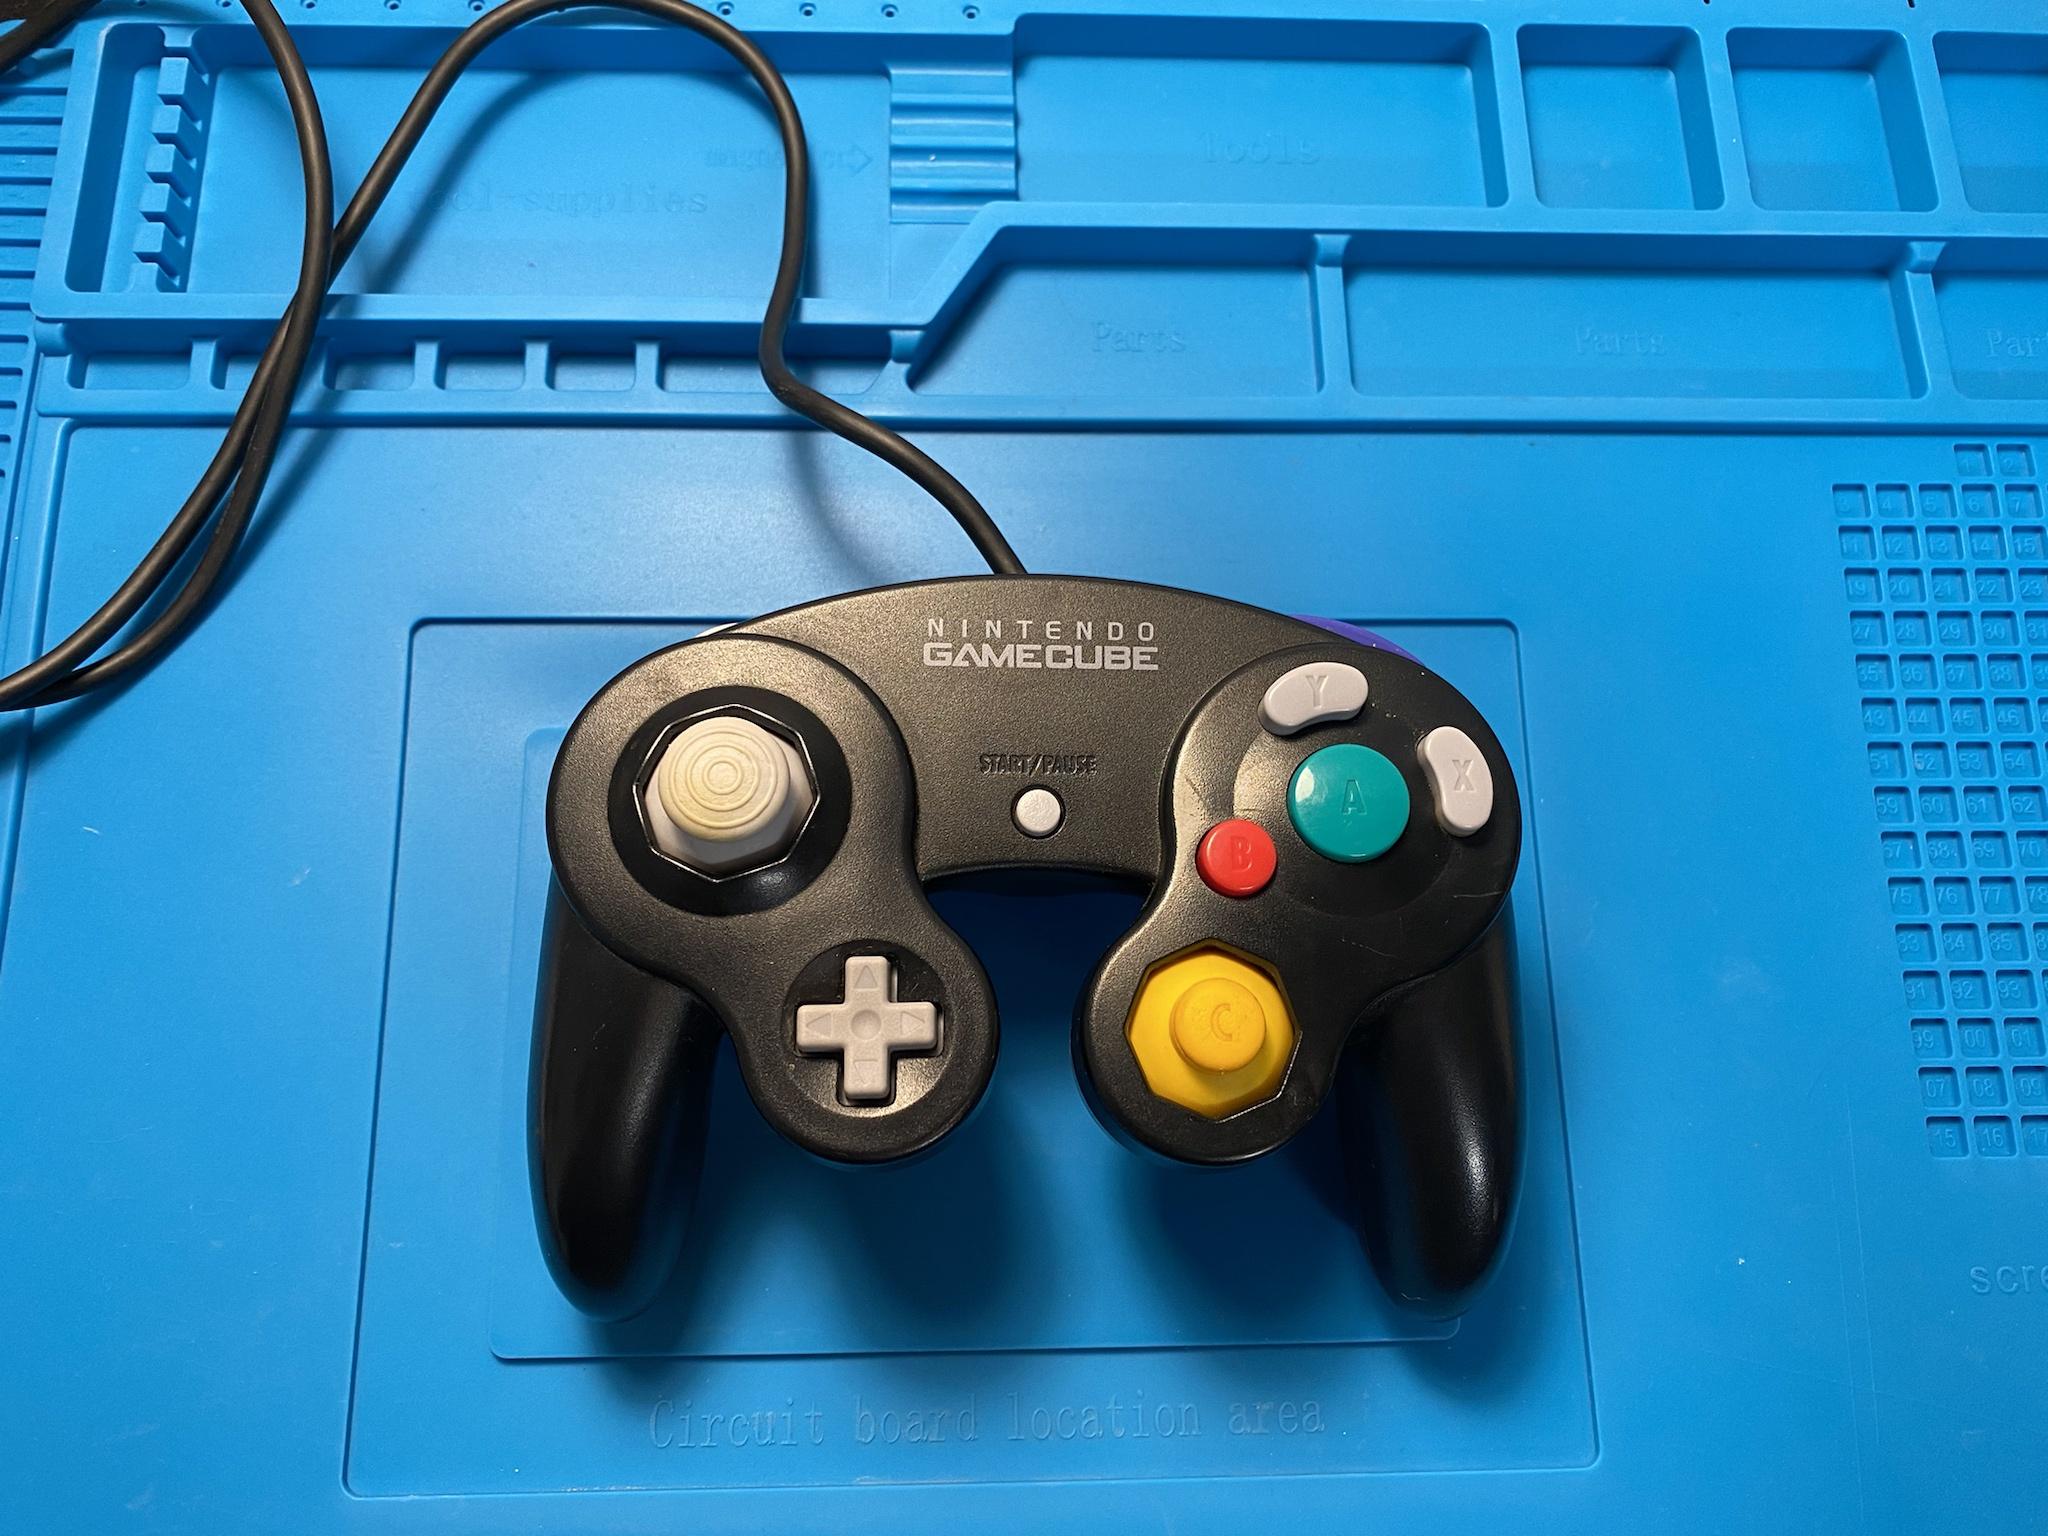
After taking everything apart, I discovered the controller was a short lived Gamecube launch controller. I was really happy to fix up this rare relic!
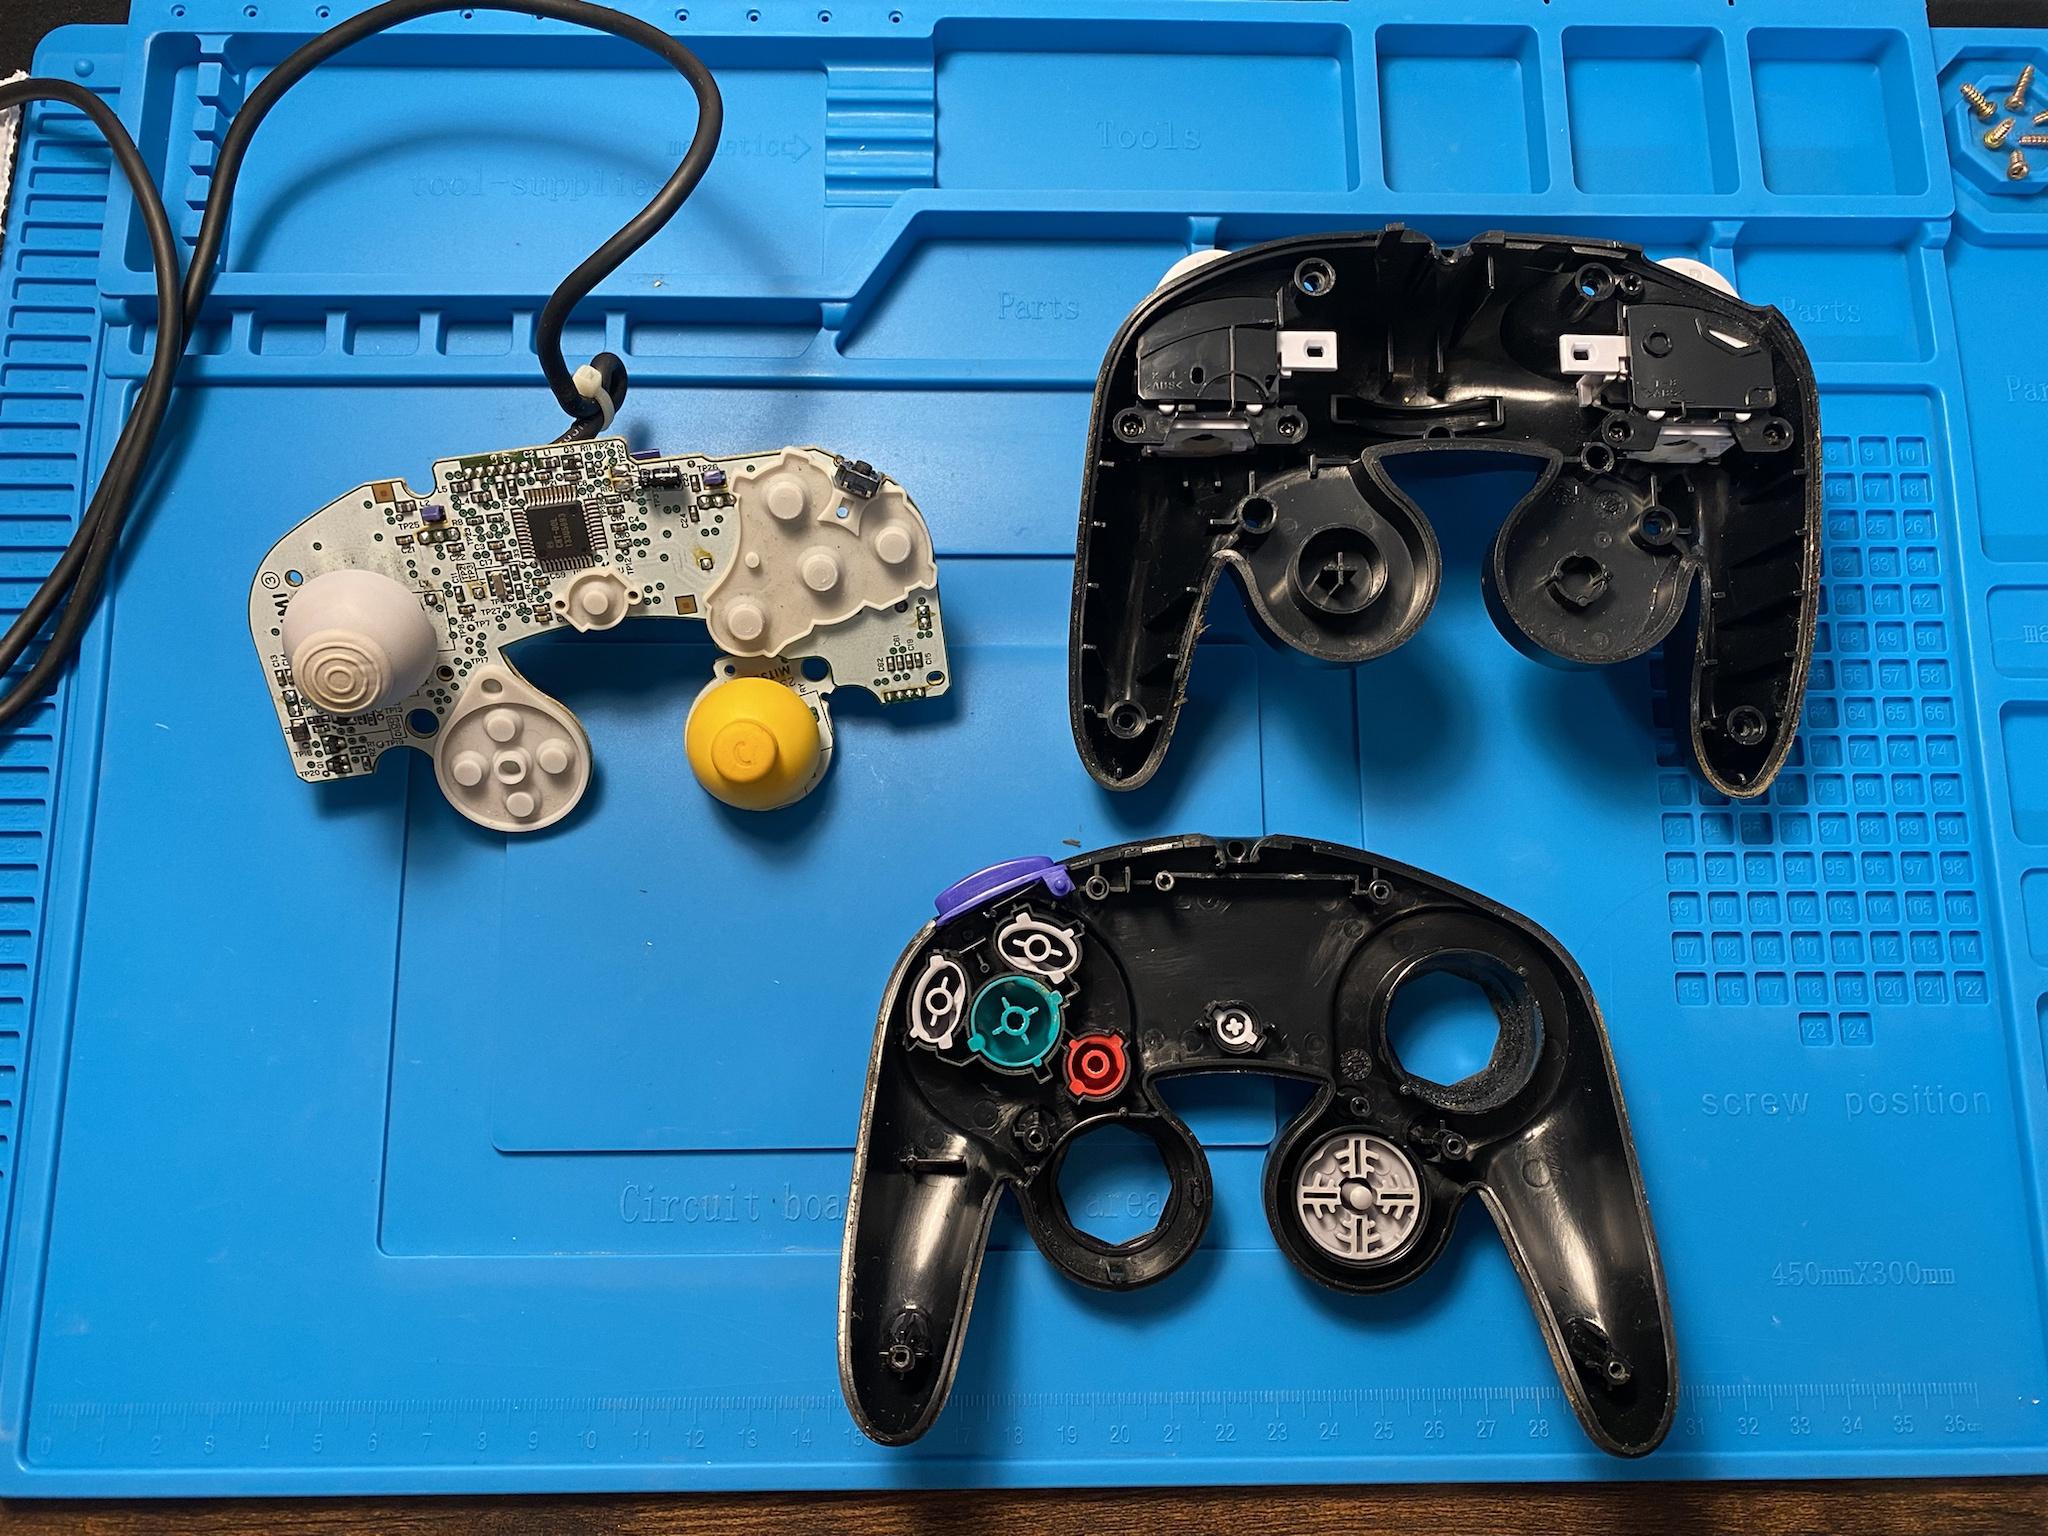
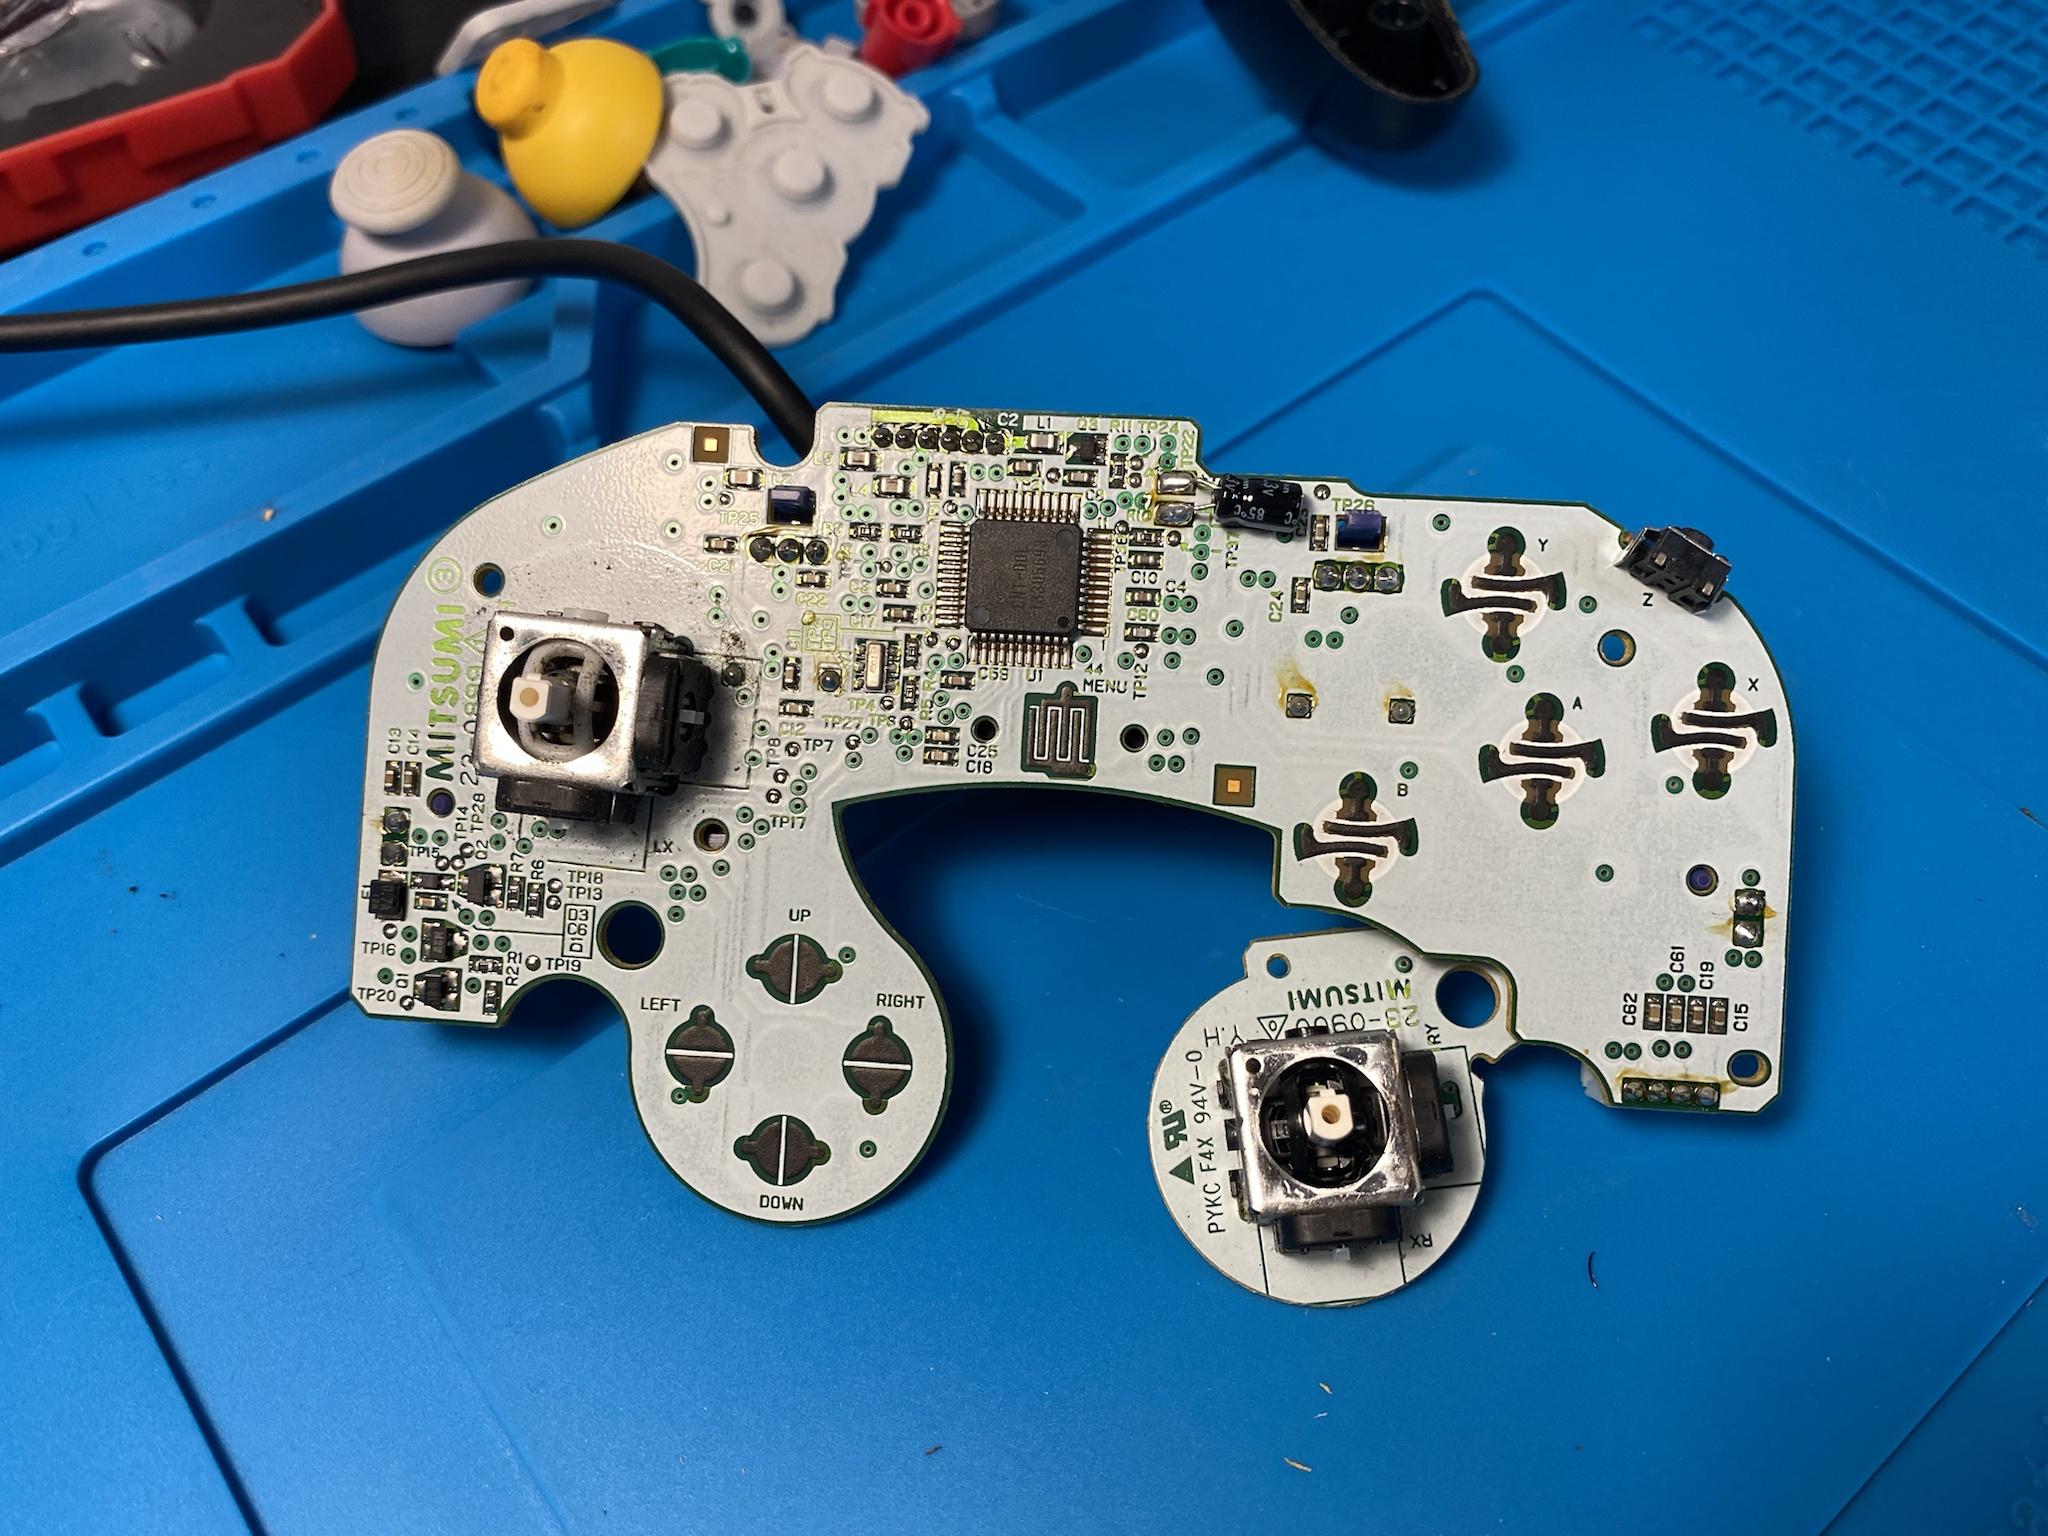
The board wasn’t as dirty as I thought it would be which is nice.
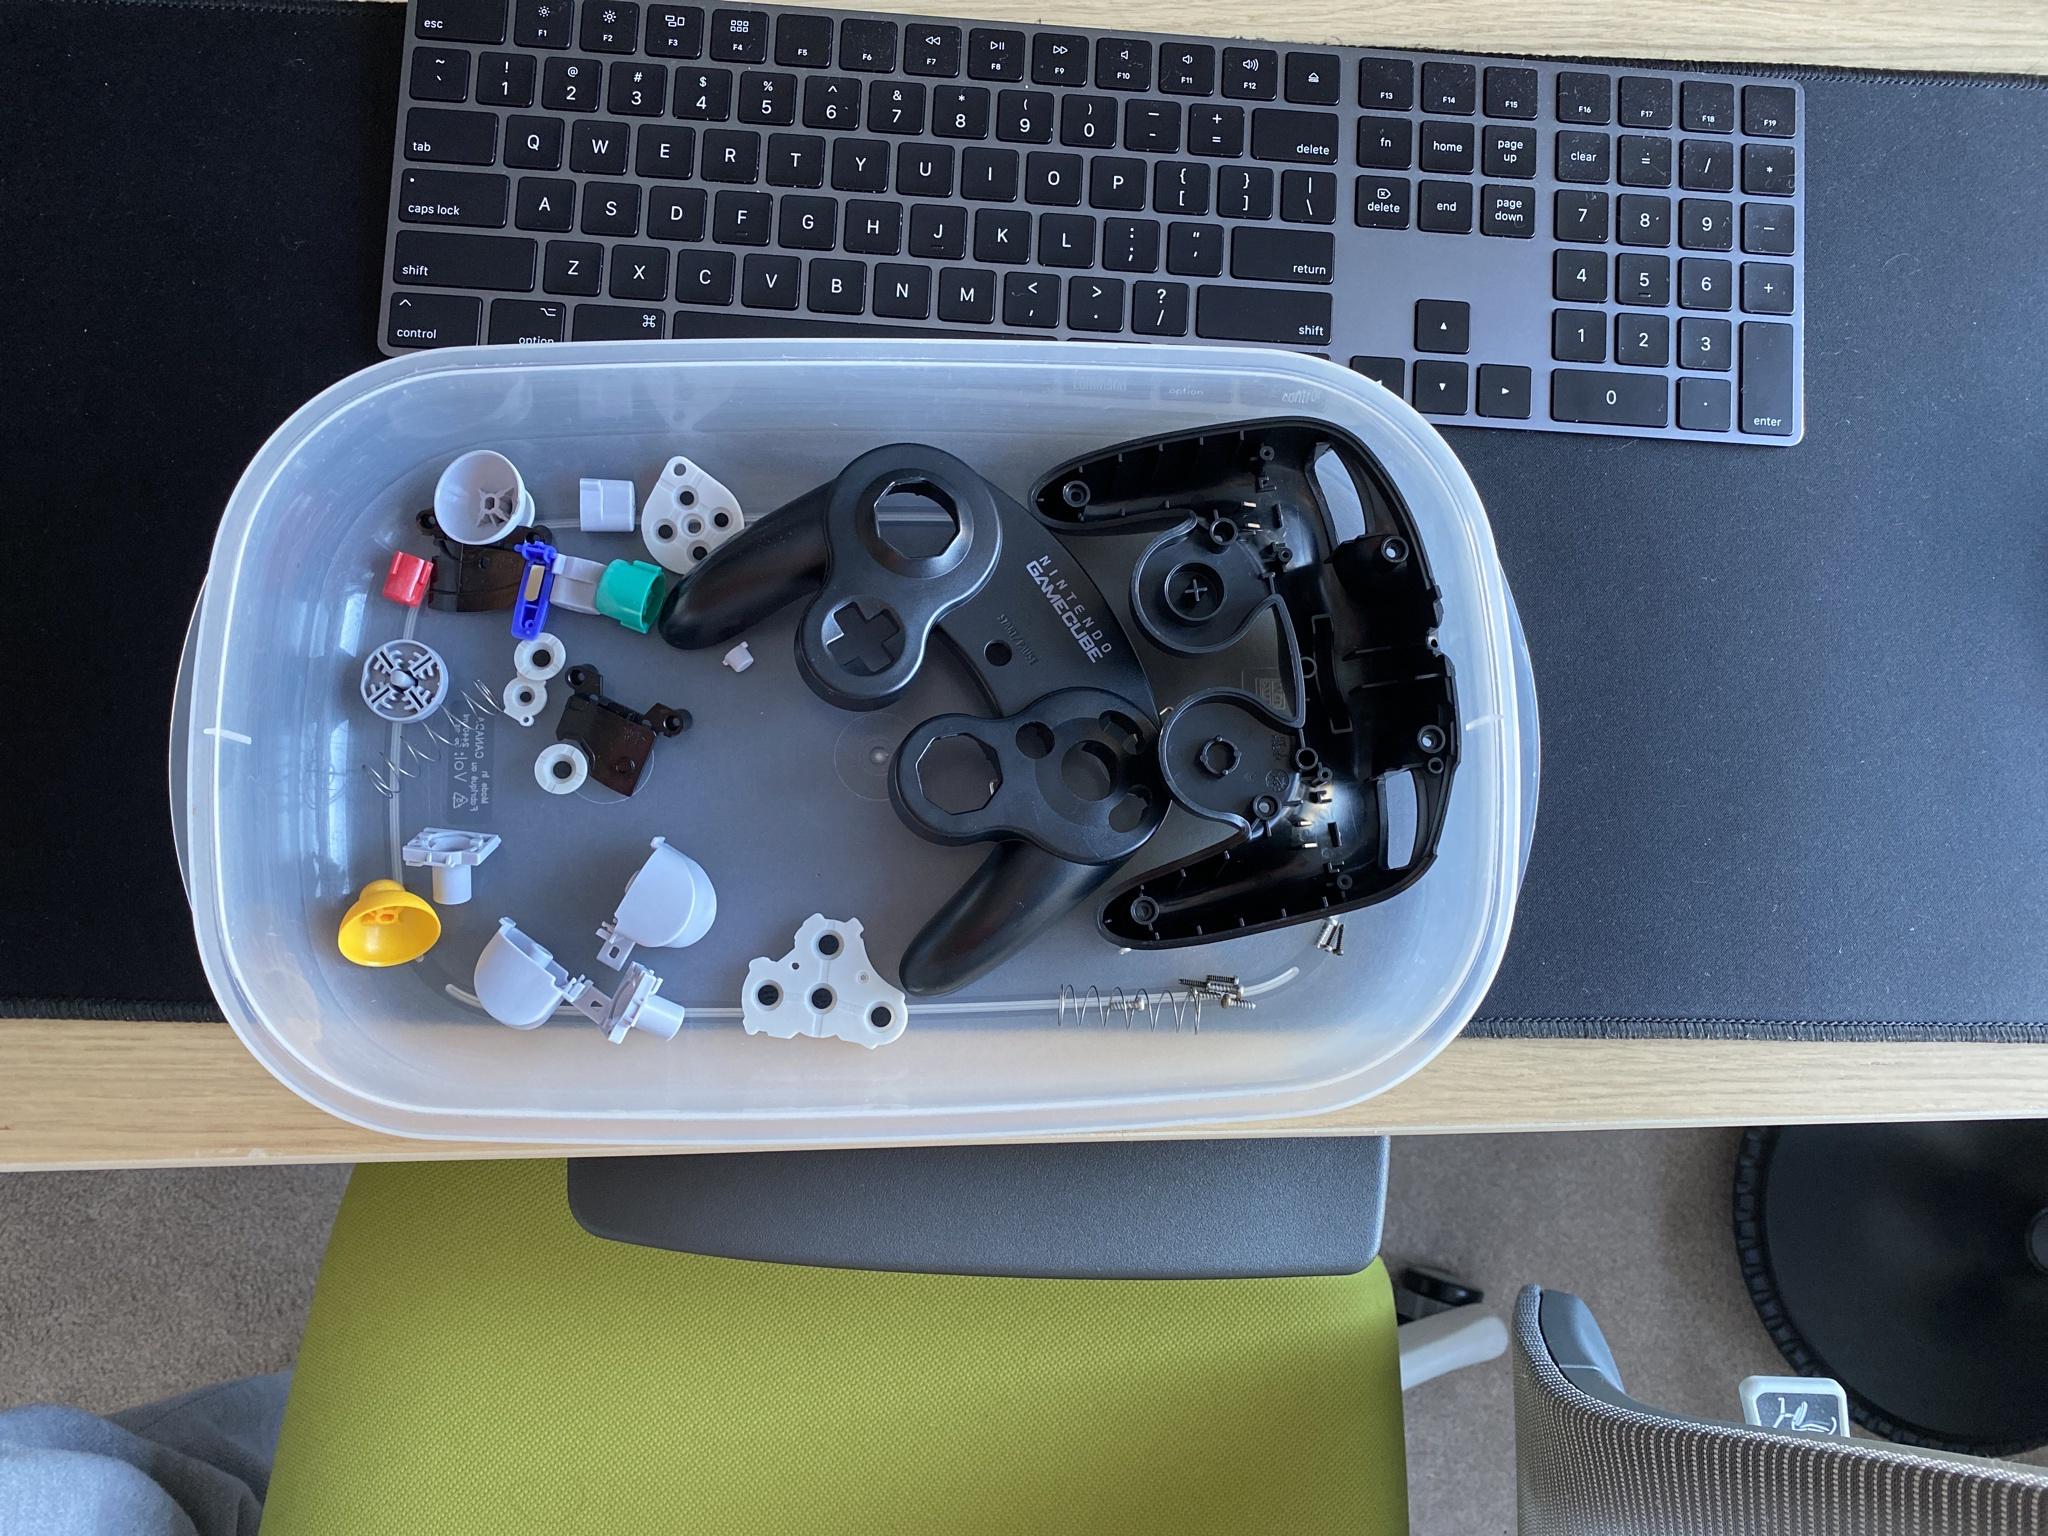
Everything disassembled and cleaned with soap and water.
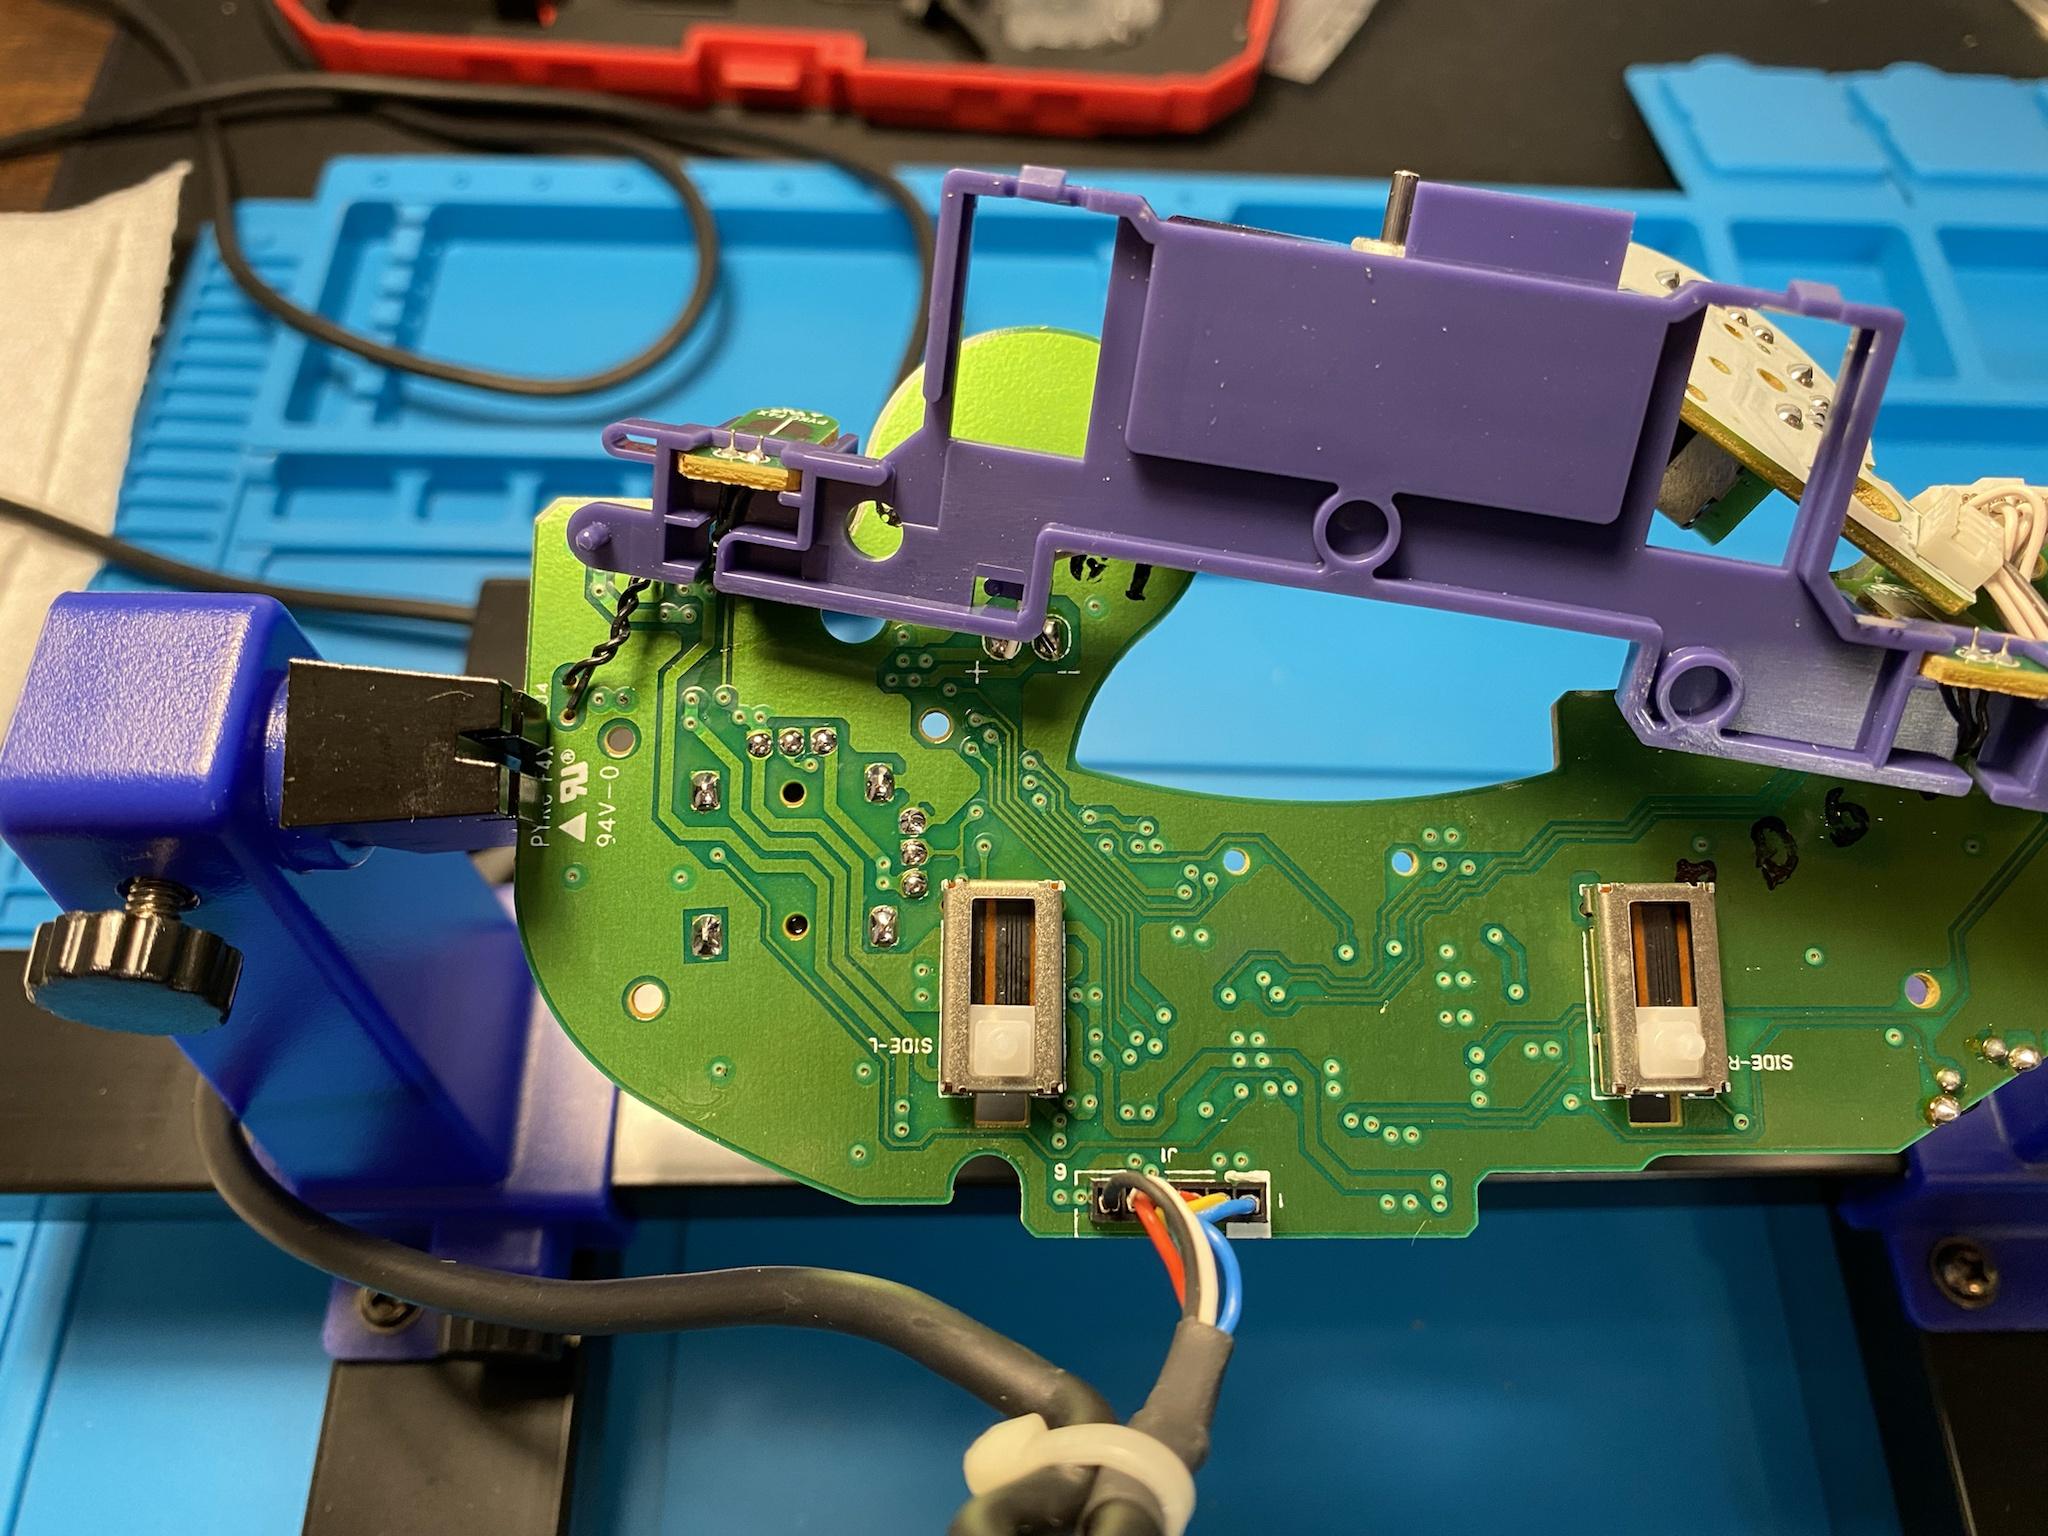
T1 stick boxes remove and the board cleaned with IPA. Time to solder new boxes!
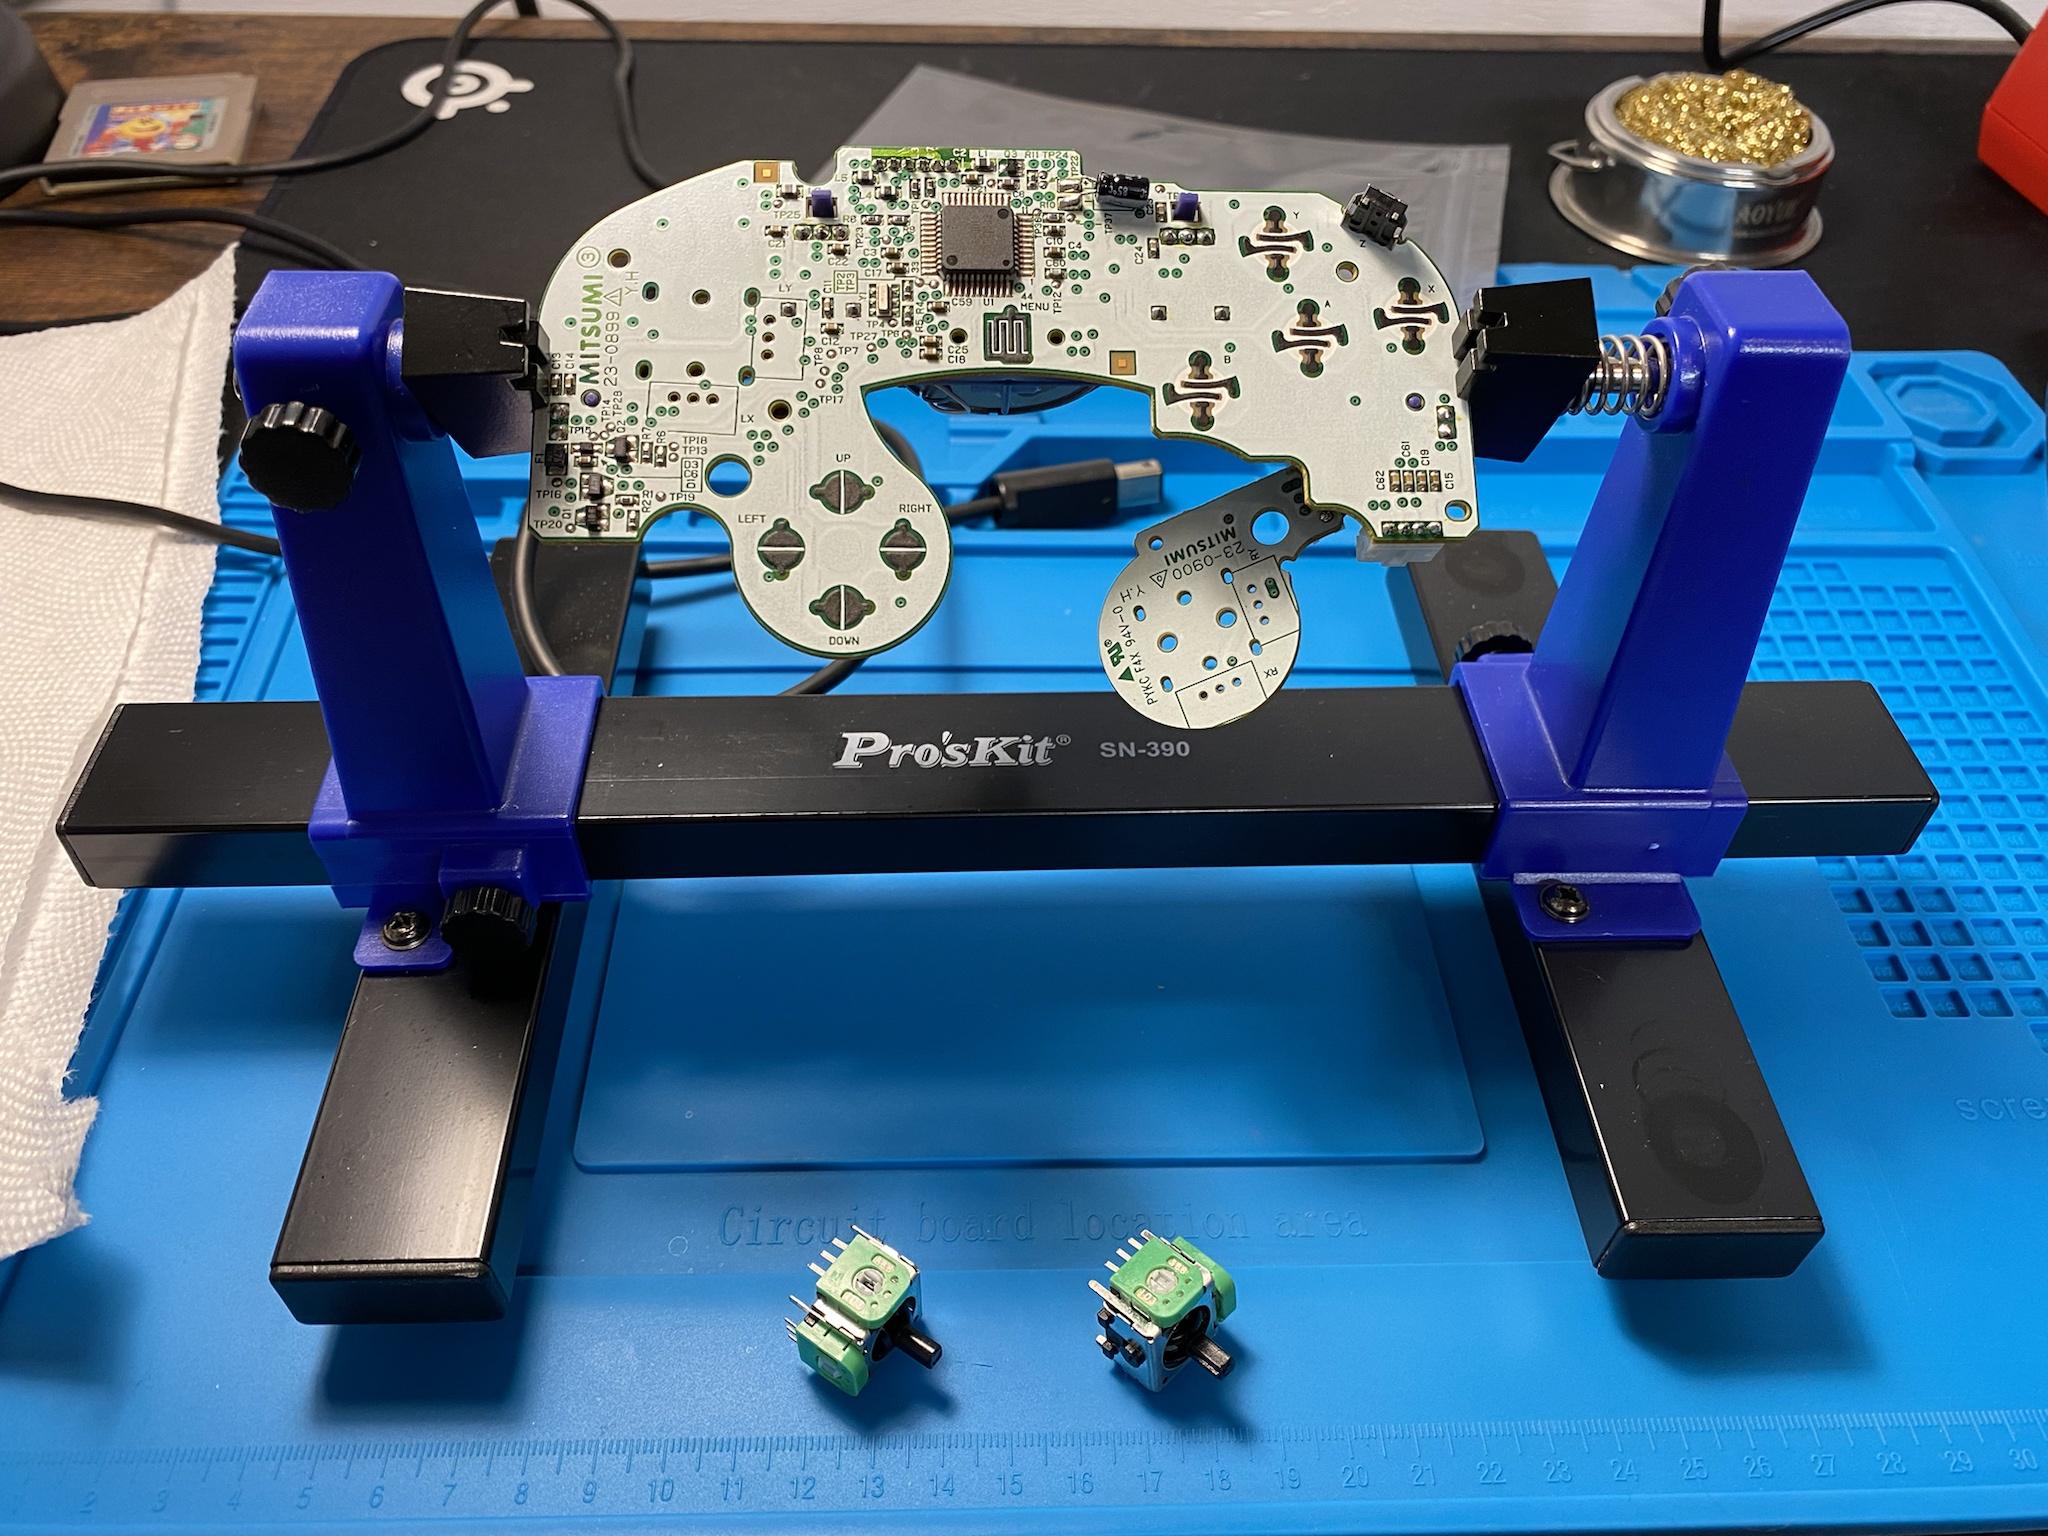
C stick done.
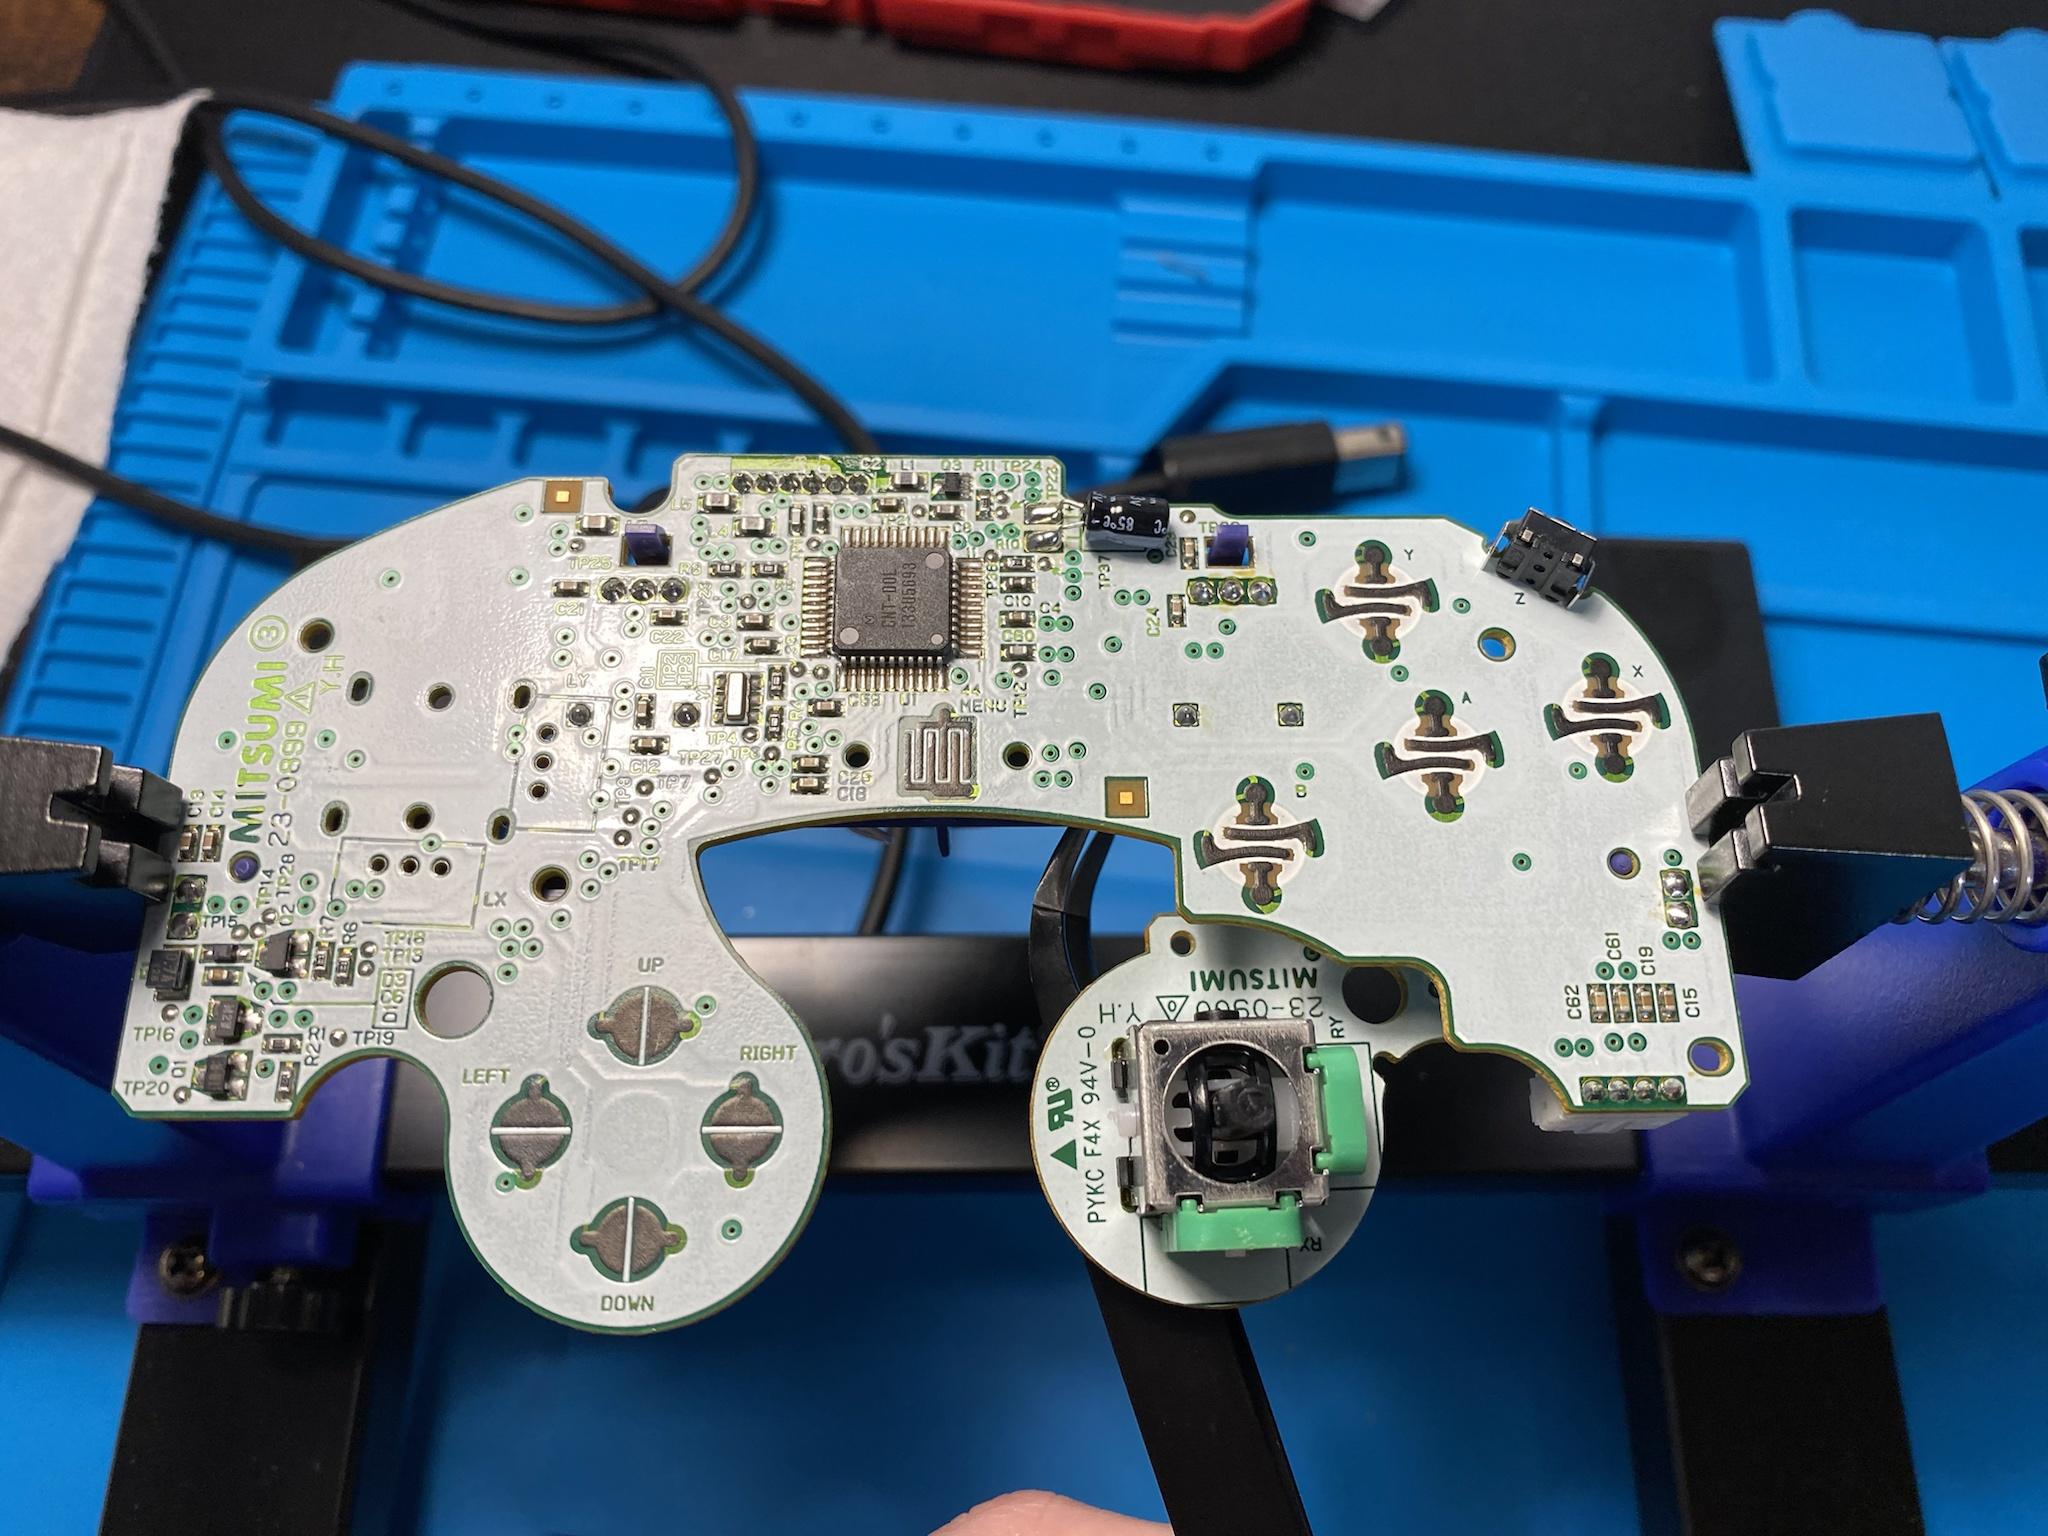
Soldering the main stick was a bit tricky with the plastic underside bracket in the way.
Done! The C stick cleaned up well but I had to replace the yellowed main stick. One day I’ll attempt to build a retrobright box and bring back its original colour.
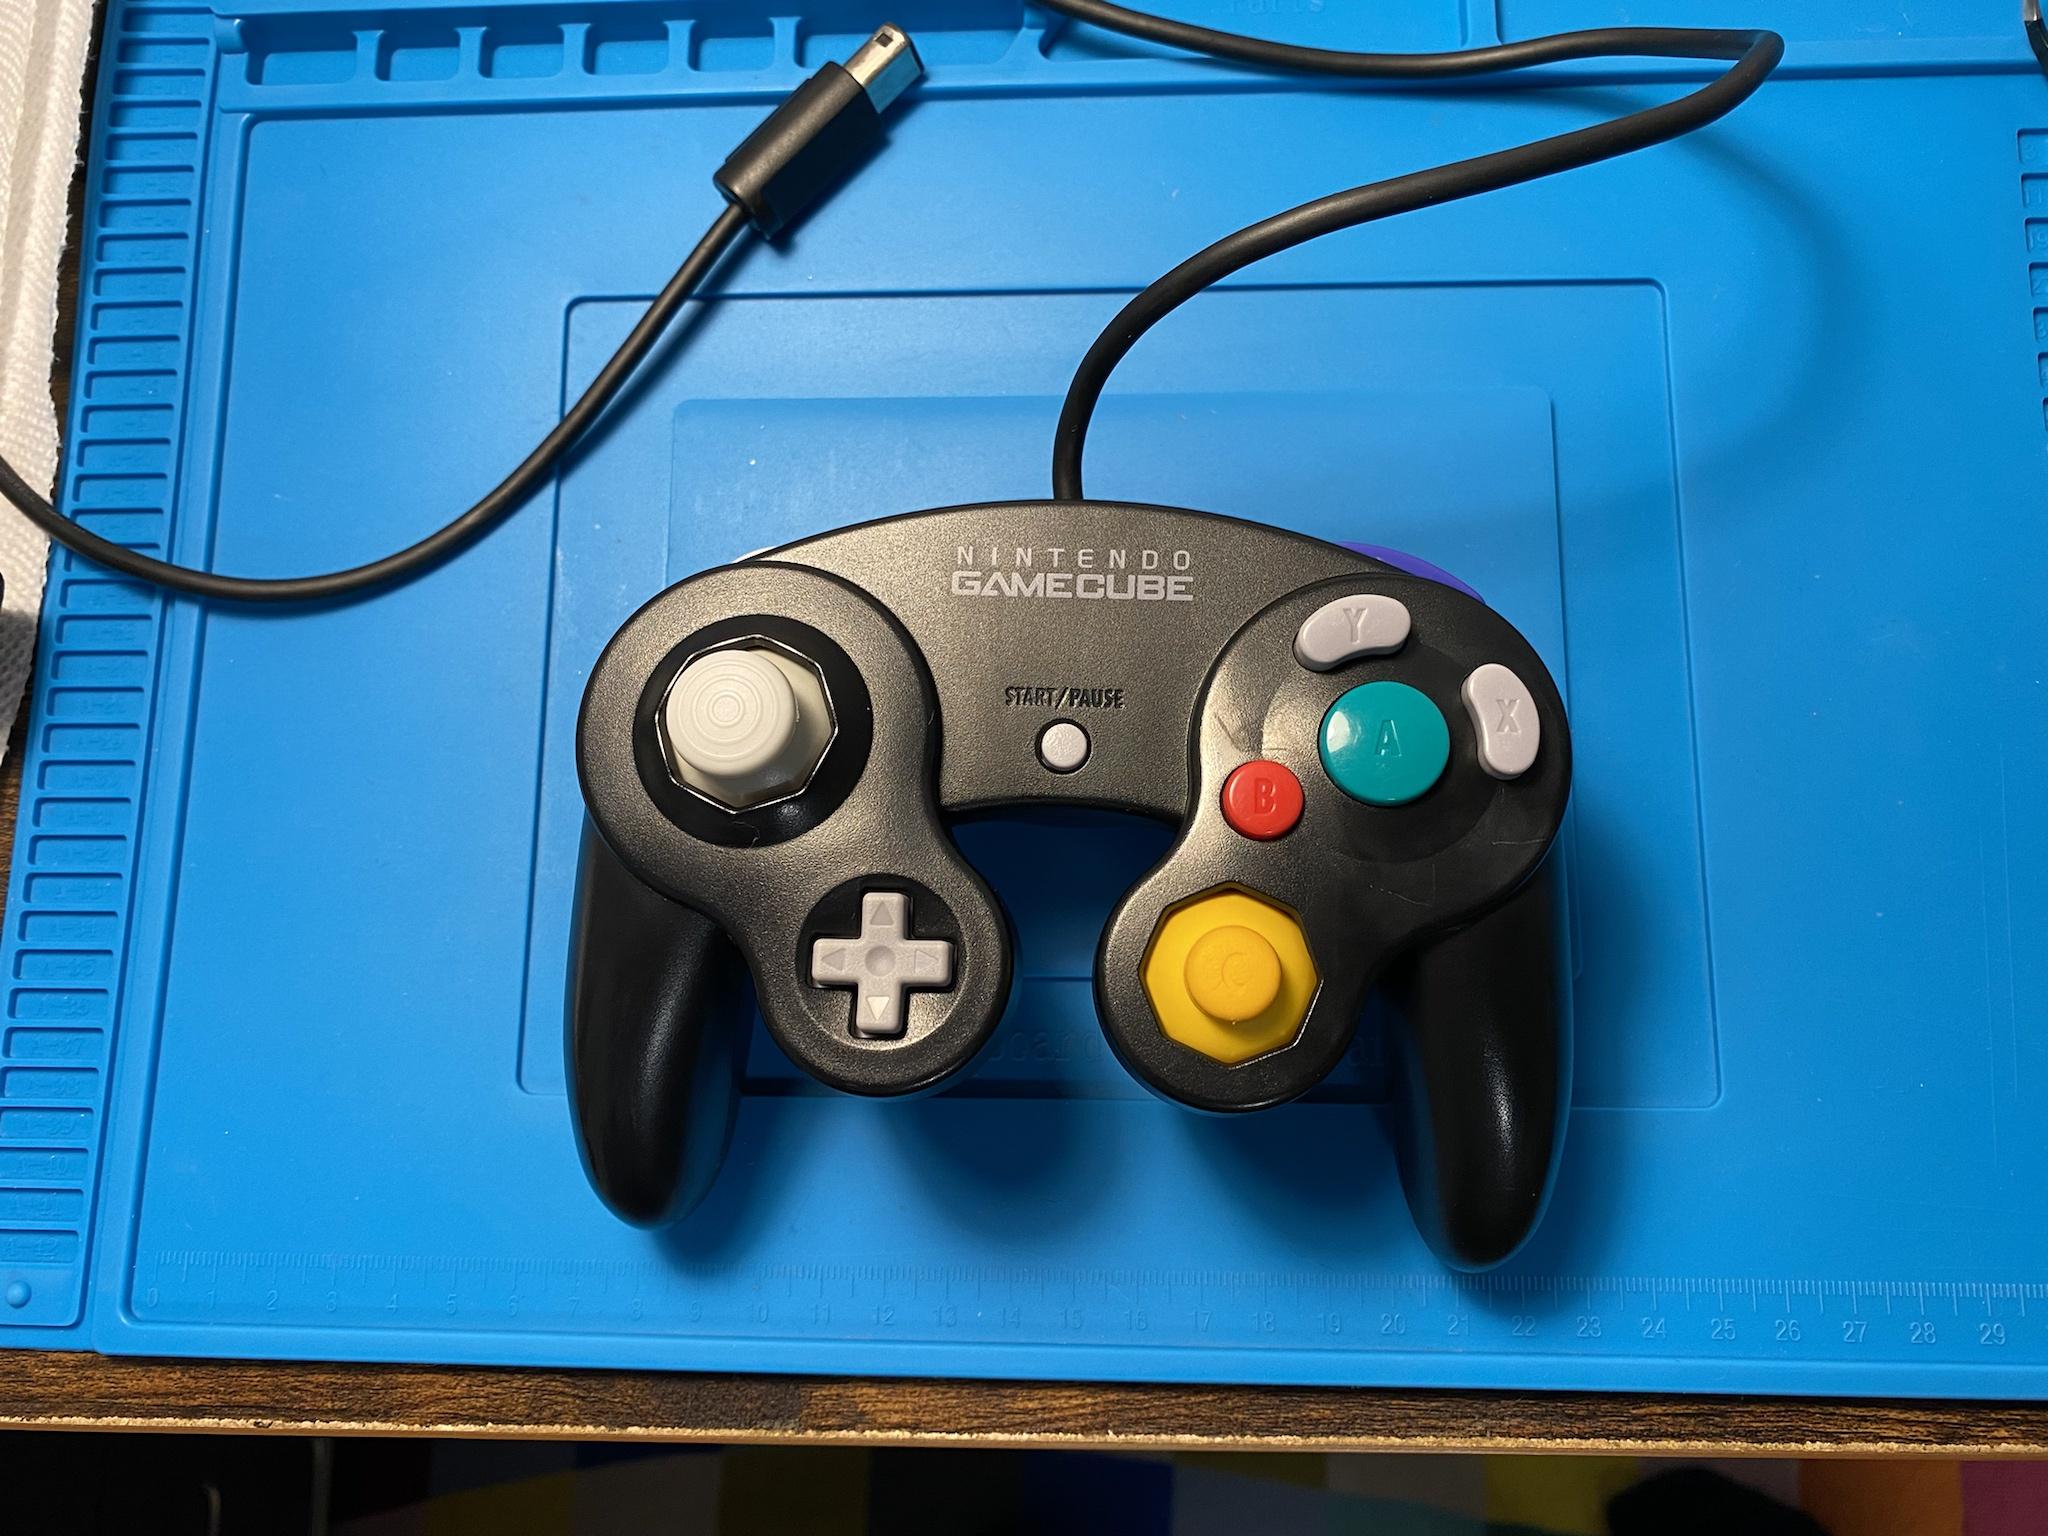
It was a fun journey and really happy with the end result. Now the hard part is figuring out which game to play first.