Gameboy Advances
The Gameboy Advance is an amazing device and I wanted to mod one for a friend. The beauty of modding is it breaths new life into a device and enhances its capabilities. Here’s a list of changes I will be doing:
- IPS screen by Funnyplaying (V2)
- Tantalum Capacitors by Helder
- Power Cleaner by Helder
- New shell, buttons and membranes
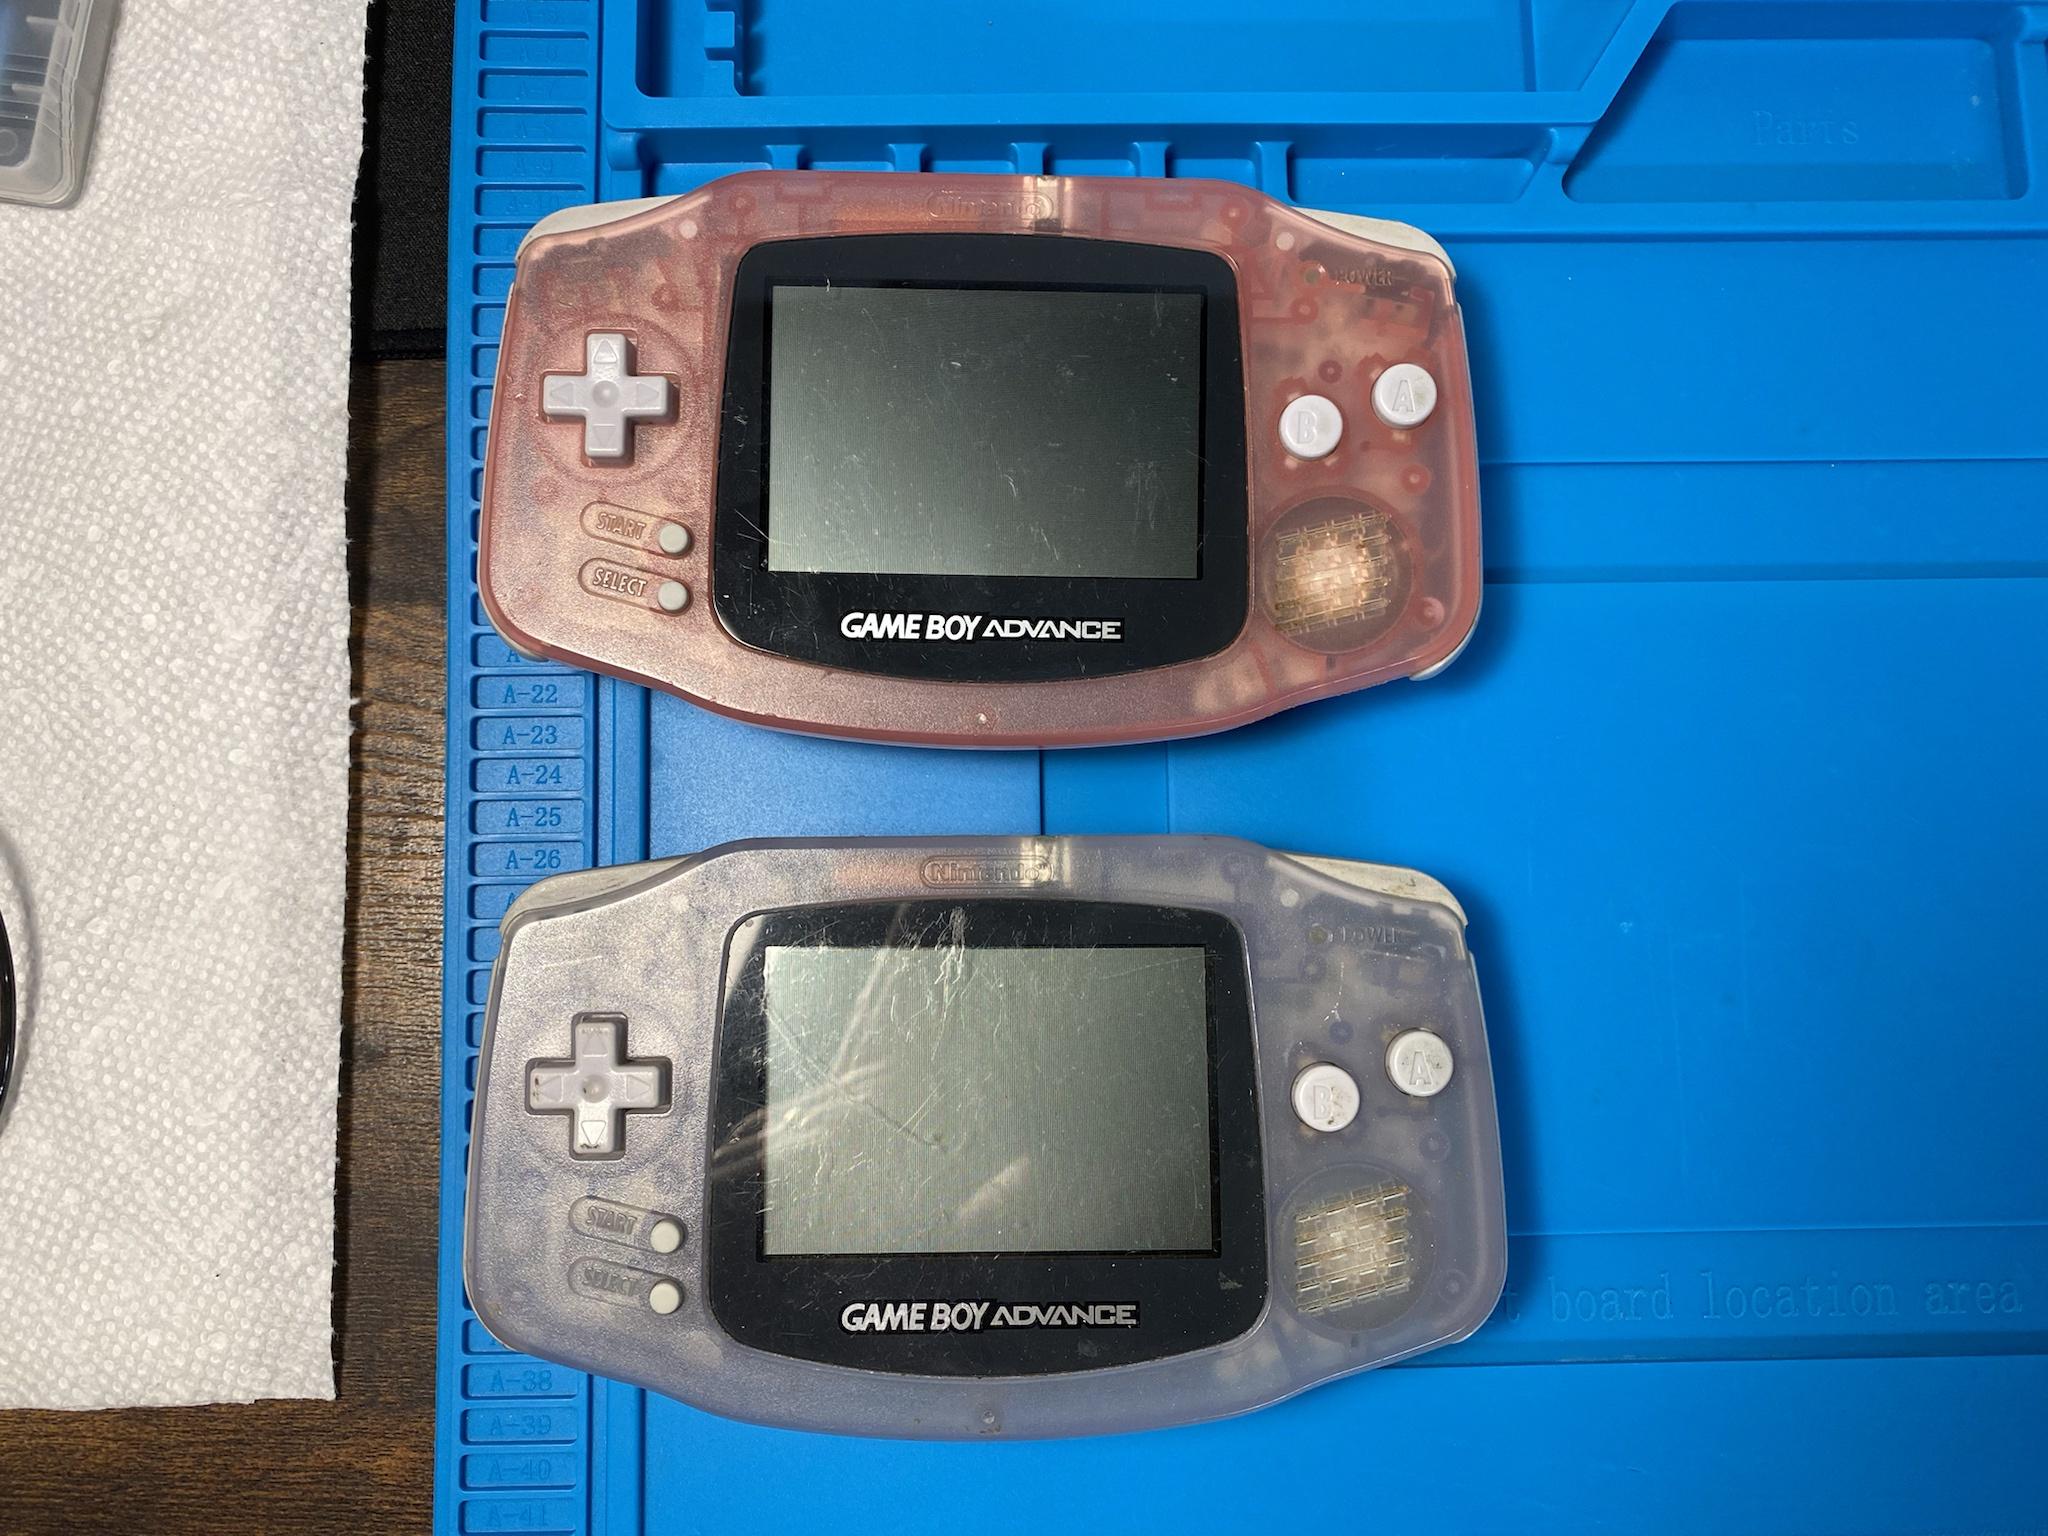
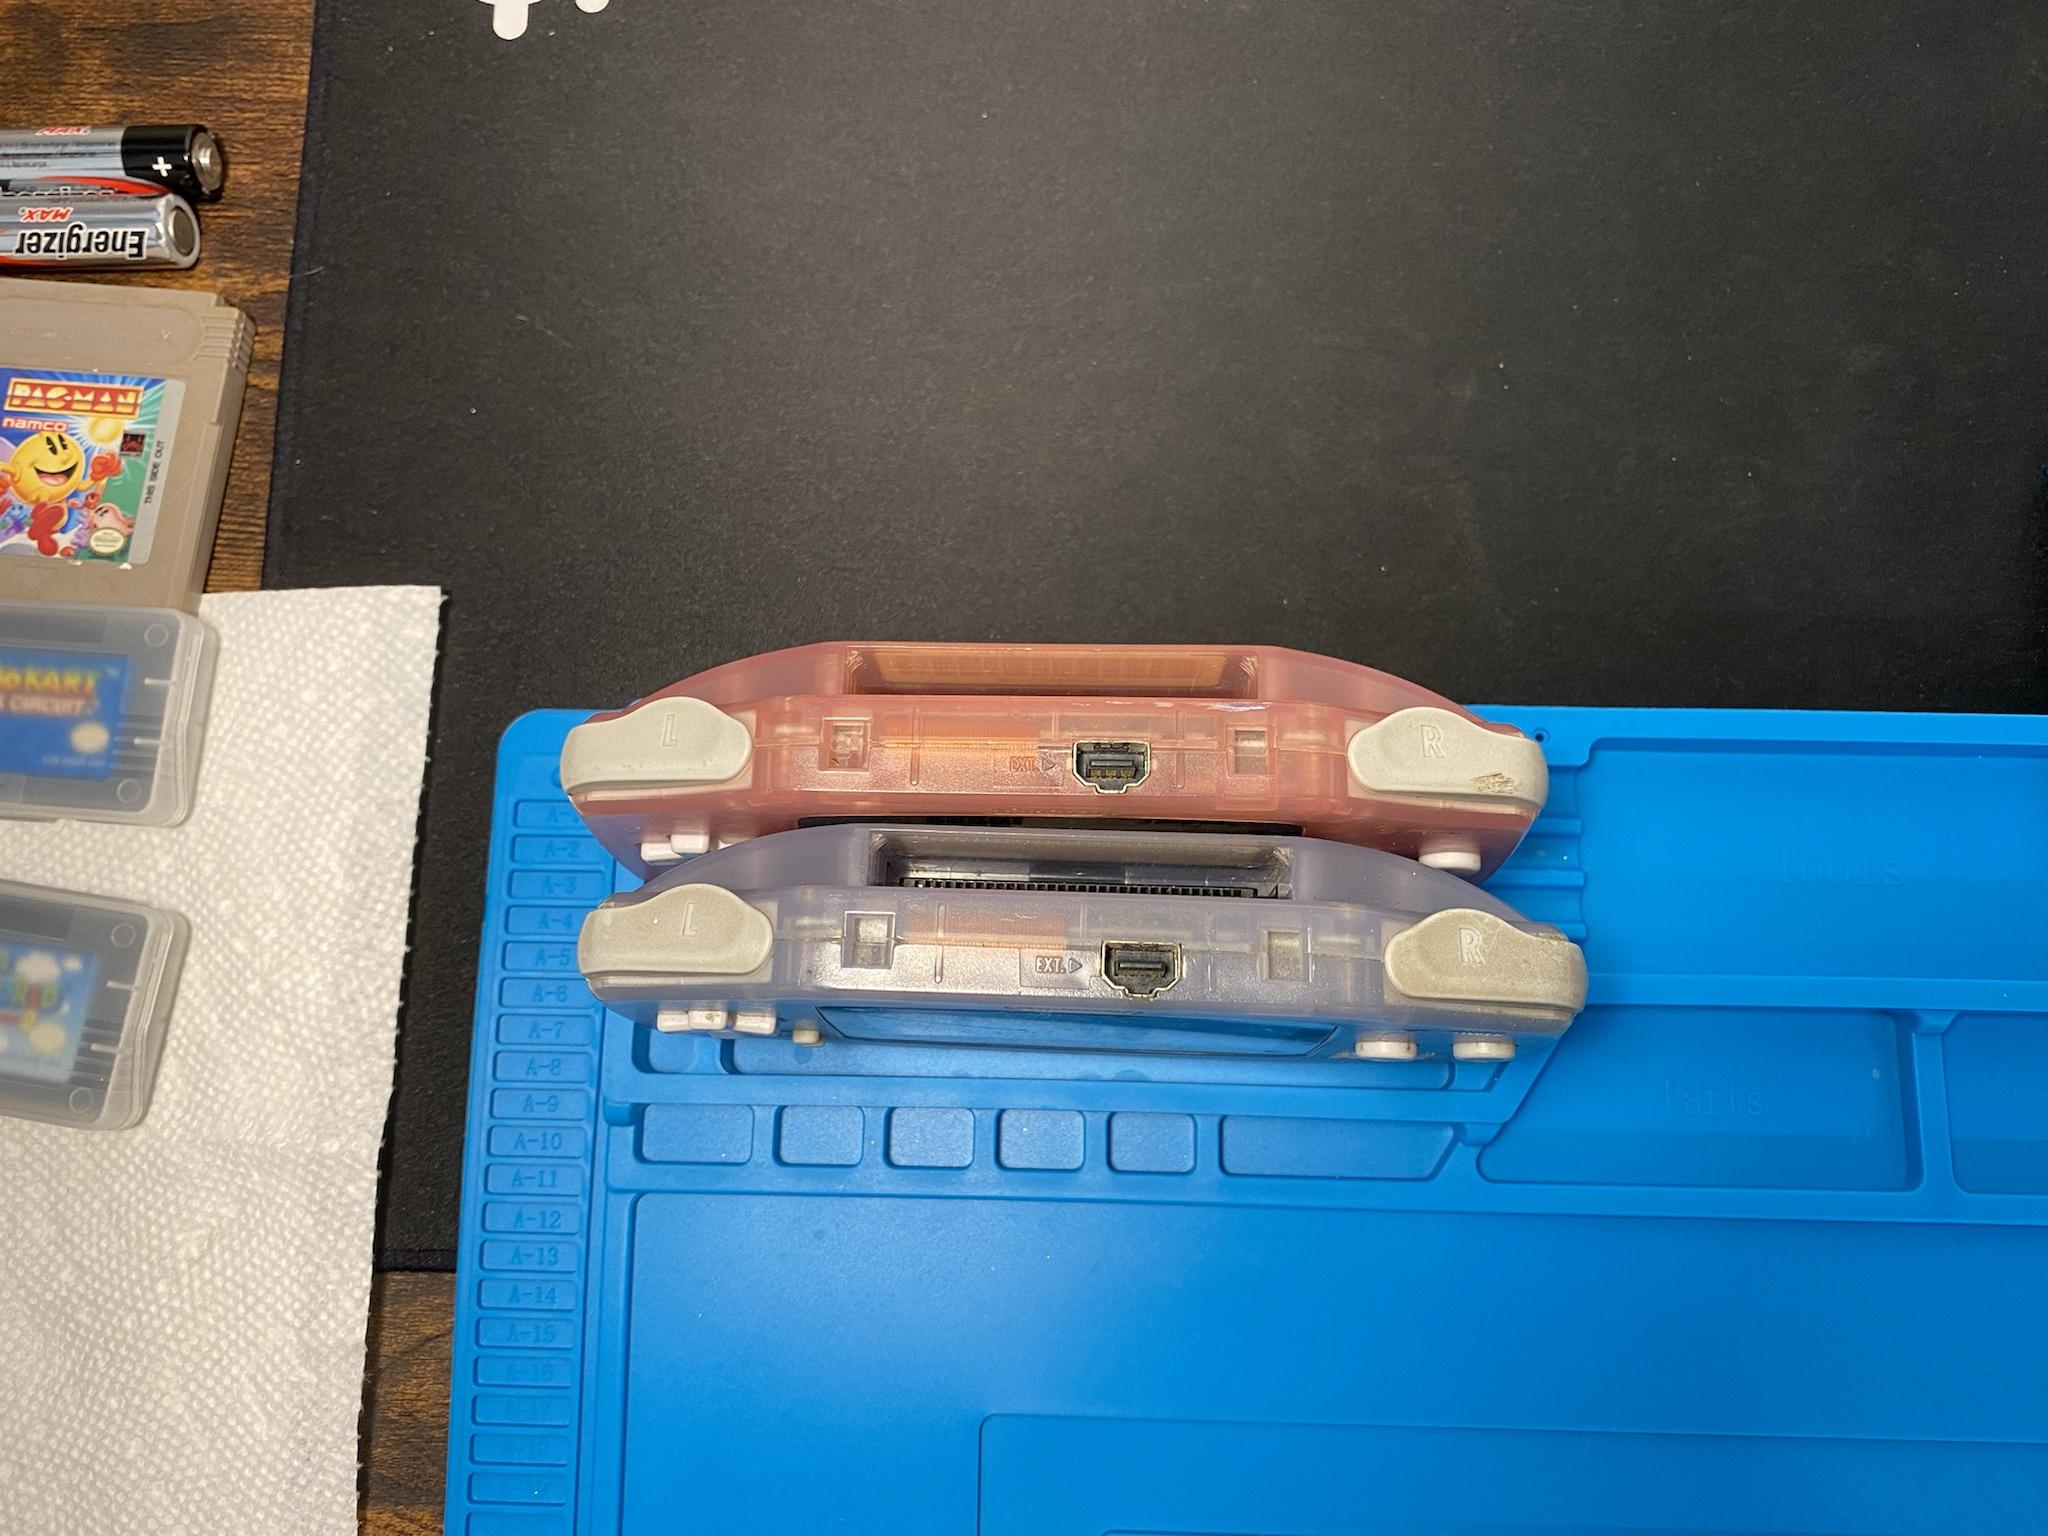
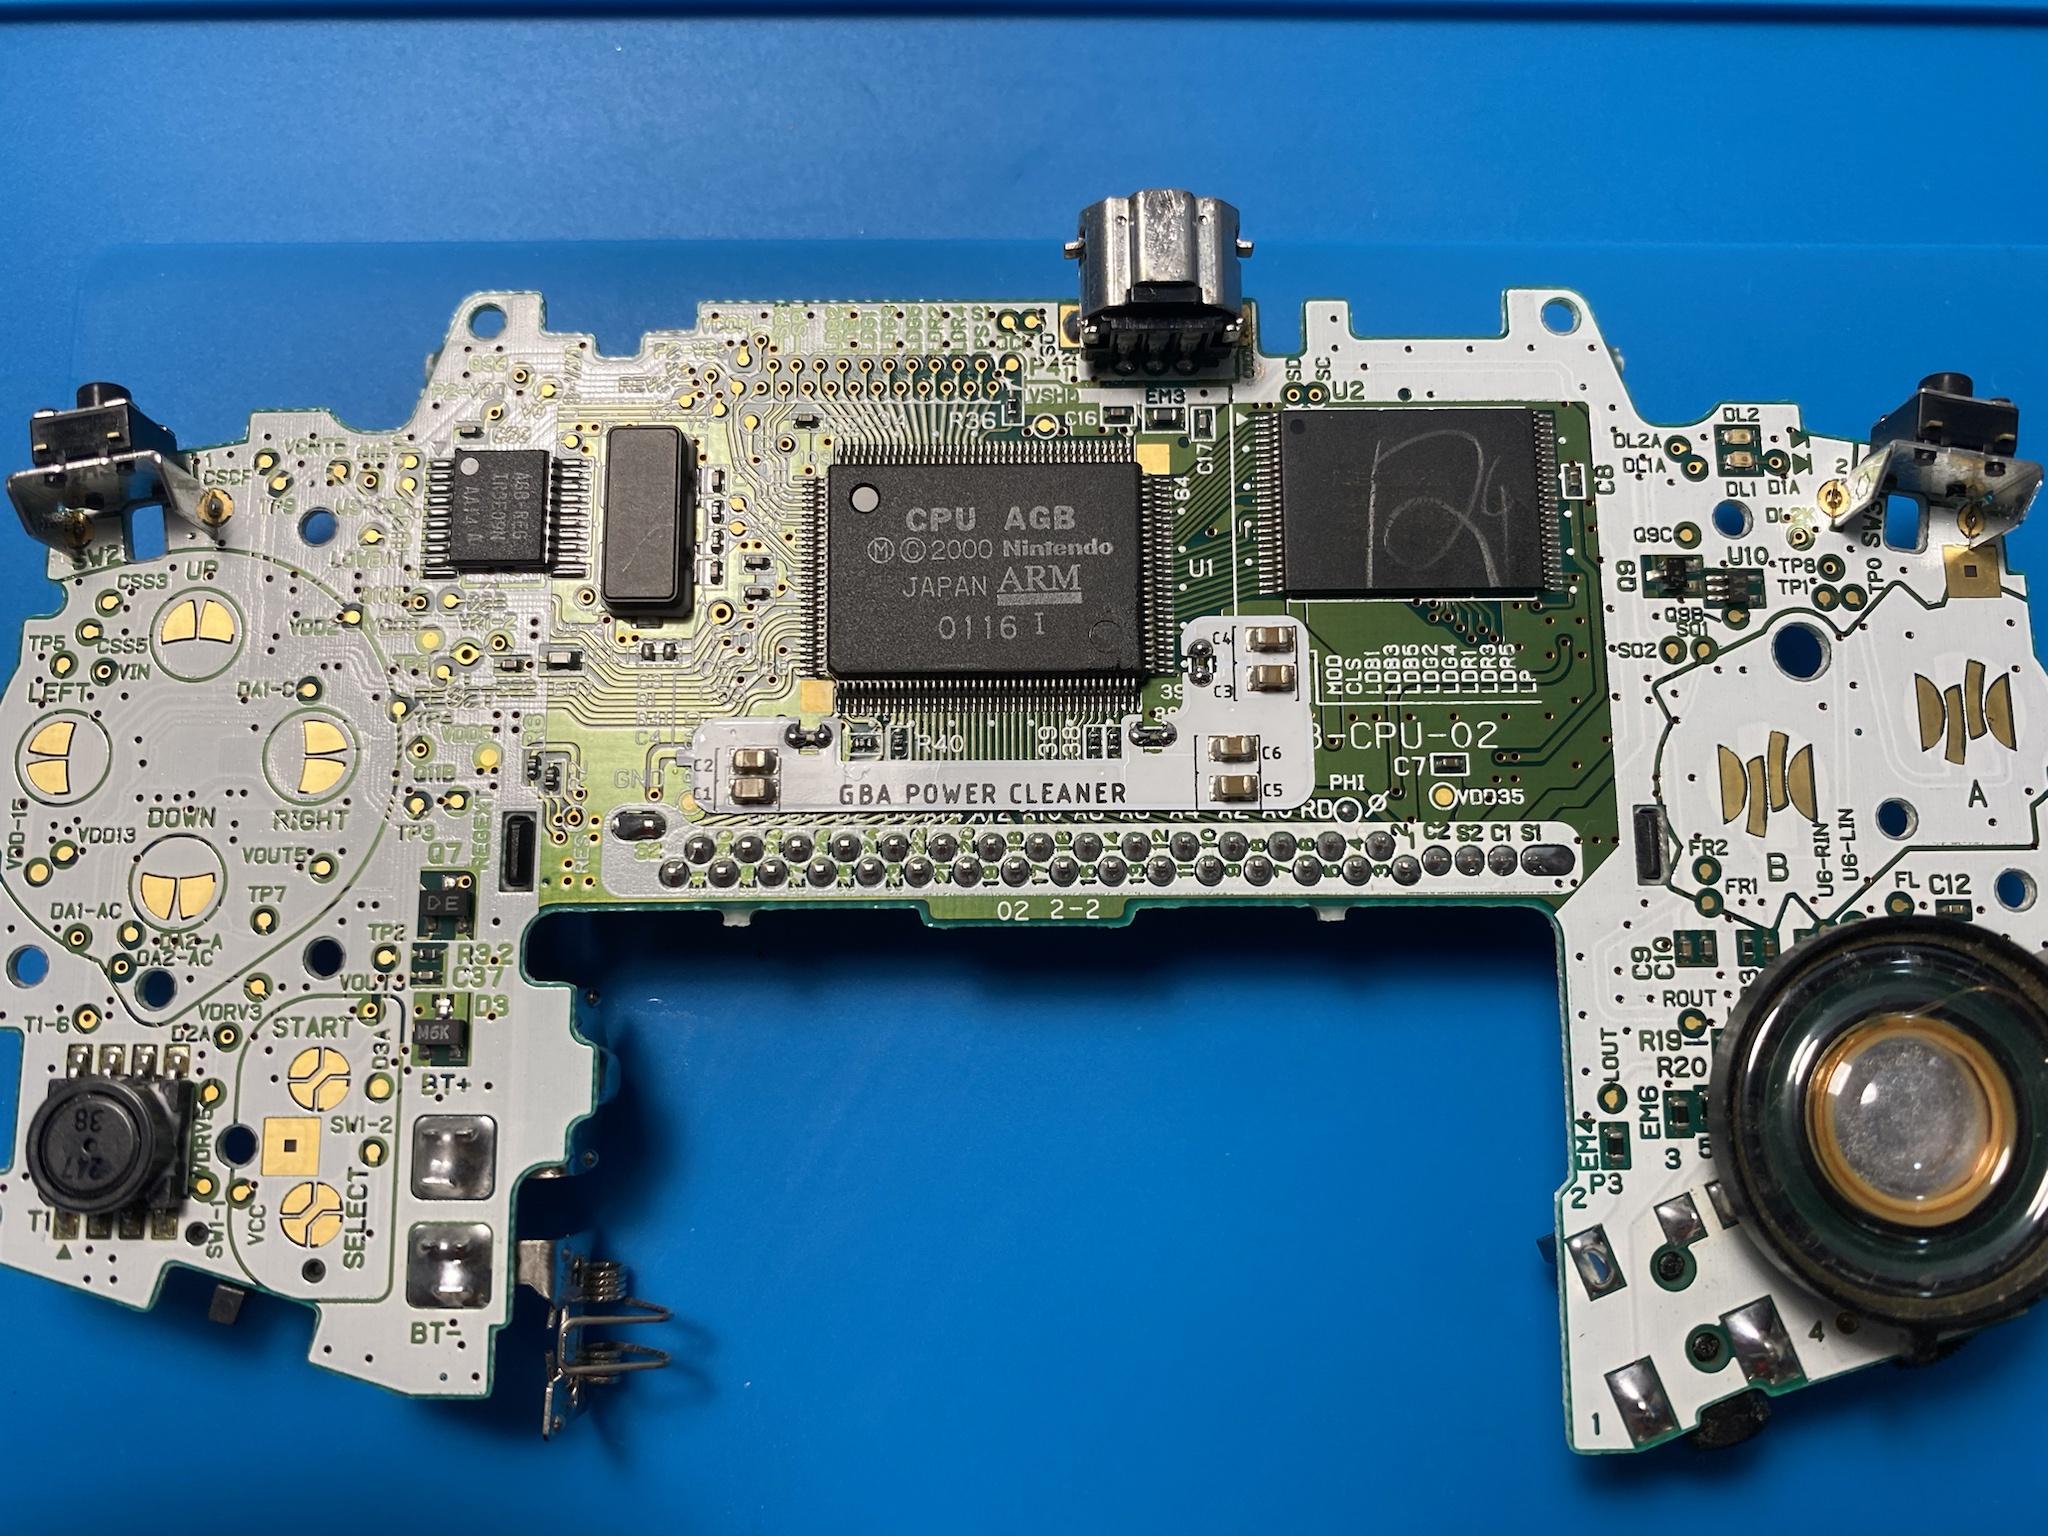
I found an Ebay post selling two GBAs at a good price. The catch was they were missing their battery covers and were quite dirty but that’s no problem! All I need to do is clean up the board and perform any repairs if needed.
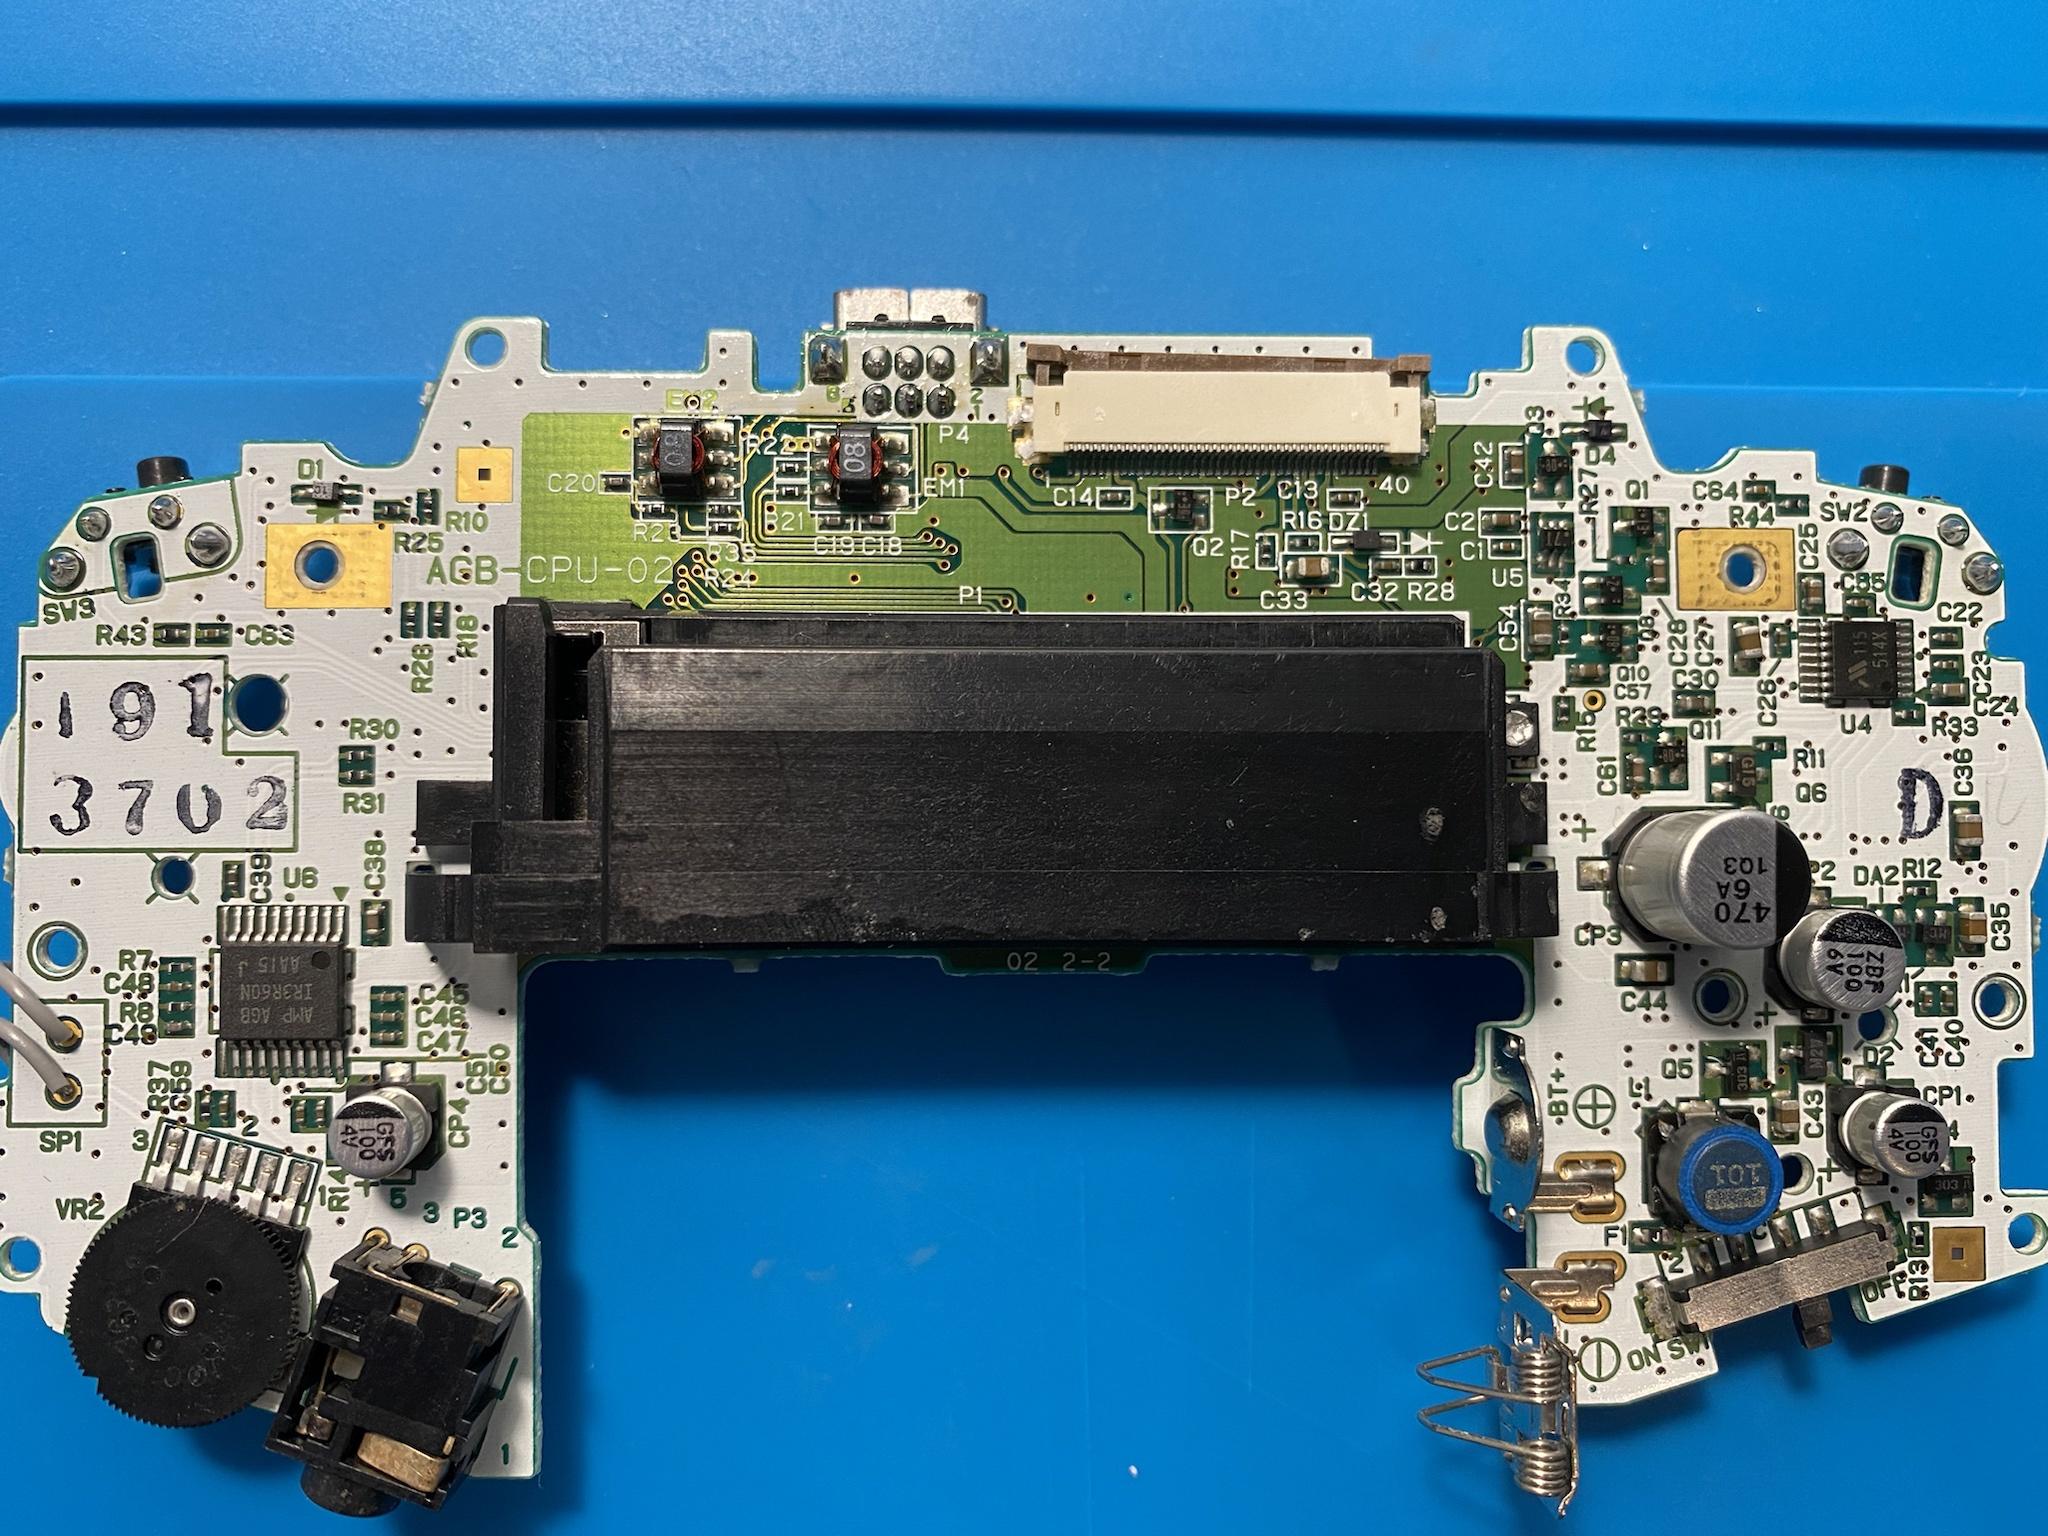
The shoulder buttons were quite dirty. I tried to bring them back to their original colour but stopped midway because I wouldn’t be using them in the final builds. I’ll keep them as spare parts and will finish cleaning them when they’re needed.
I spent several hours doing a deep clean of both devices and sadly they don’t look much different. Unfortunately the scratches really steal the focus but I swear they’re clean! While testing the devices I noticed the Coral GBA had inconsistent shoulder buttons. They would only register clicks around 70% of the time so I will need to figure out how to clean them better or replace the components. For this build I will be using the Glacier.

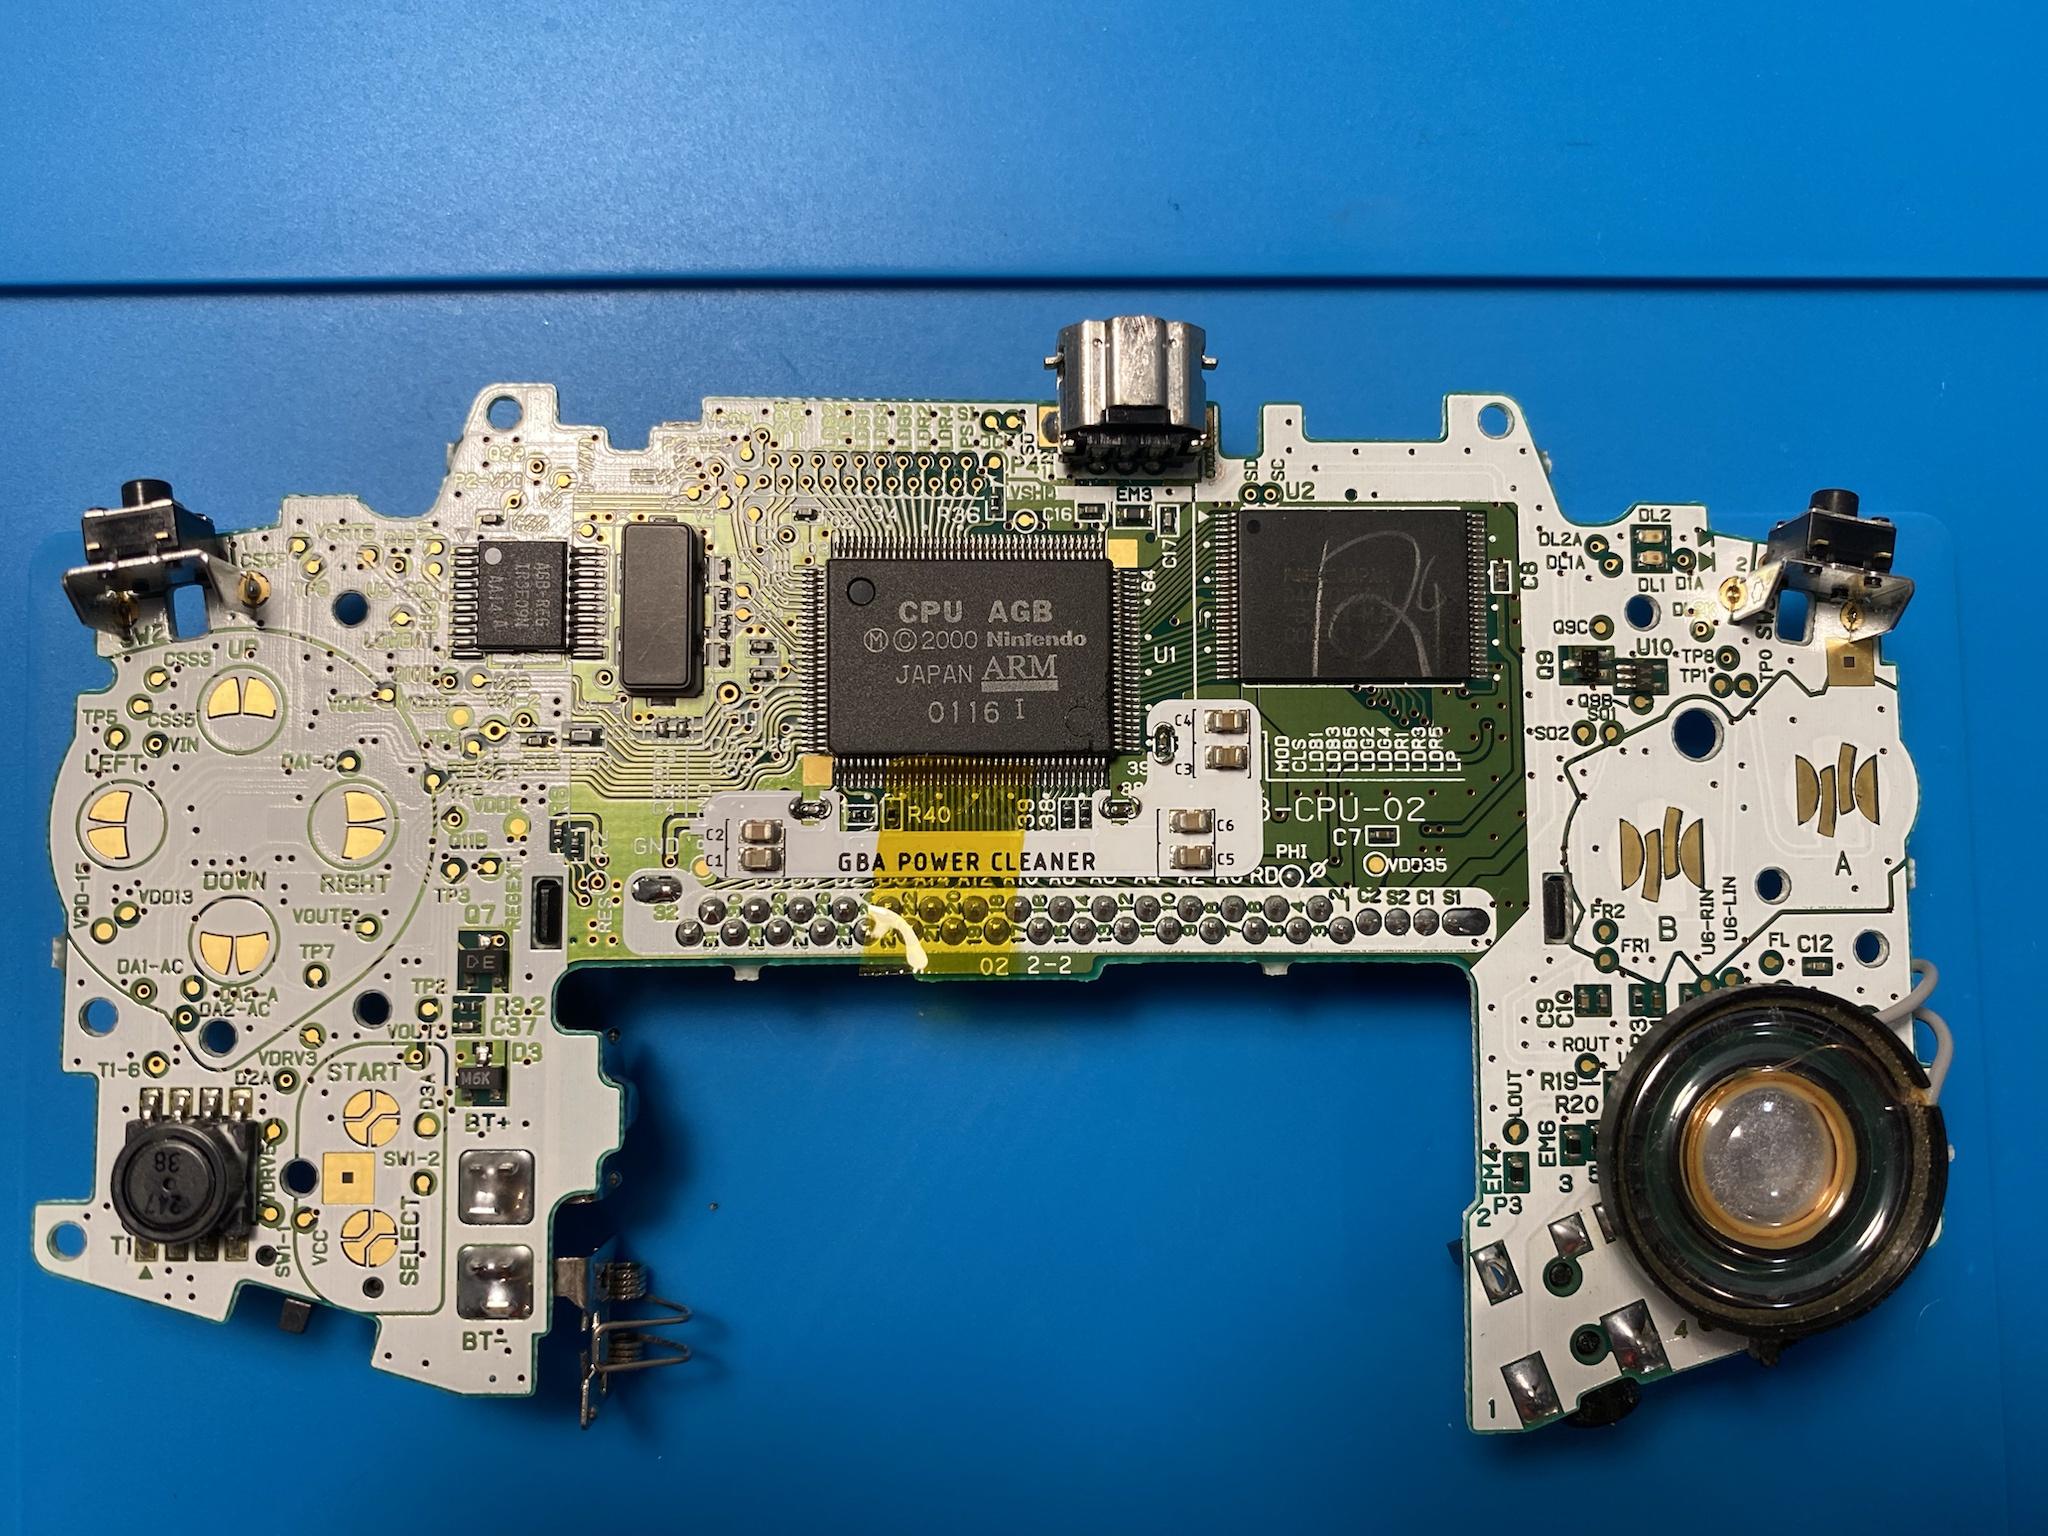
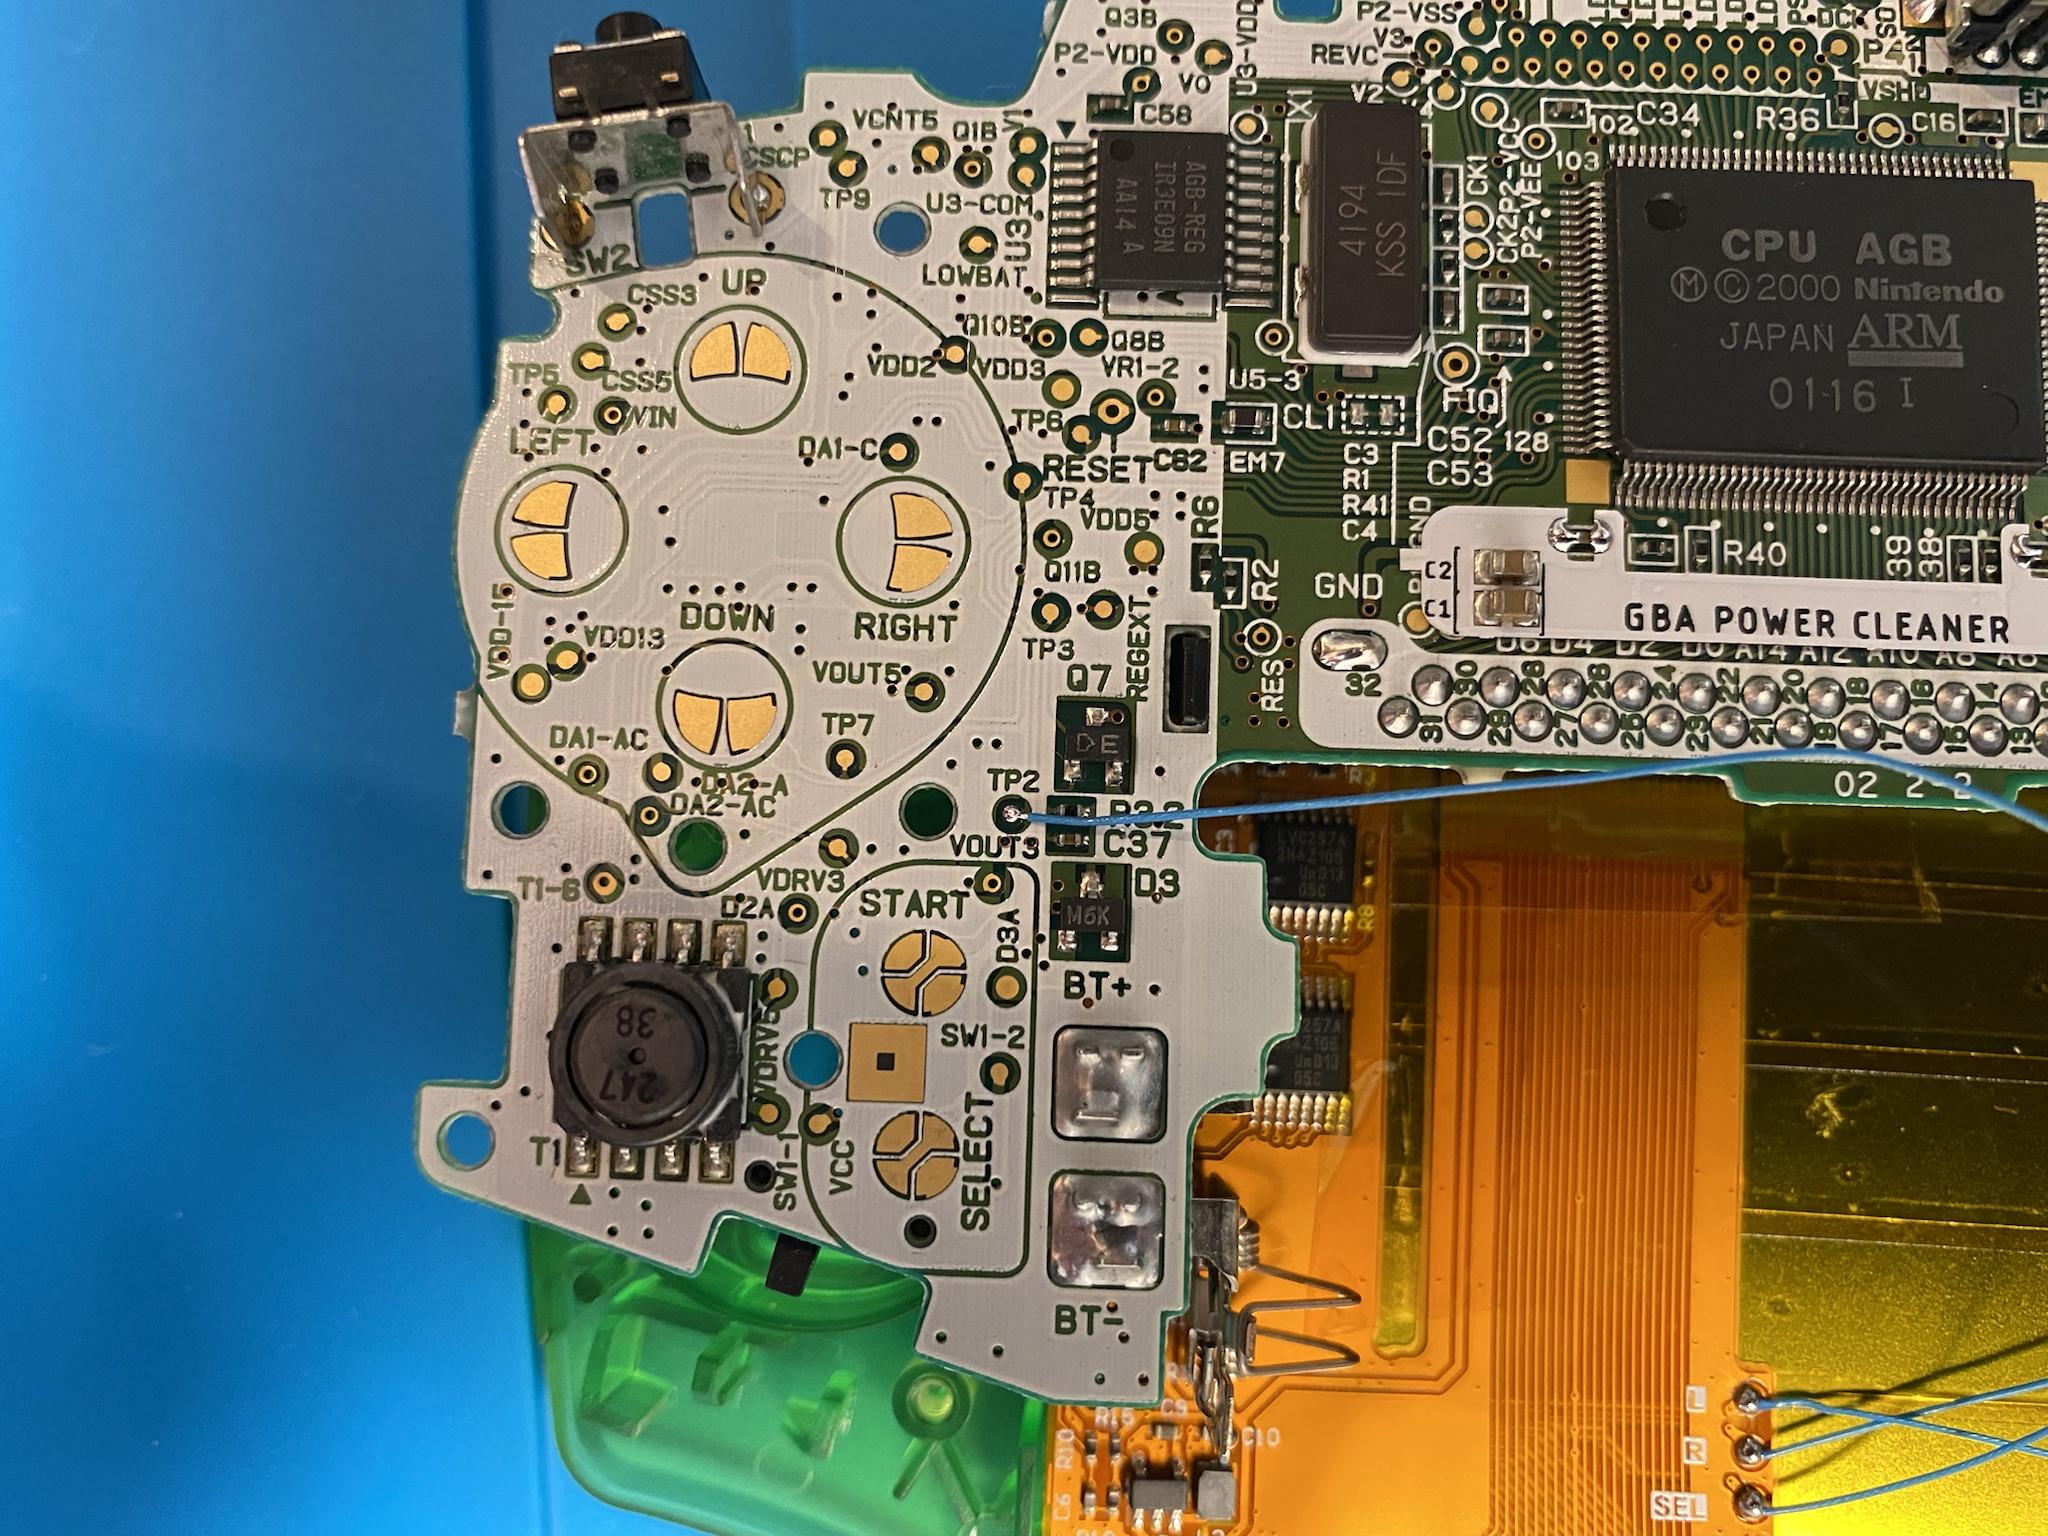
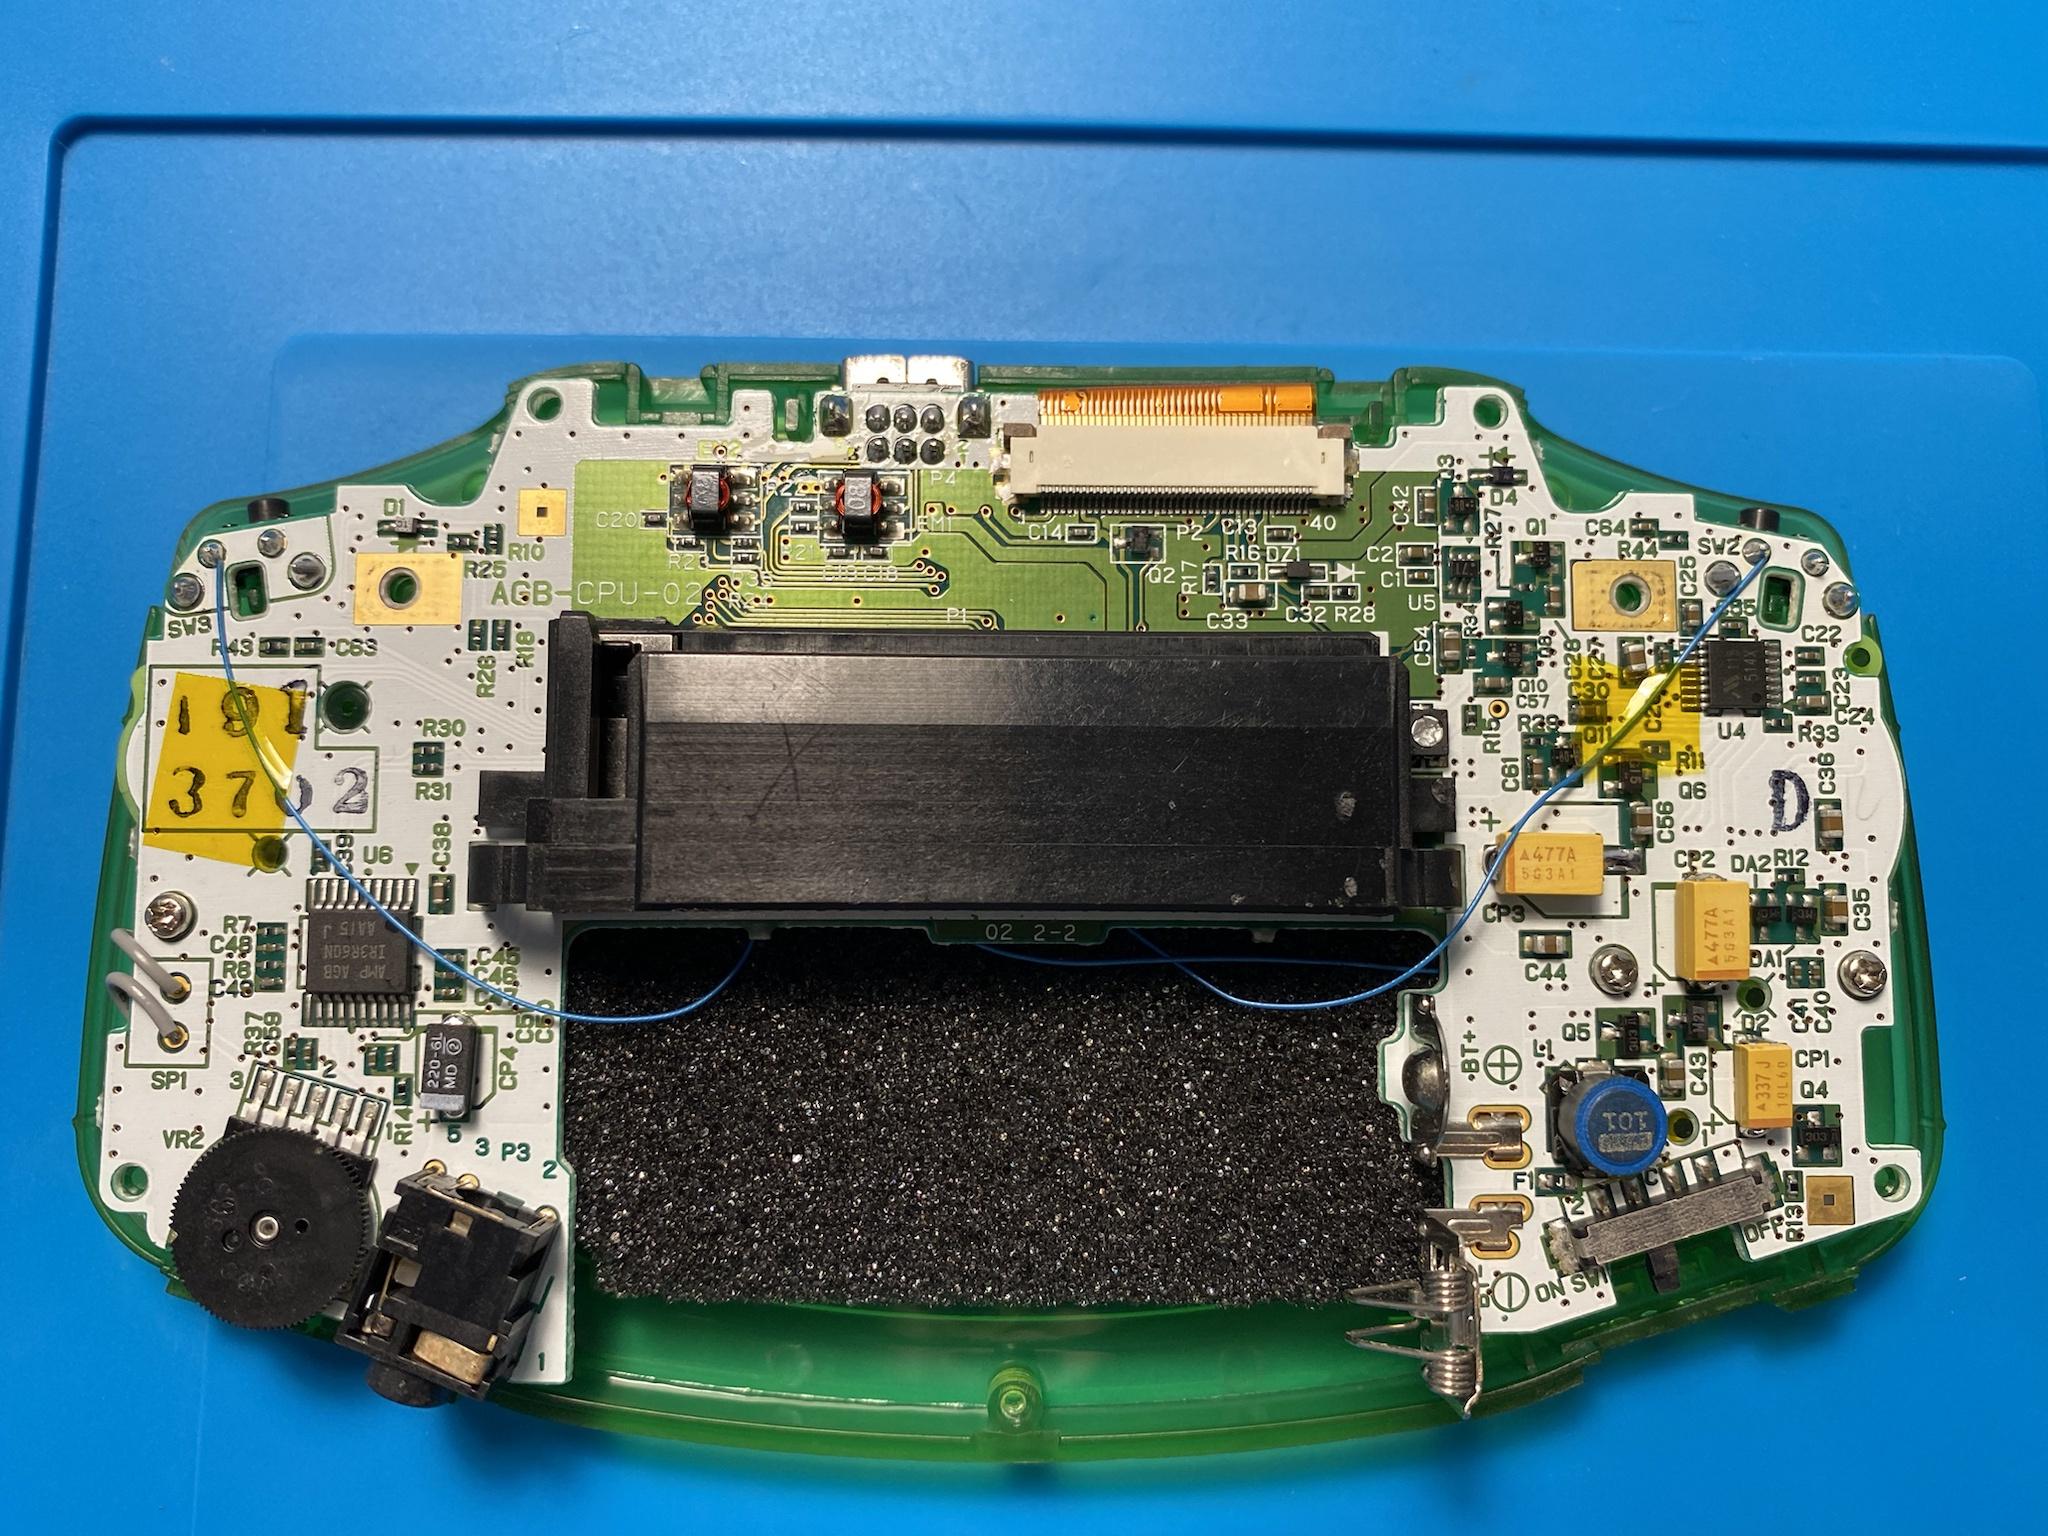
Power cleaner install time. The cleaner and resistors have been pre-tinned to make the install much easier.
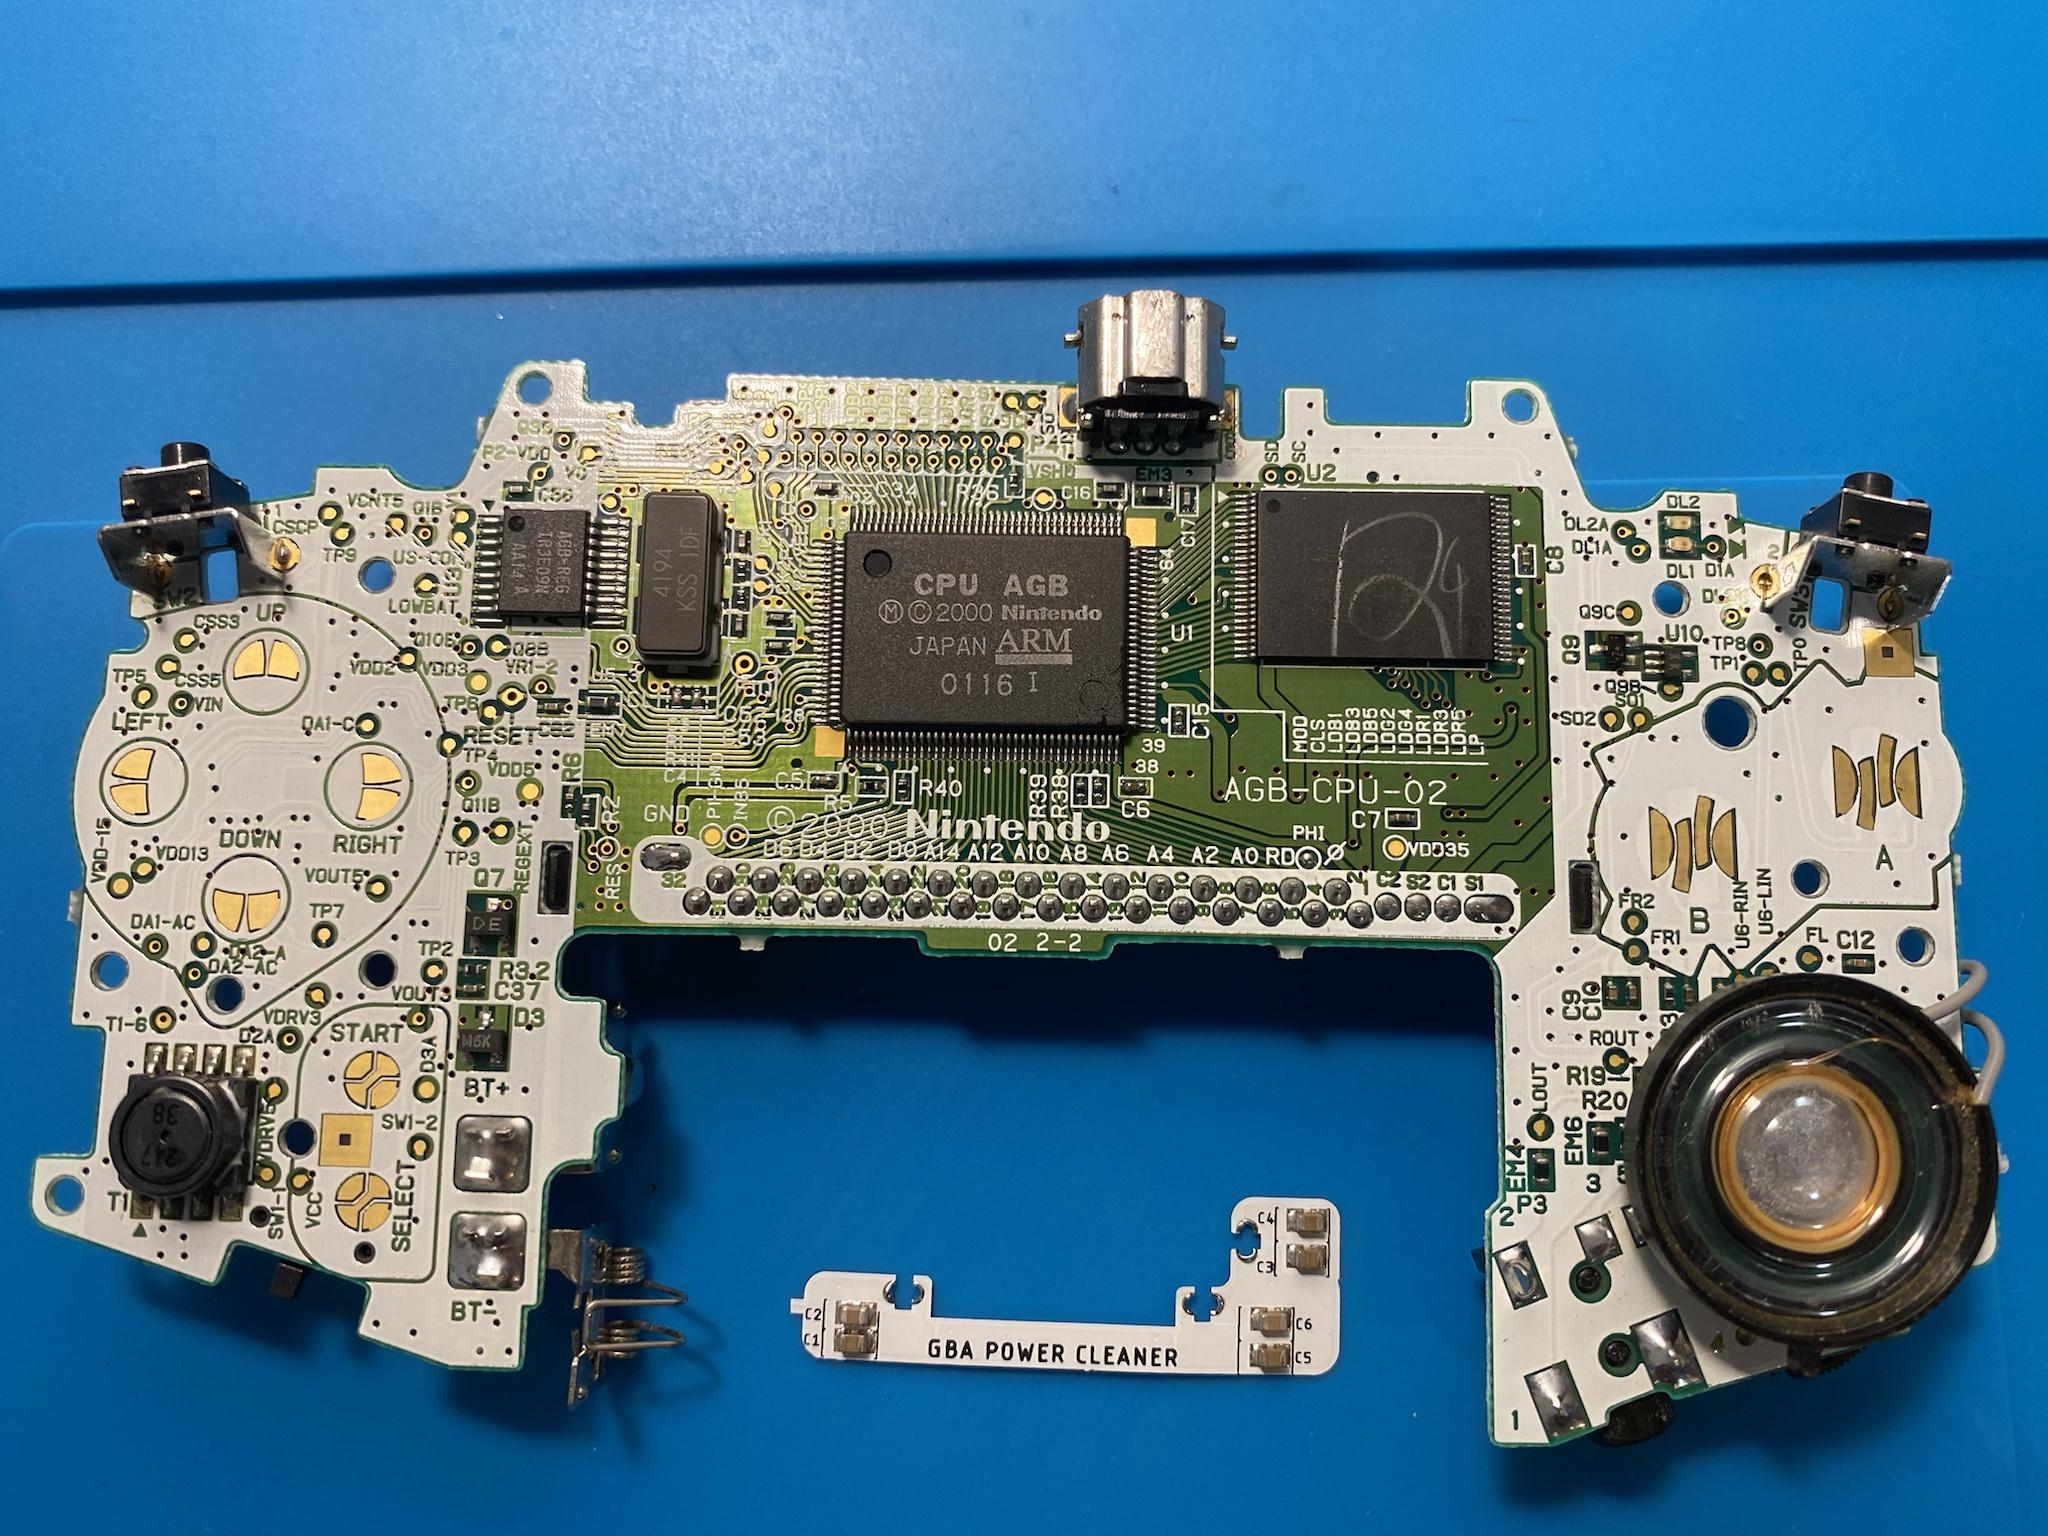
I tapped down the cleaner, with some capton tape, to prevent any shifts during soldering. My hands tend to shake so this helps a bunch.
The cleaner and new capacitors will reduce the hiss and hum from the speaker caused by the IPS screen and any future power hungry mods that might be installed. It won’t completely remove the hiss but it will greatly reduce it.
Onto replacing the capacitors. Here’s a before picture of the original 4 capacitors (1 on left, 3 on right).
All 4 removed and surfaces cleaned.

And 4 new tantalum capacitors.

Now we start the new IPS screen installation. Before this picture was taken I confirmed the screen was indeed working. I decided to add a layer of capton tape to the back of the screen to remove any possible shorts the bare metal back might cause.

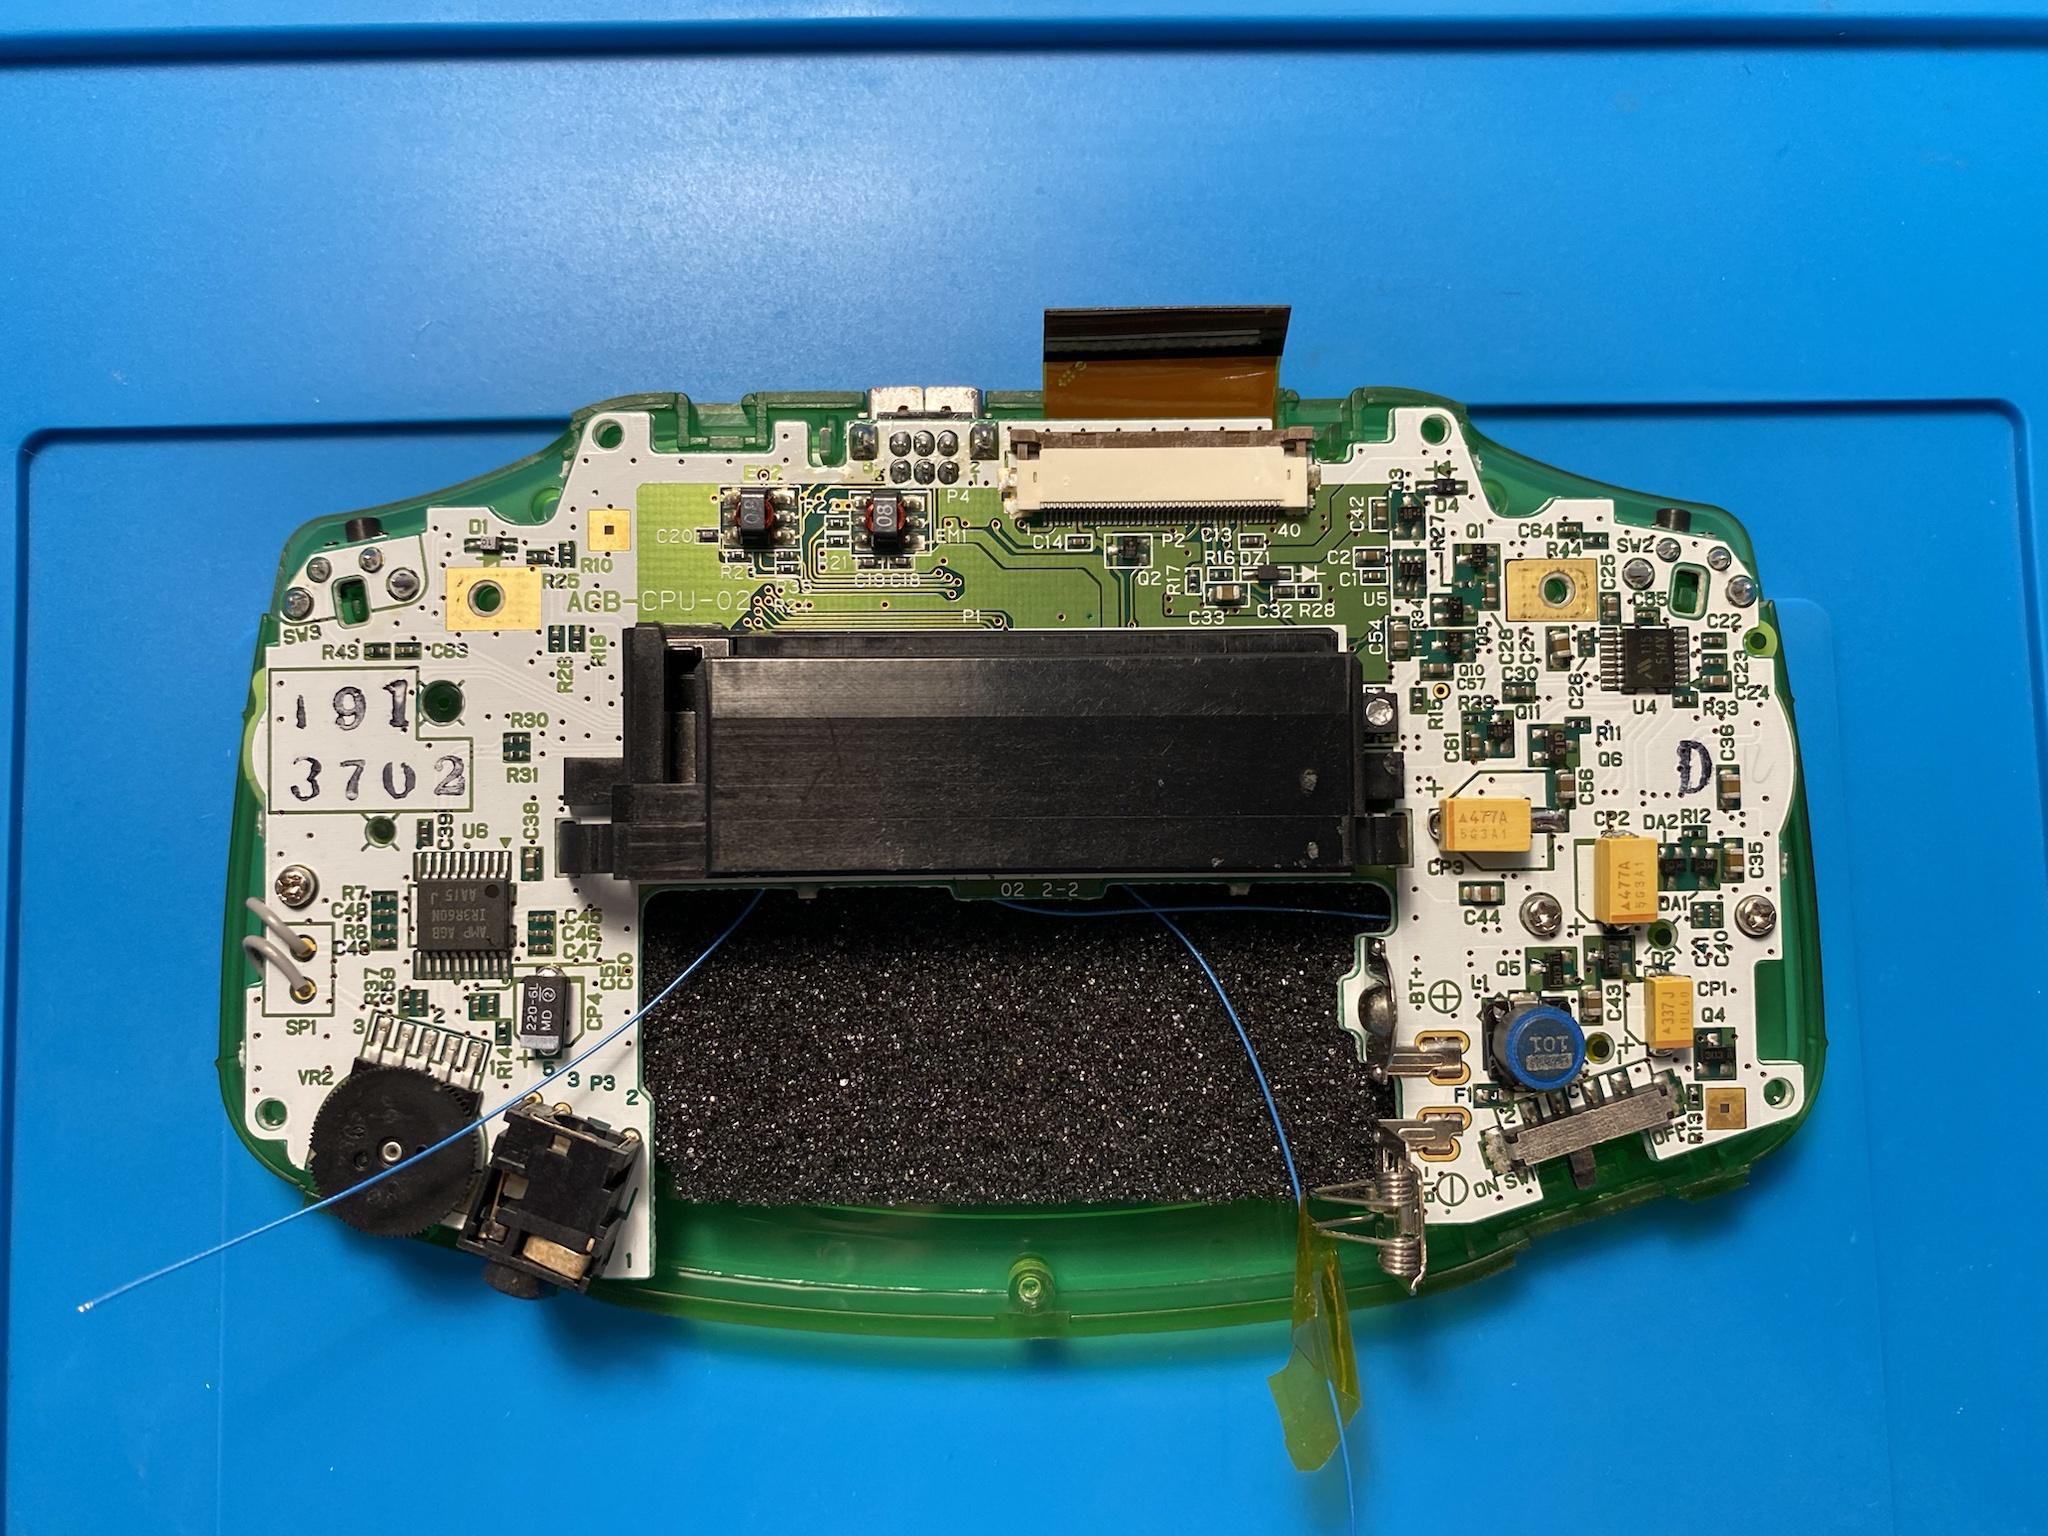
Three wires have been soldered to the screen’s ribbon cable. These wires will connect to the select, left and right shoulder buttons and control the screen brightness.
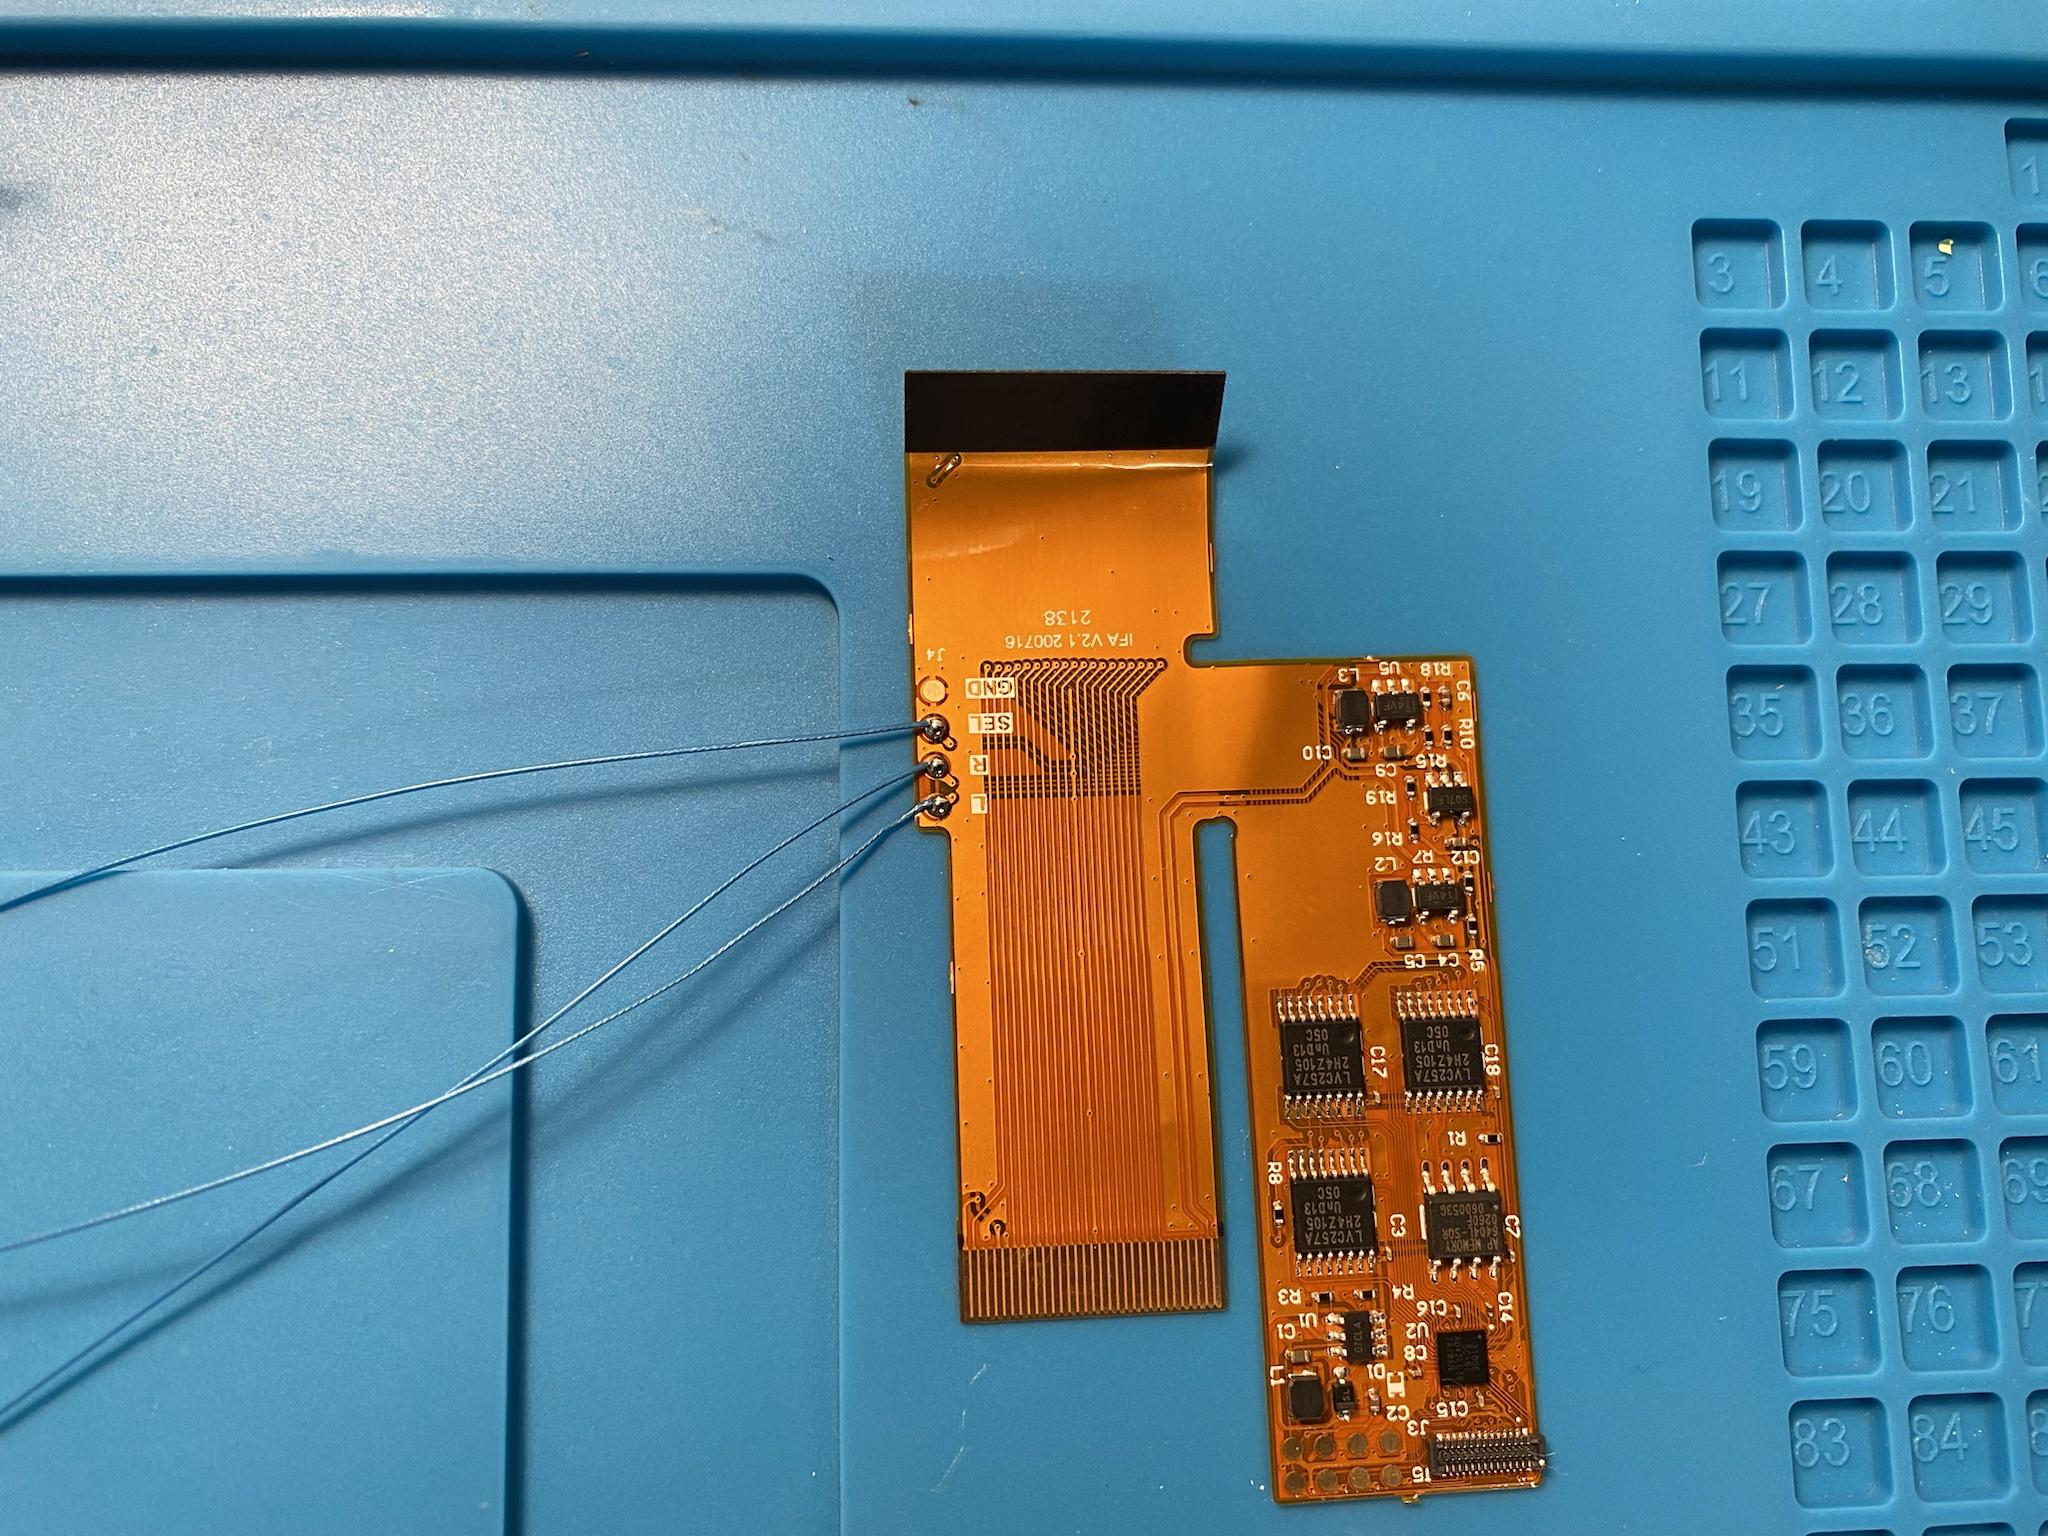
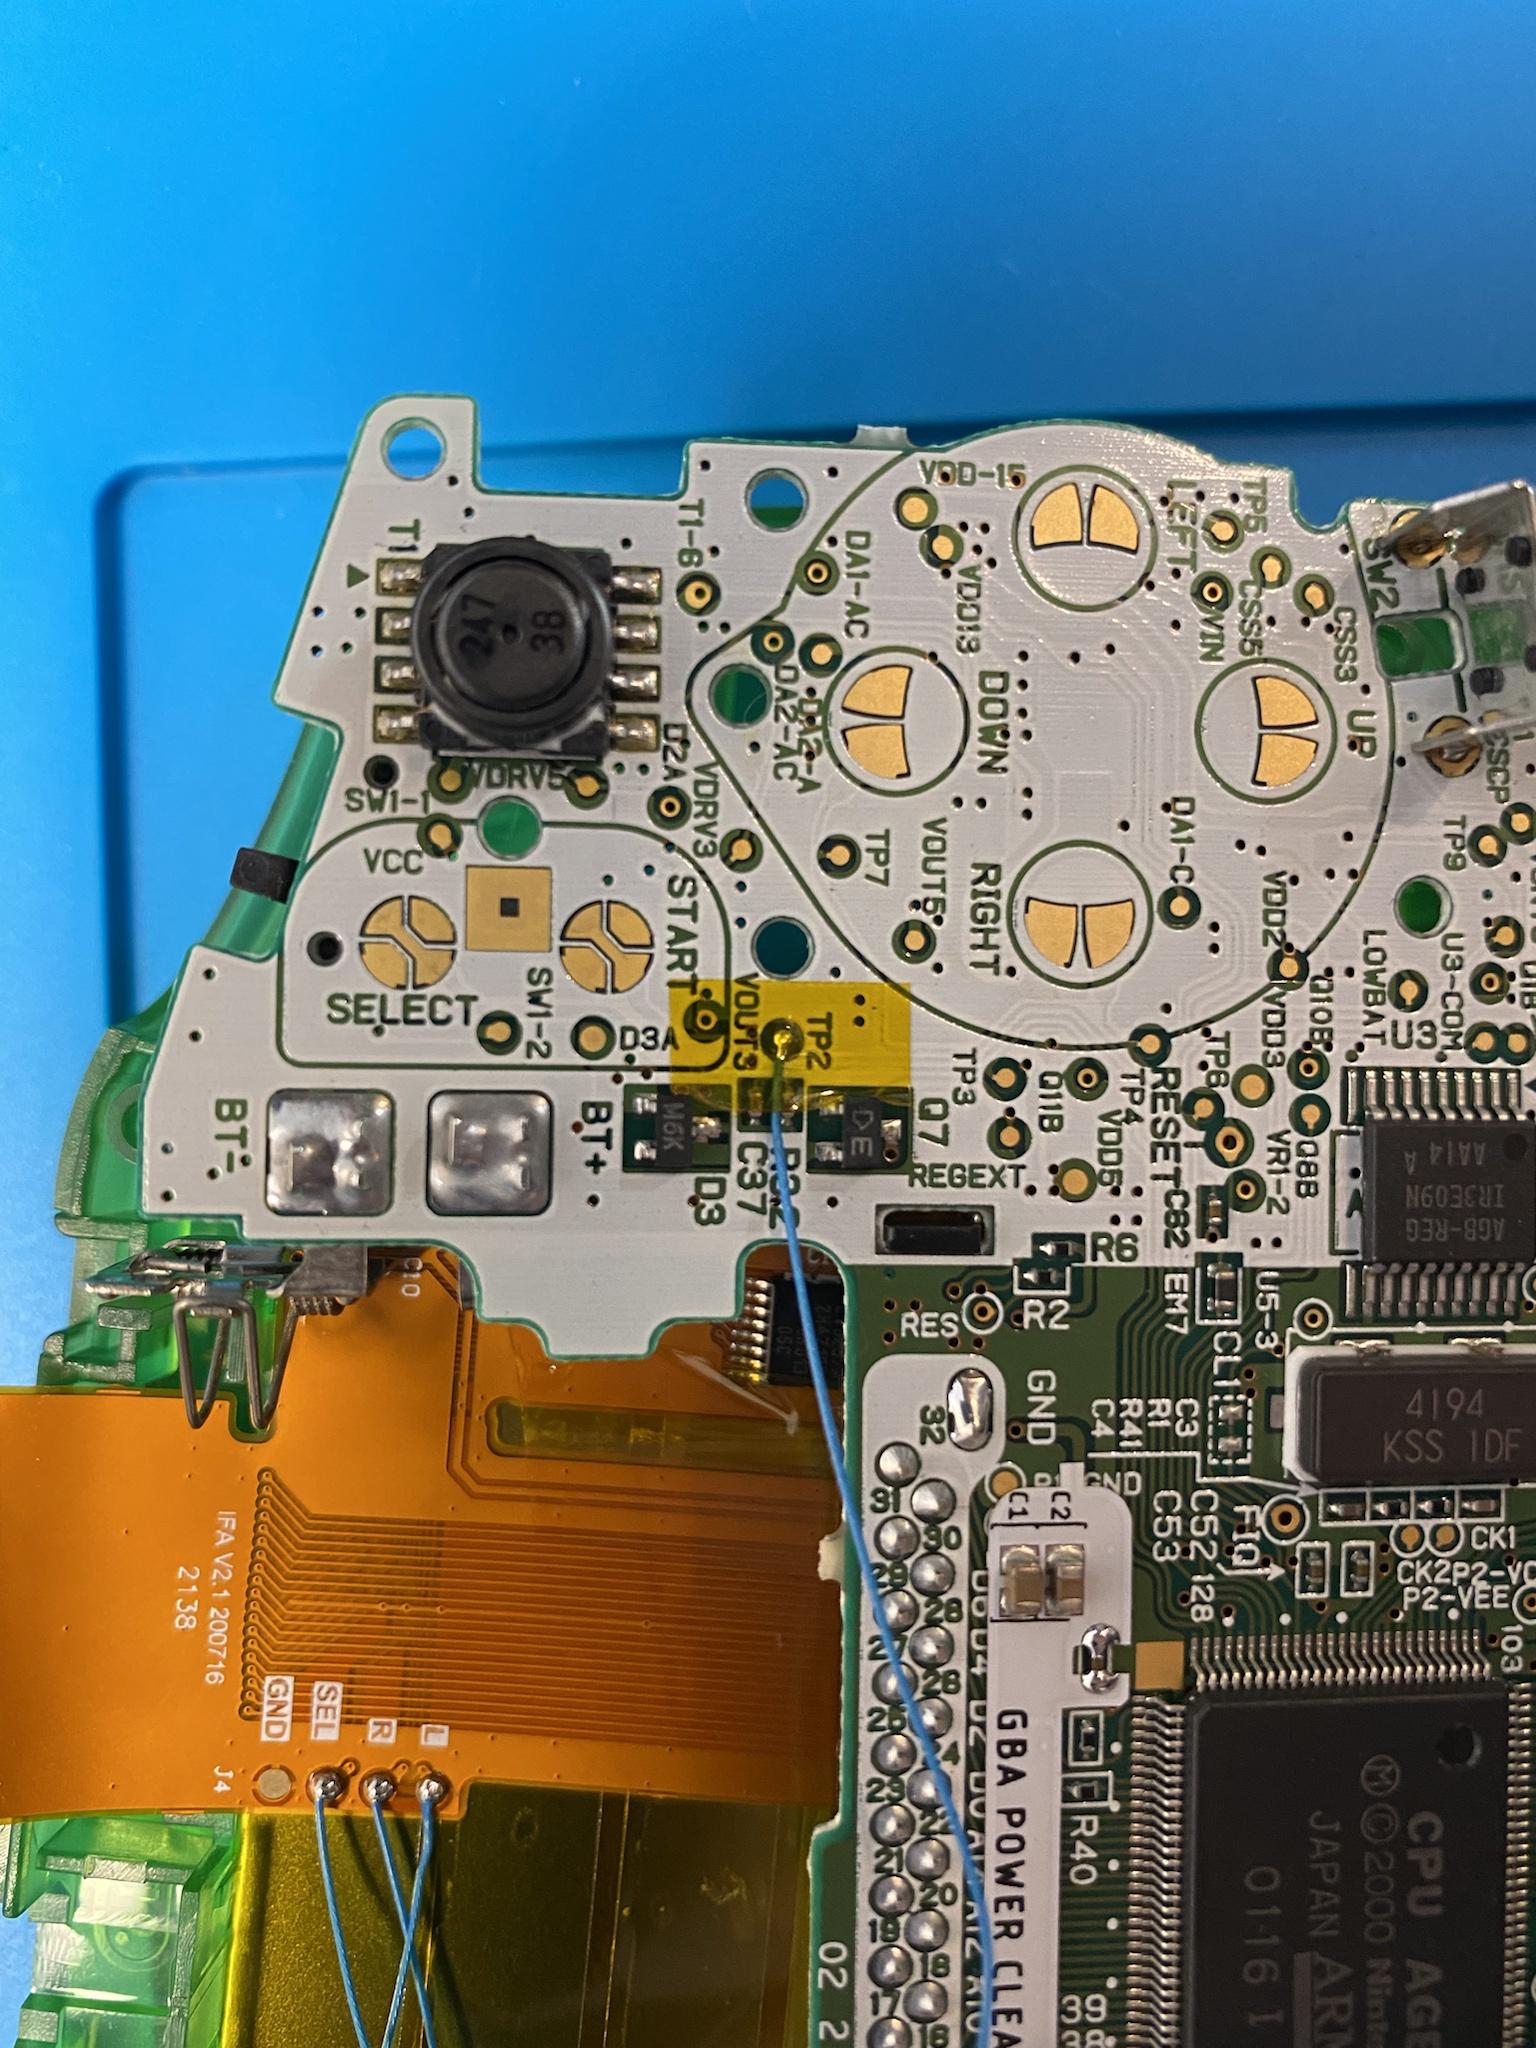
The select wire is soldered to the TP2 pad.
I added a piece of capton tape here to reduce the stress the wire might have on the pad when moving the board around during installation or if we need to re-shell in the future. In my first GBA build I accidentally ripped the pad off and was crushed, I will never let that happen again!
I cut a slit in the top of the foam to let the wires pass through.

Now it’s time to solder the left and right shoulder button wires. I added a piece of tape to the left wire to differentiate between the two.
Soldering is complete and all that’s left is attaching the ribbon cable.
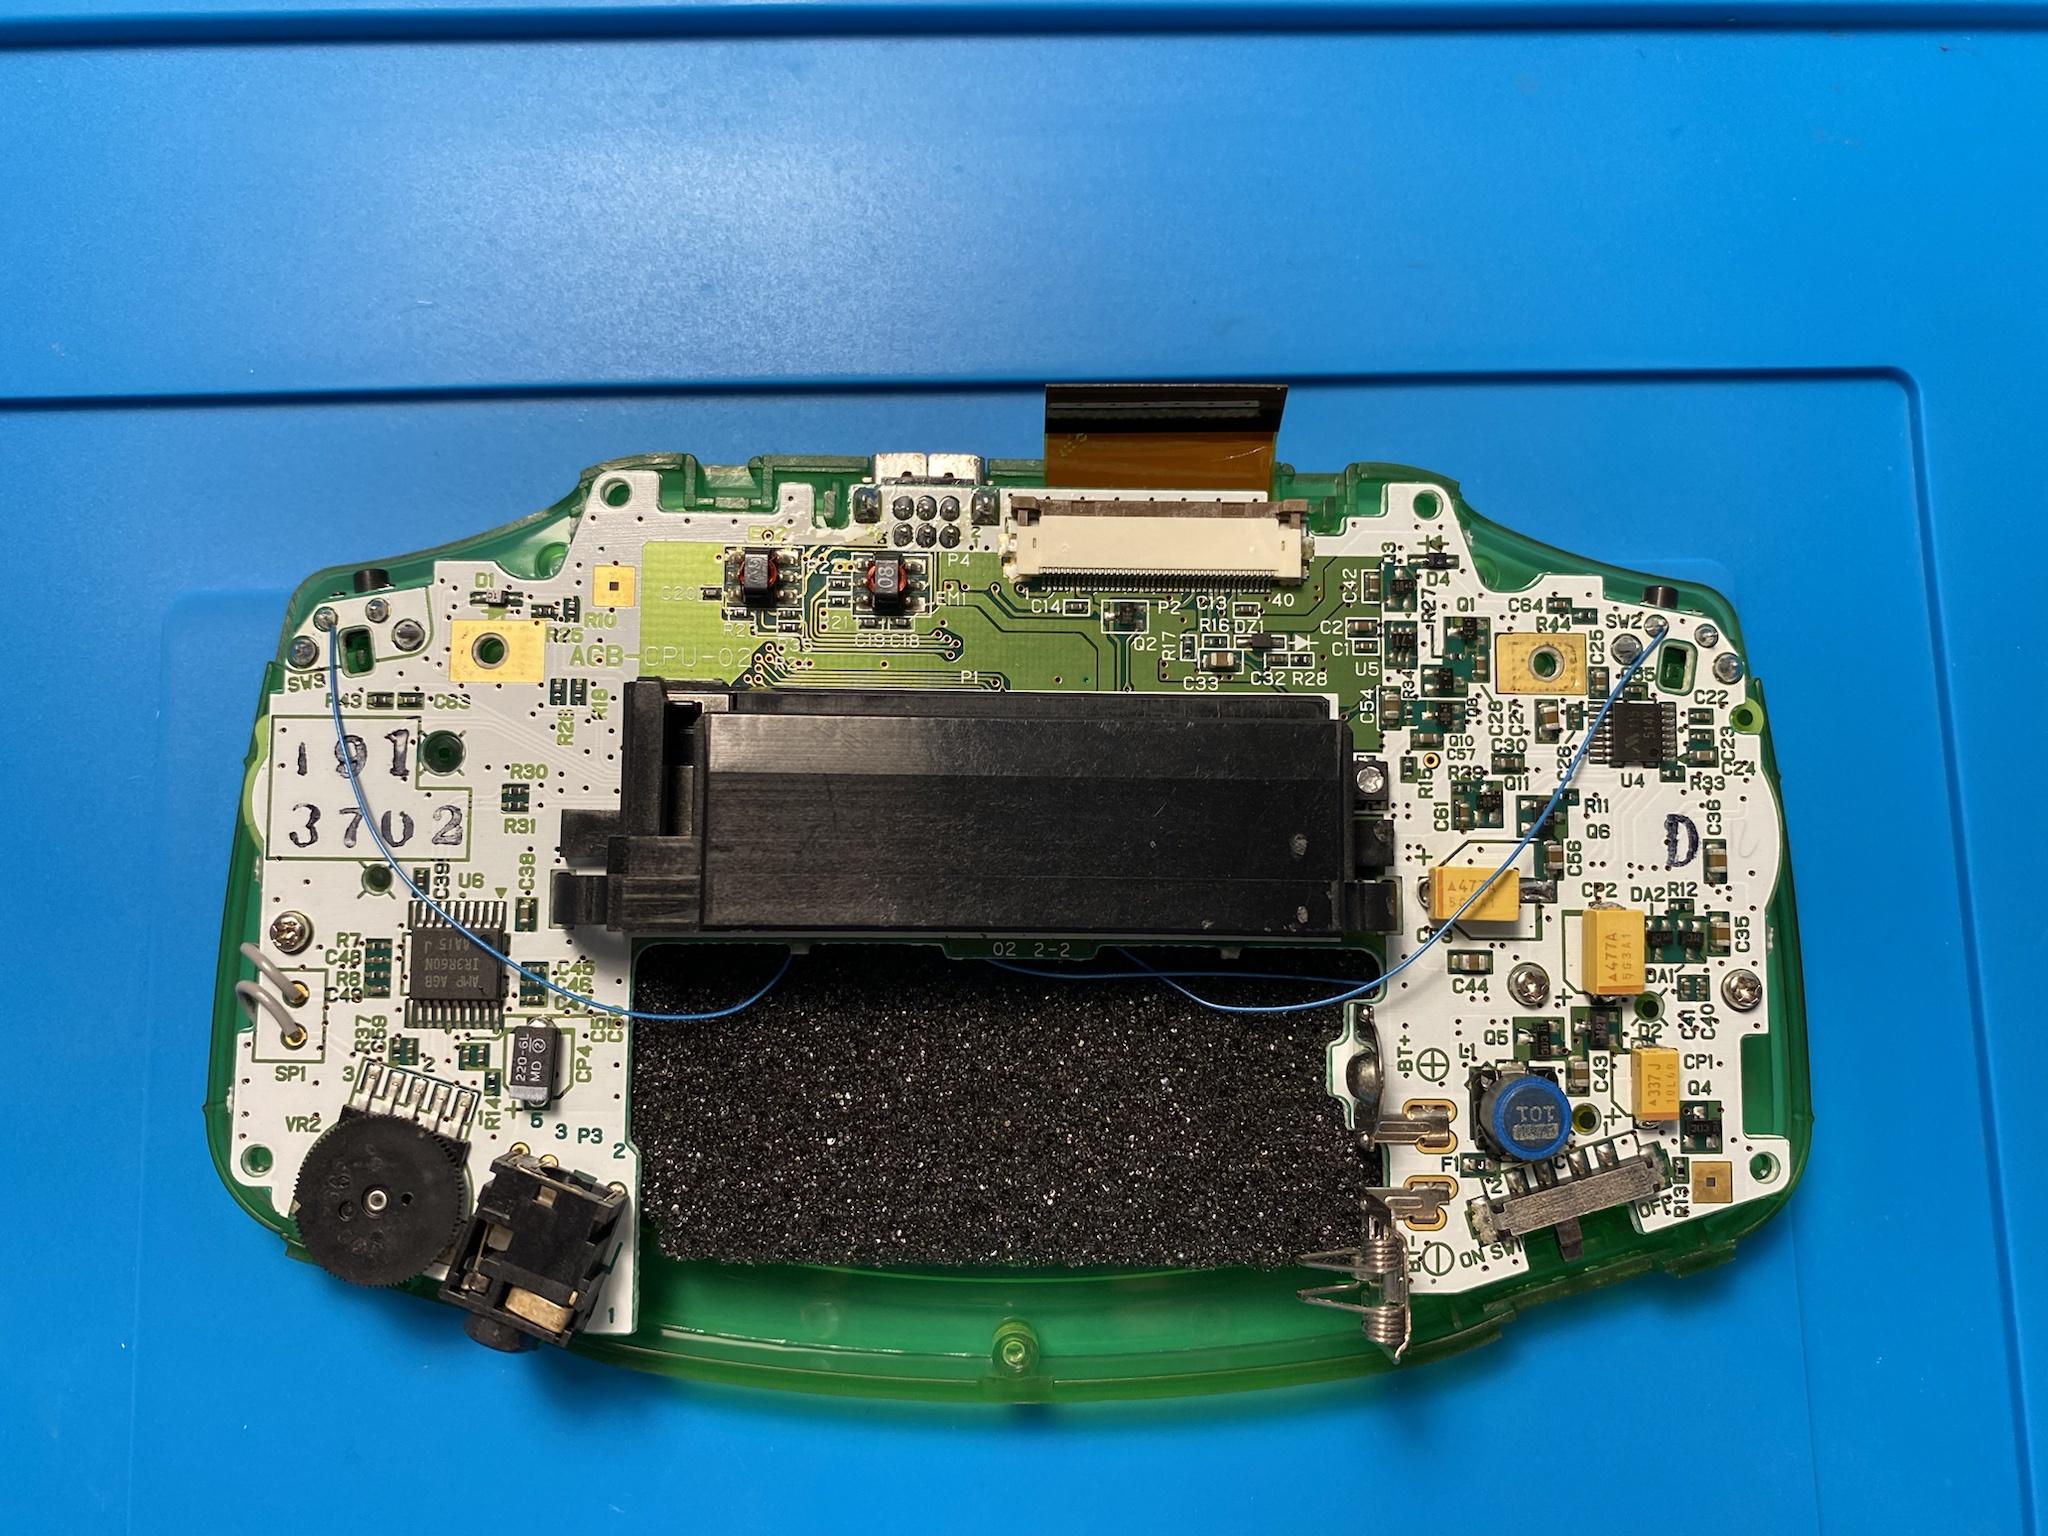
Capton tape is added to keep the wires in place and to reduce stress on the solder points if we need to take the device apart. We are done! Time to attach the back of the shell and the screen lens.
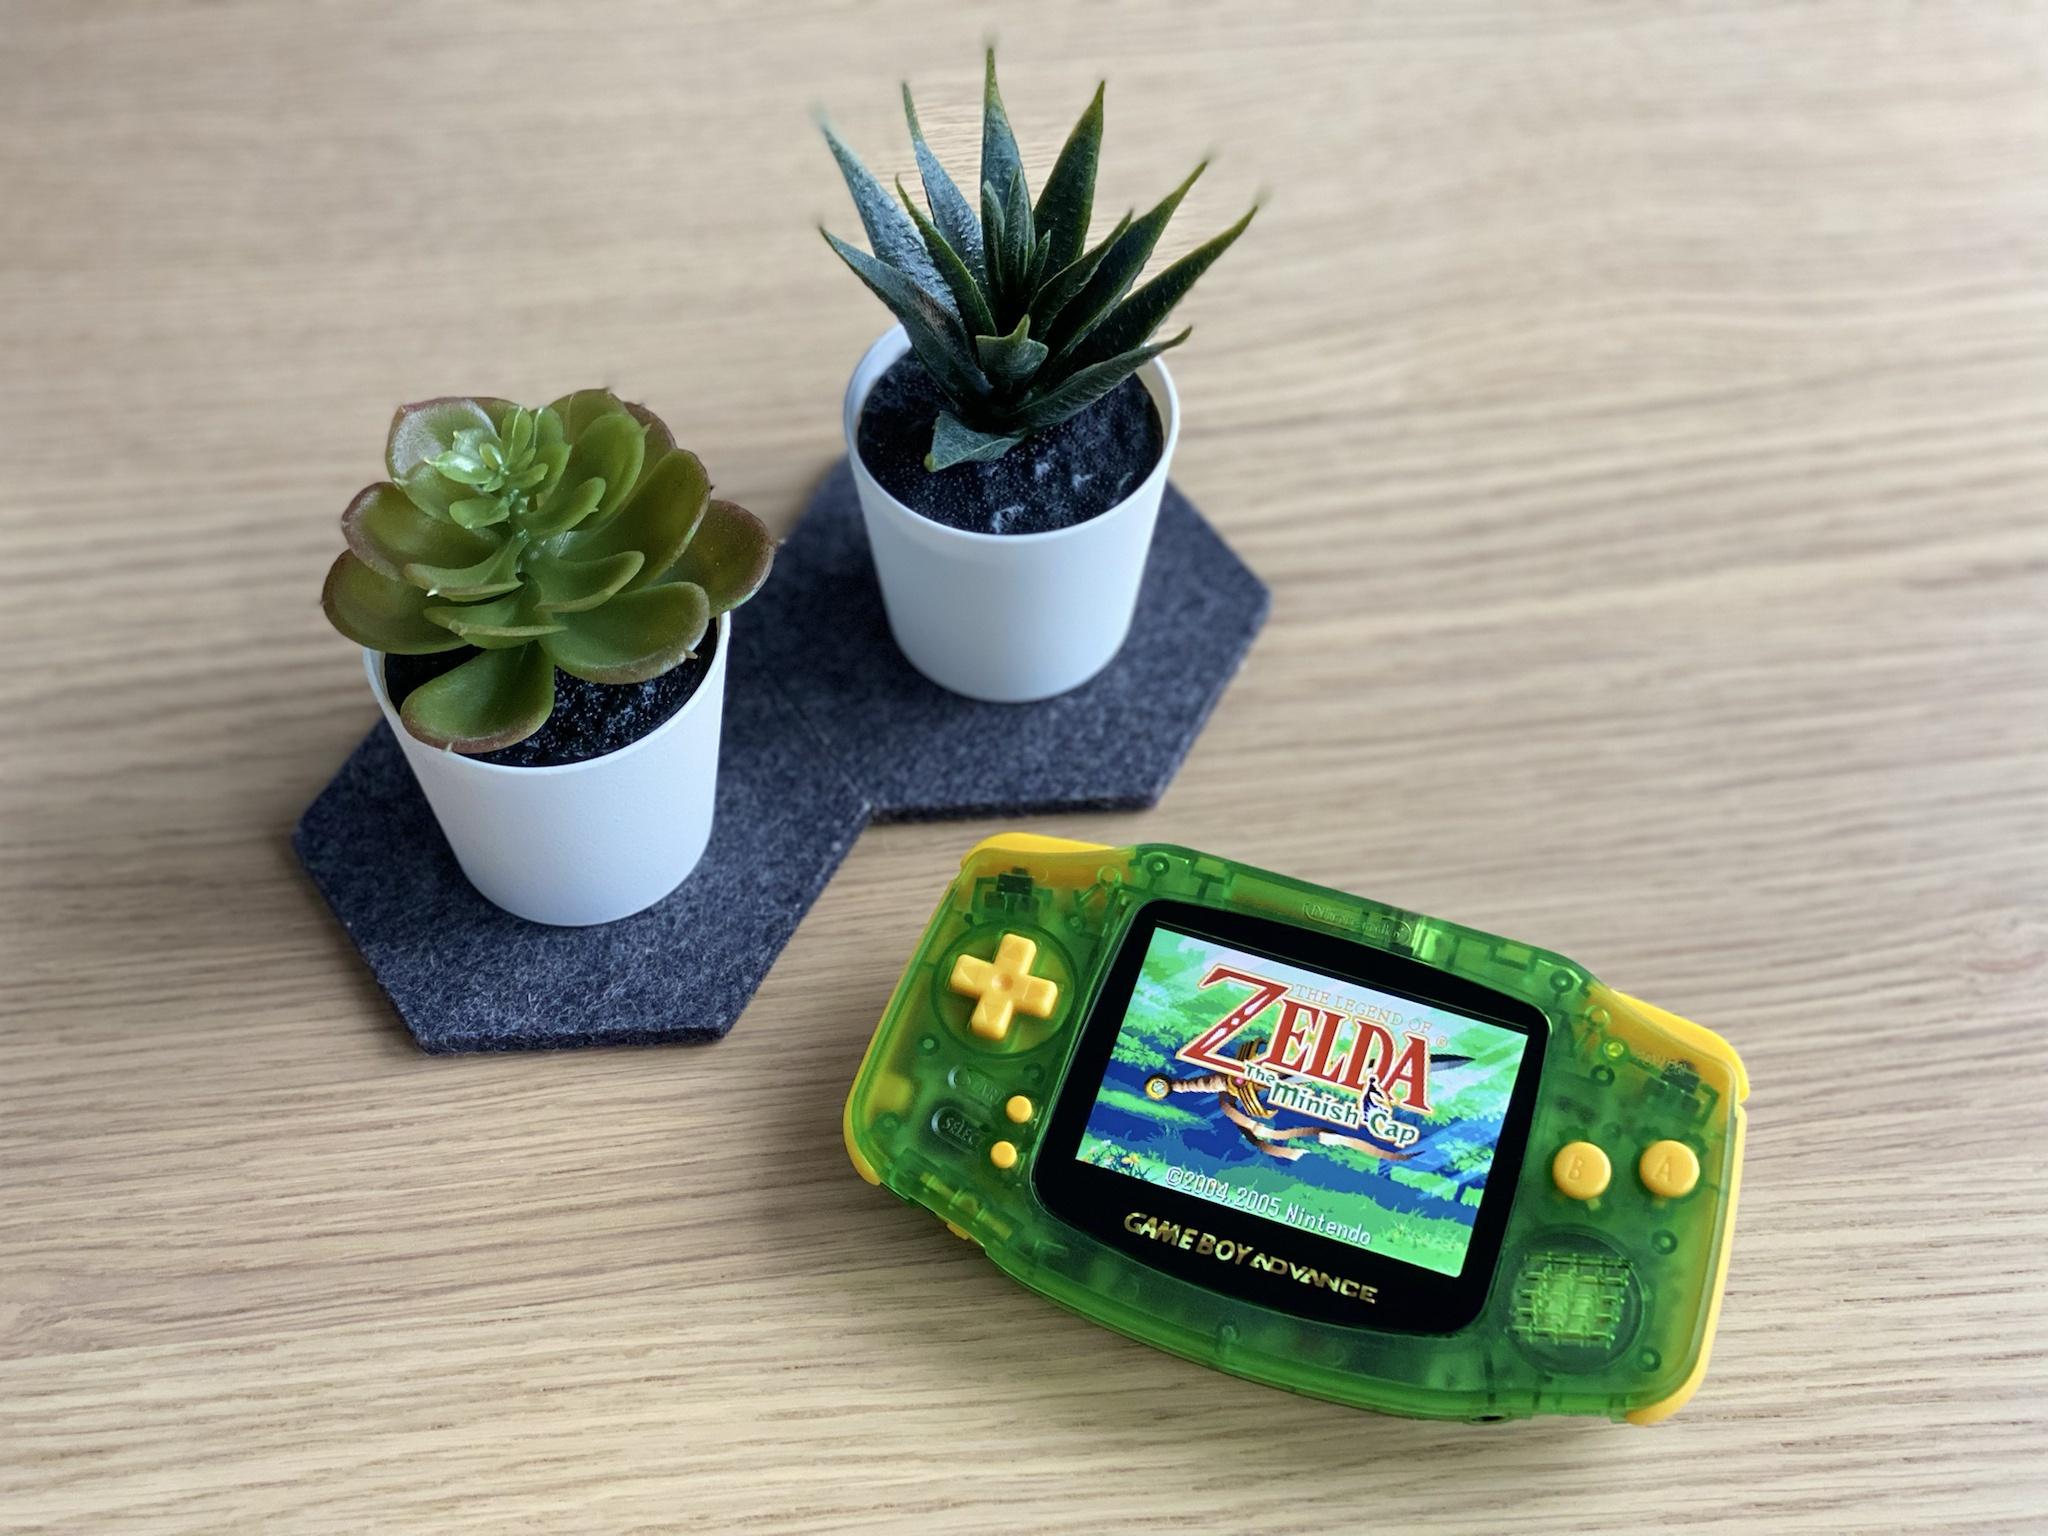
Done!